“I want to add snap buttons, but sewing them on is a little time-consuming…”
“I want to use cute, colourful buttons that match my project!”
If that sounds like you, we recommend CHERRY LABEL plastic snaps, which are great for making bags, pouches, baby items, and fabric accessories.♪
“ I bought a hand press, but I’m not sure if I’m using it correctly…”
“I’m interested in plastic snaps, but I don’t know how to attach them…”
To answer these questions, this article will introduce the features of CHERRY LABEL plastic snaps, how to attach them, and tips for avoiding common mistakes—all in an easy-to-understand way for beginners!
目次
- What Are CHERRY LABEL Plastic Snaps?
- How to Choose the Right Plastic Snaps for Your Project
- For Baby Items👶
- For Pouches and Cases👝
- For School Items 📛, Bags, and Larger Fabric Accessories 👜
- For a More Sophisticated Look💎✨
- Want to Try Them First? Start with a Set!👍
- How to Attach Plastic Snaps with a Hand Press
- In Closing
What Are CHERRY LABEL Plastic Snaps?
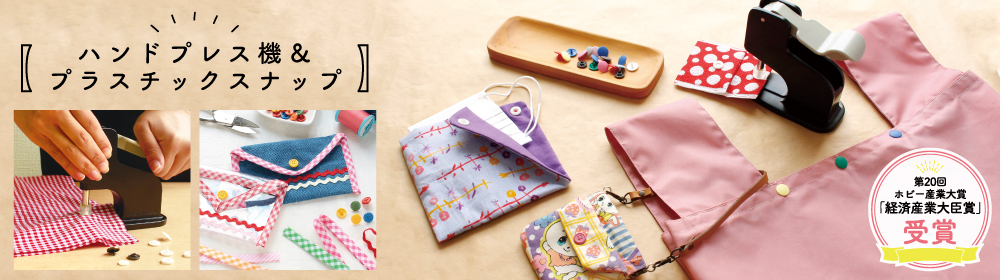
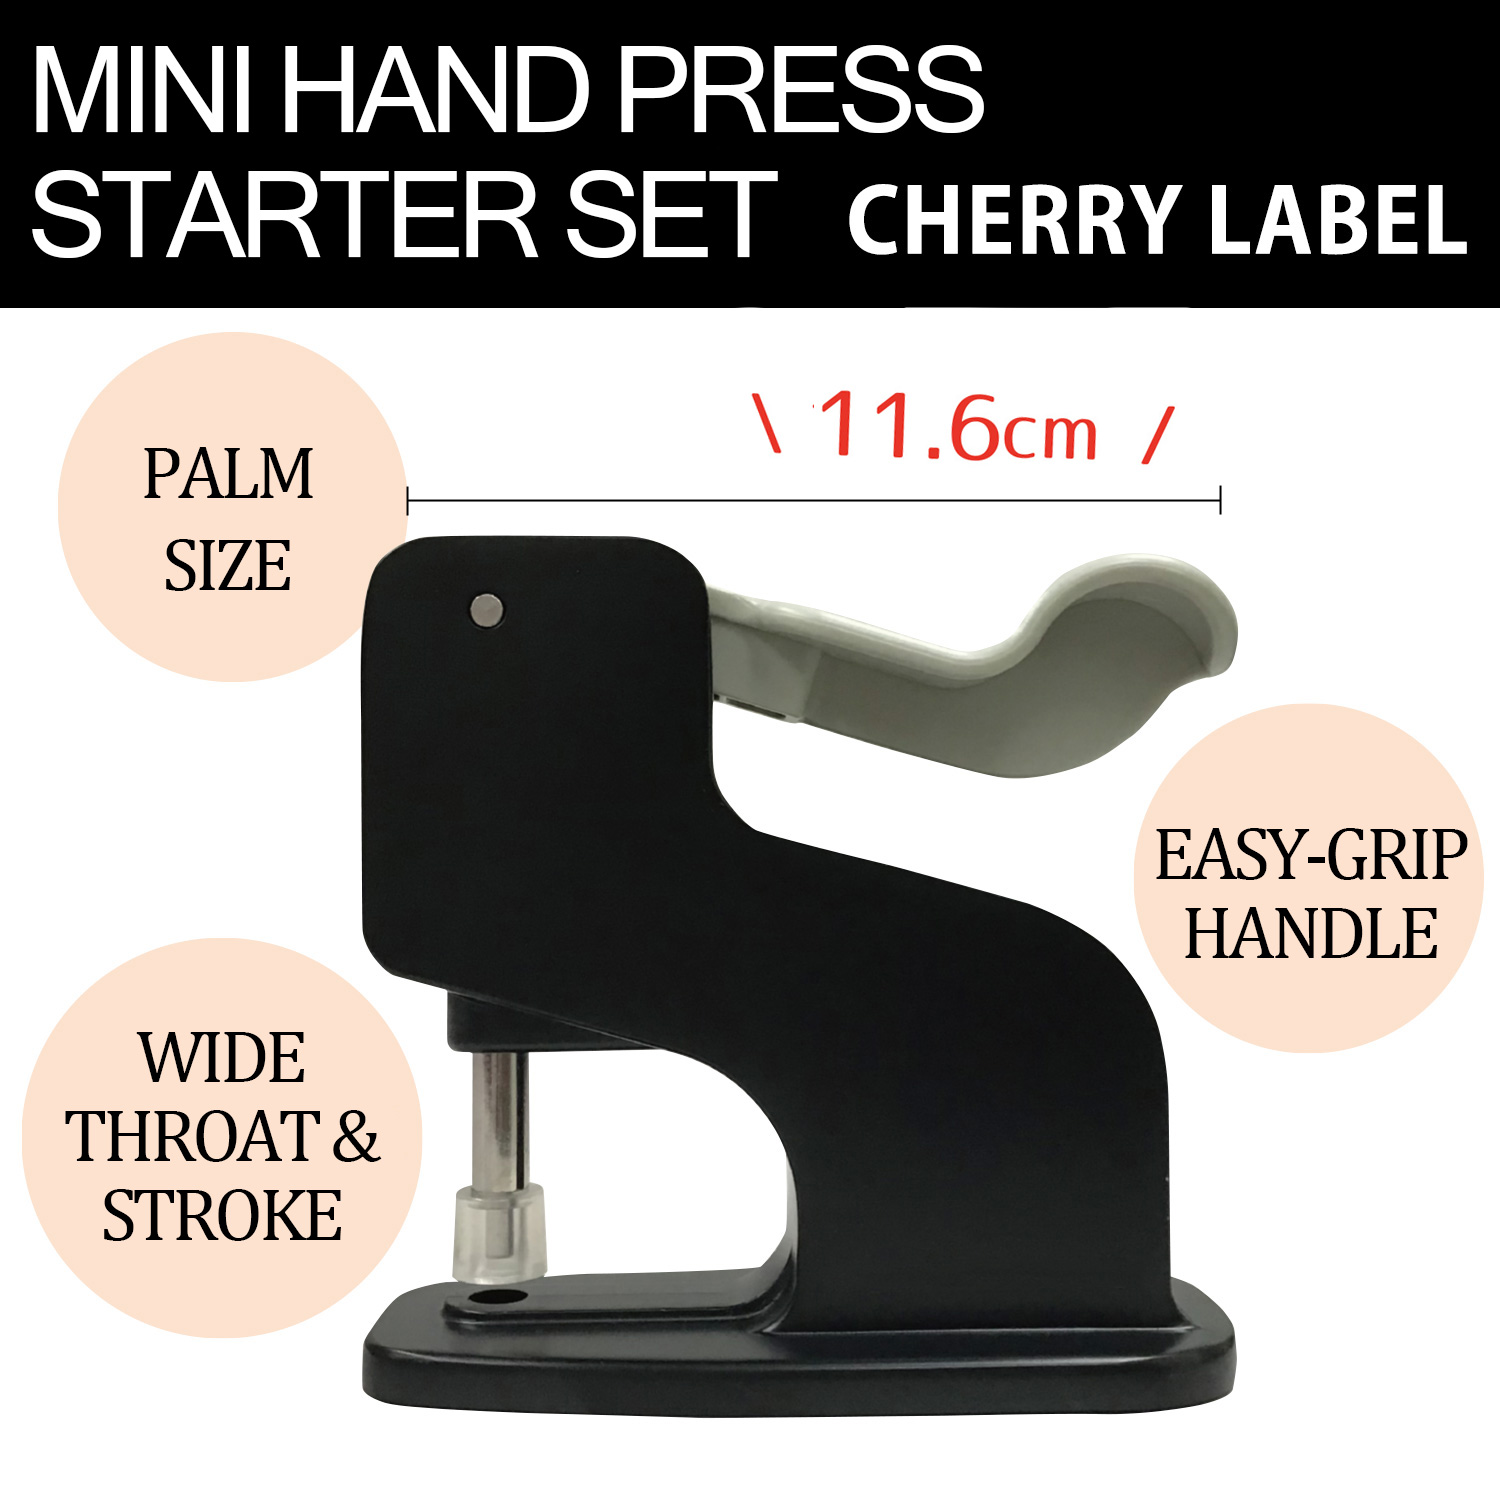
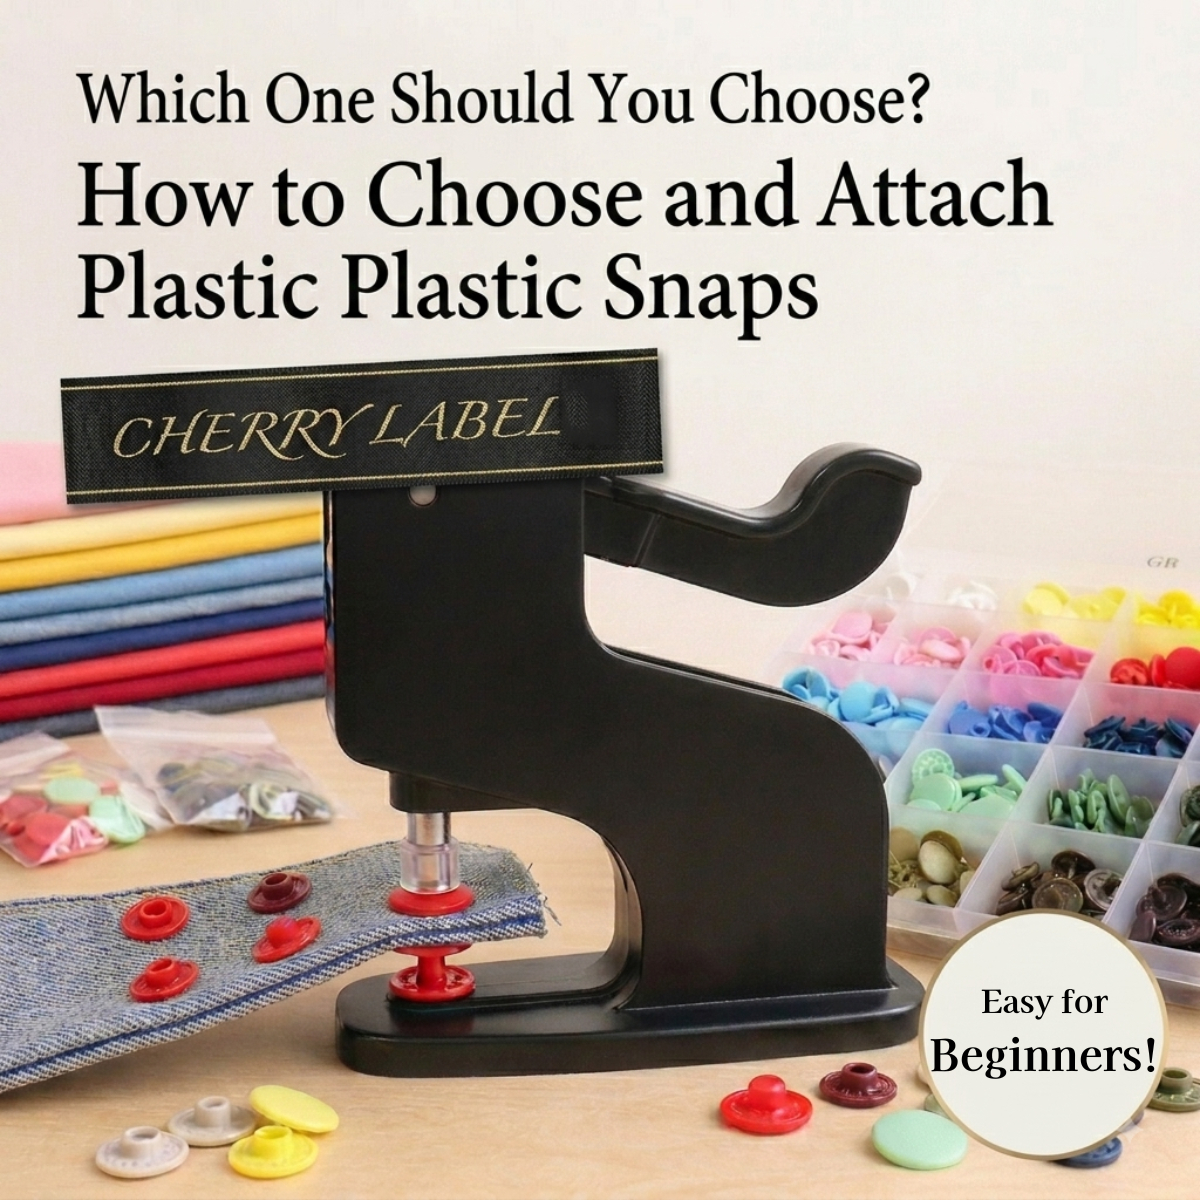
CHERRY LABEL plastic snaps are convenient plastic snap buttons that can be used for the openings and closures of handmade projects.
Unlike buttons that are sewn on with thread, these snaps are attached using a special hand press. This gives your projects a neat, clean finish and lets you create professional-looking items at home. ✨
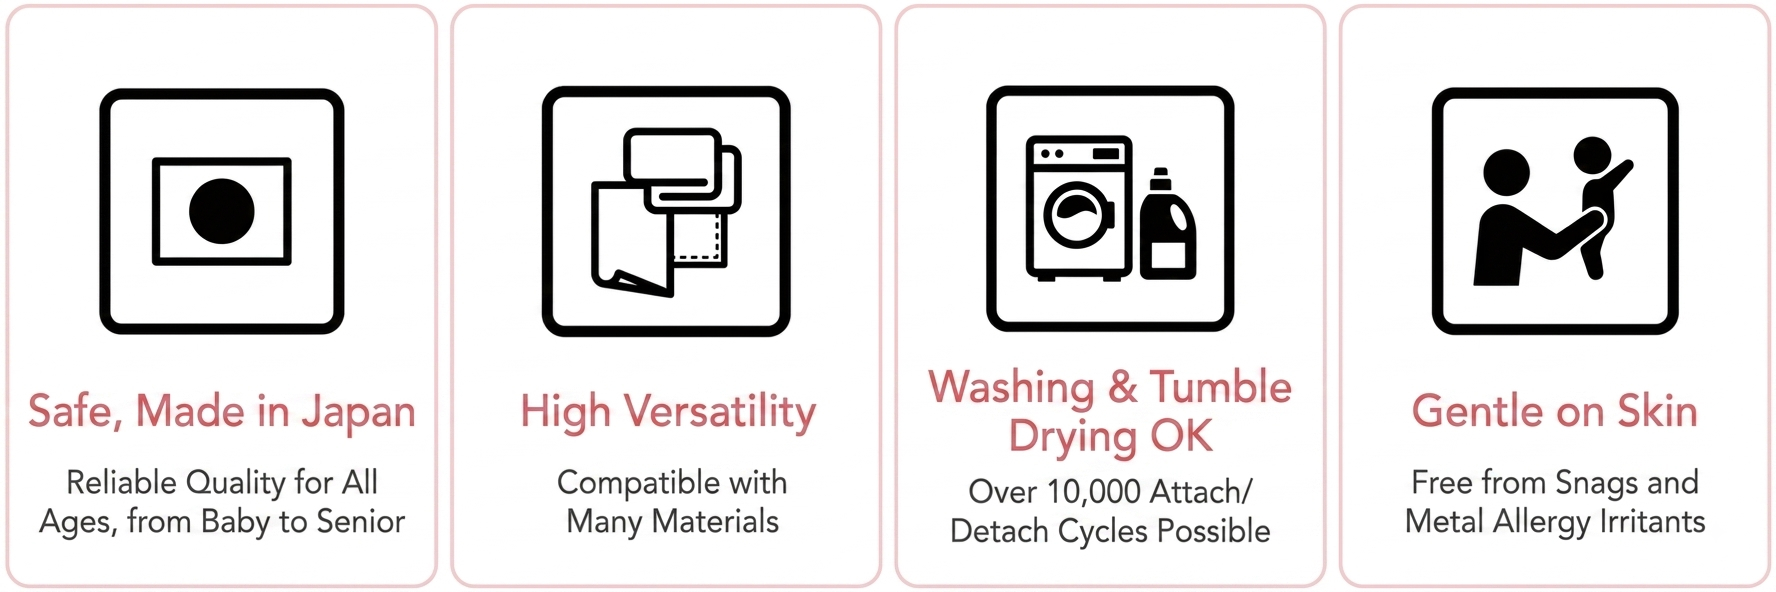
Because they are made of plastic, they are lightweight and resistant to rust, which is another great feature!
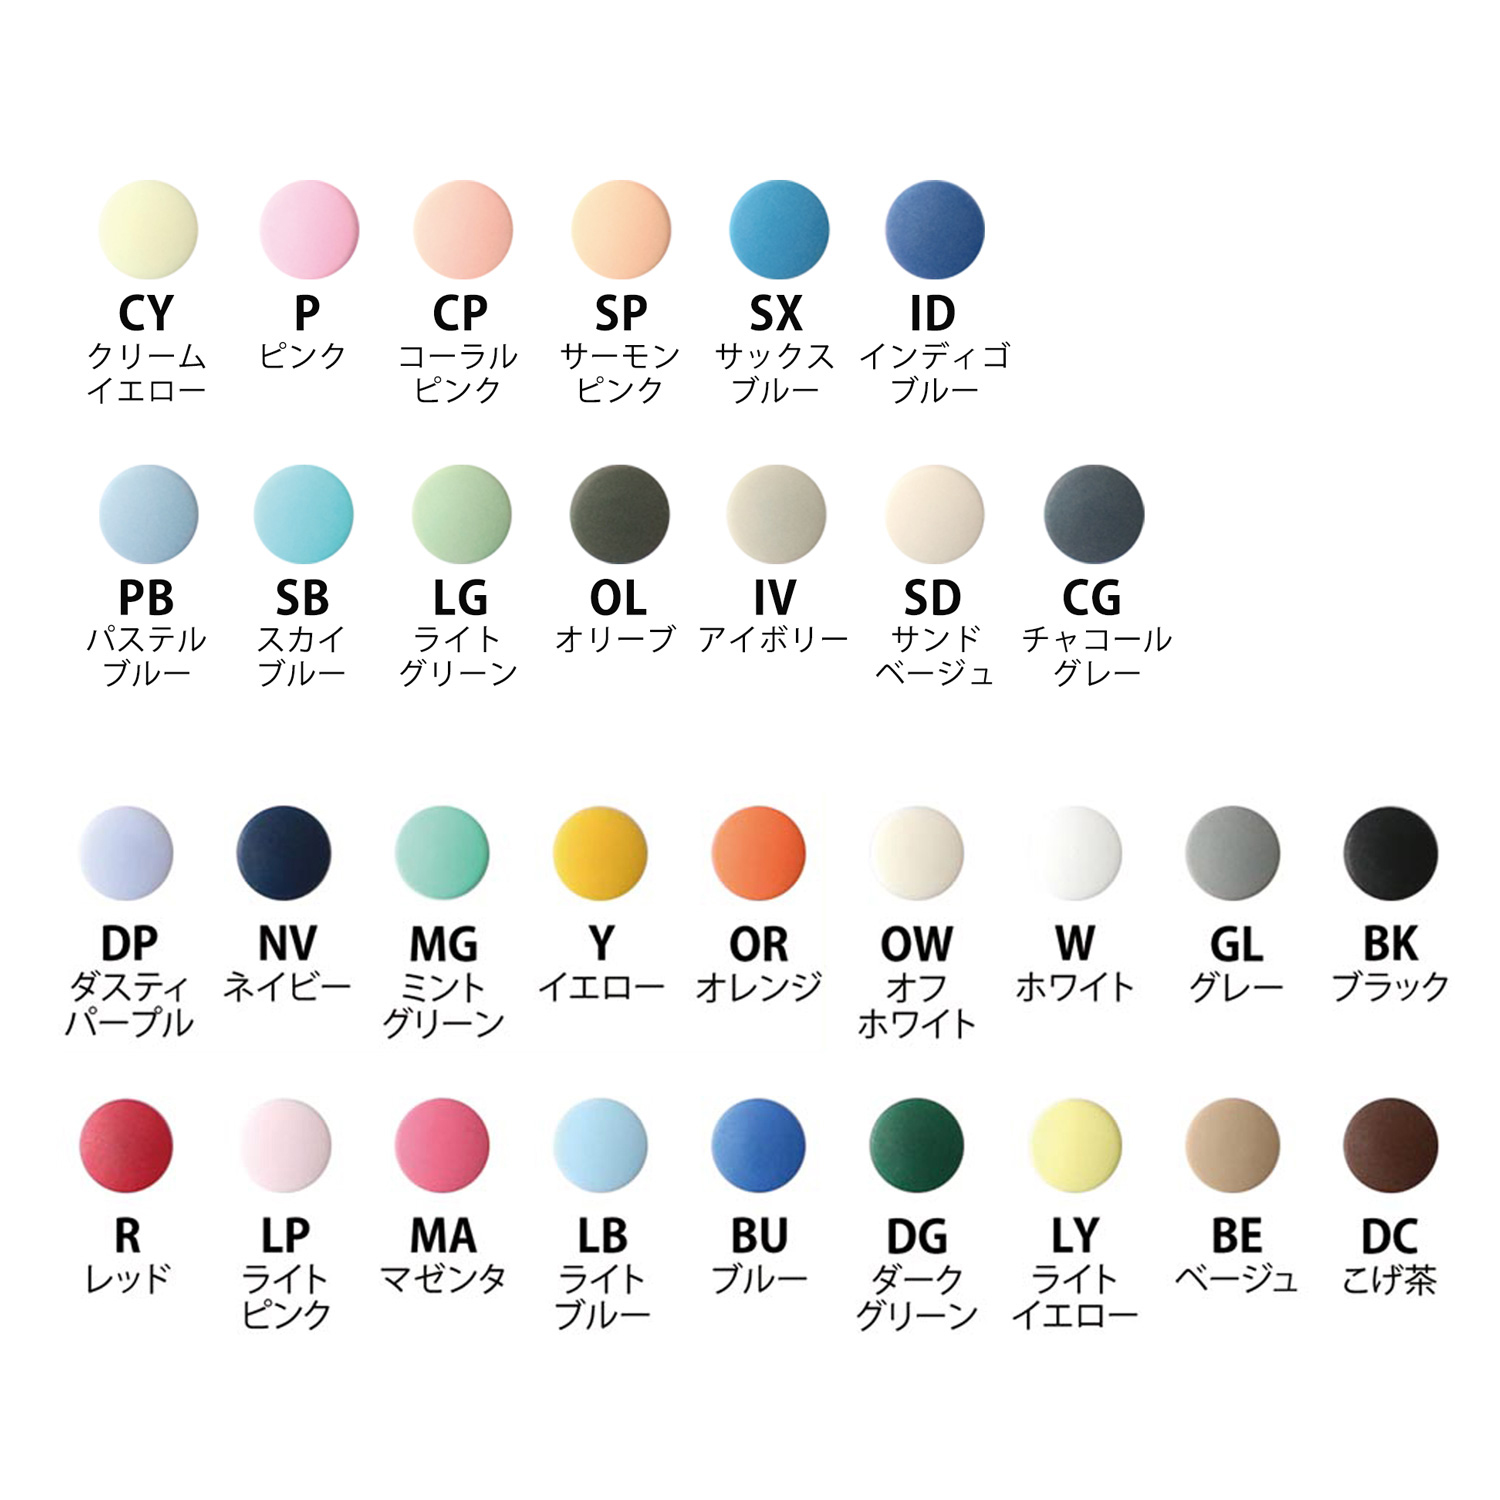
They are available in a wide range of colours, so you can choose a colour that blends with your fabric or use a contrasting colour as an accent. It’s fun to choose the right colour to match your project design.
They are not only useful as a “functional part” but can also be used as a cute accent to enhance the look of your project. ✨
First, let’s look at our recommended plastic snaps for different types of projects!
How to Choose the Right Plastic Snaps for Your Project
CHERRY LABEL plastic snaps can be used for a wide variety of handmade projects!
However, with different types and sizes available, it can be hard to know which one to choose if you’re new to plastic snaps. 💦
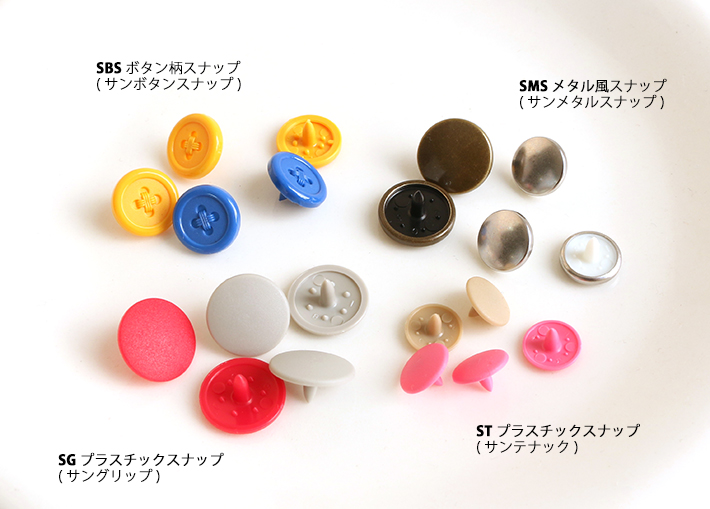
There are four main types. First, let’s choose the right snap button based on the project you want to make!
For Baby Items👶
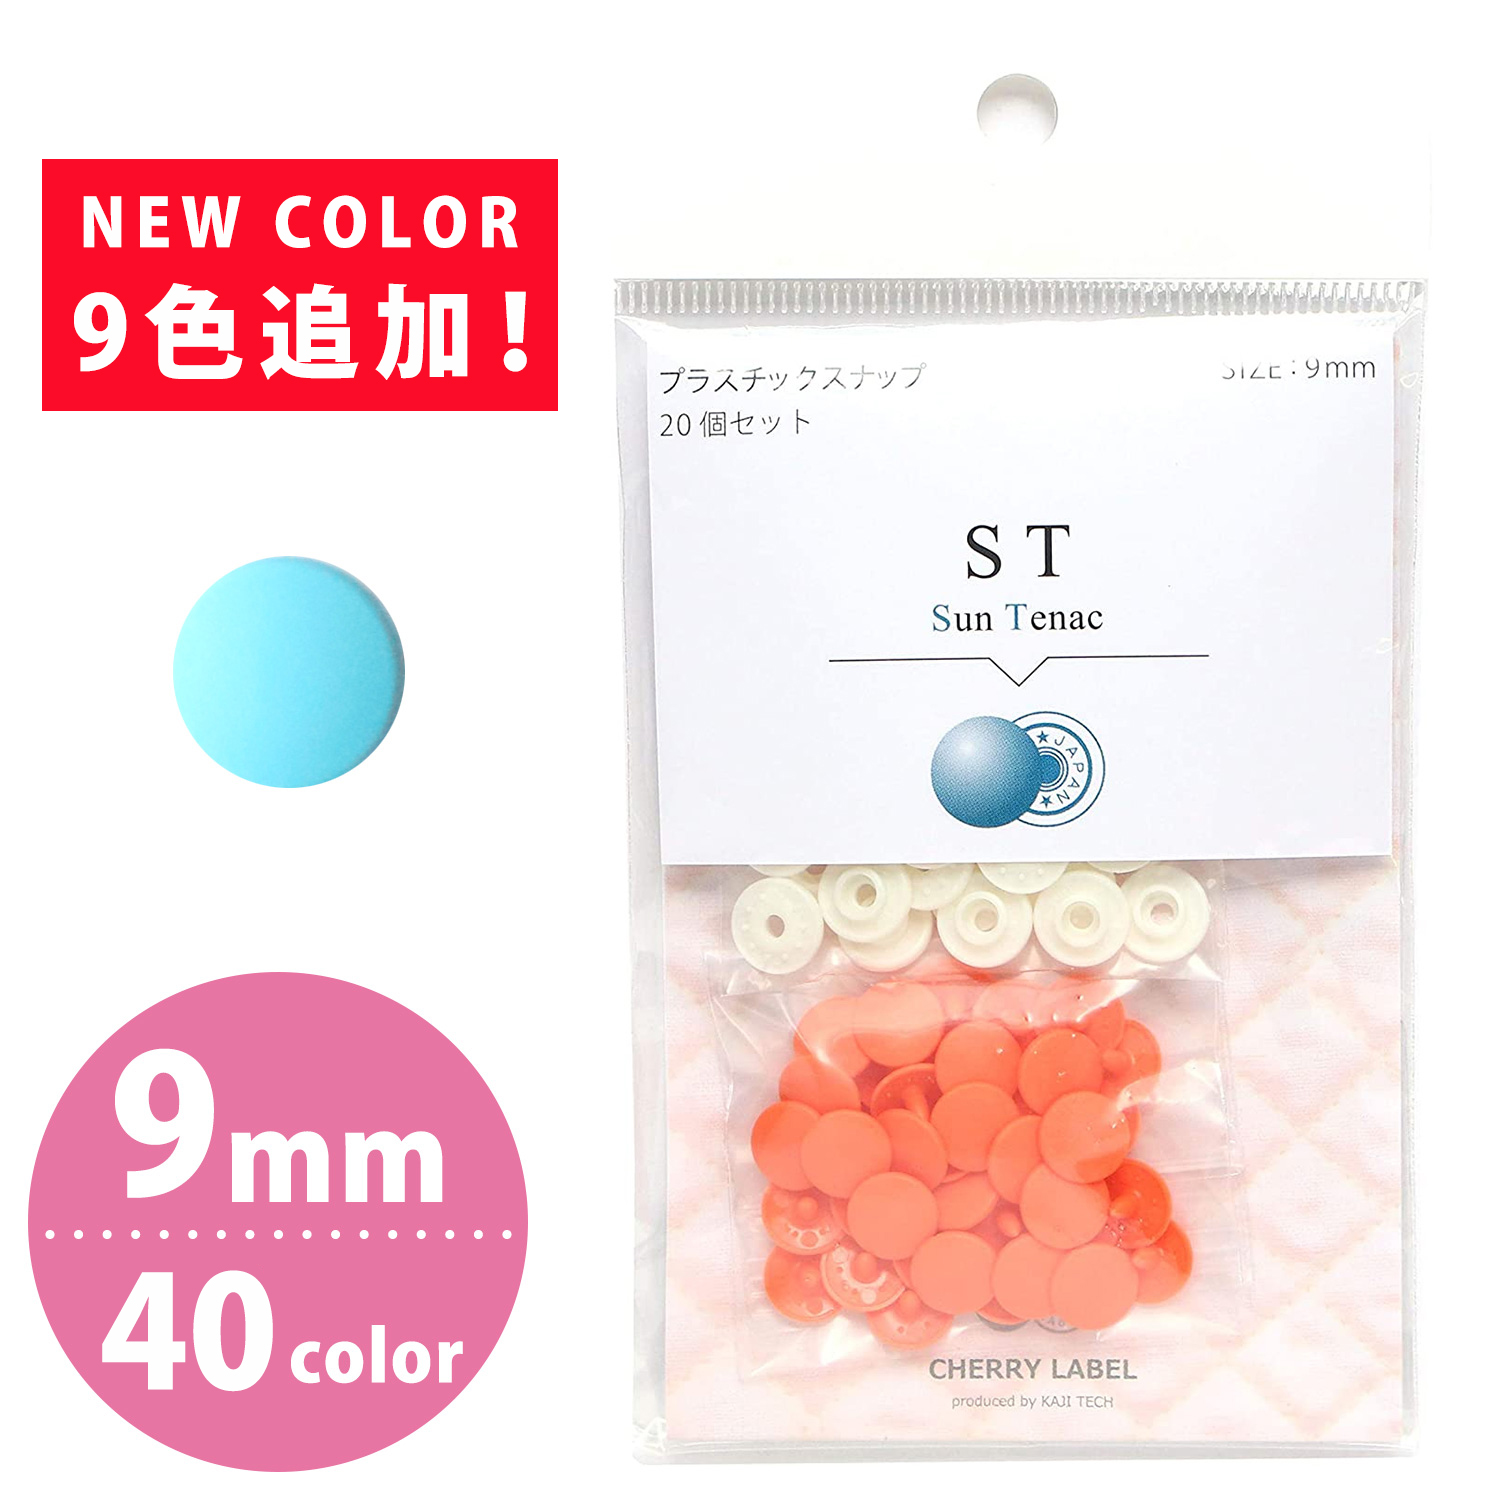
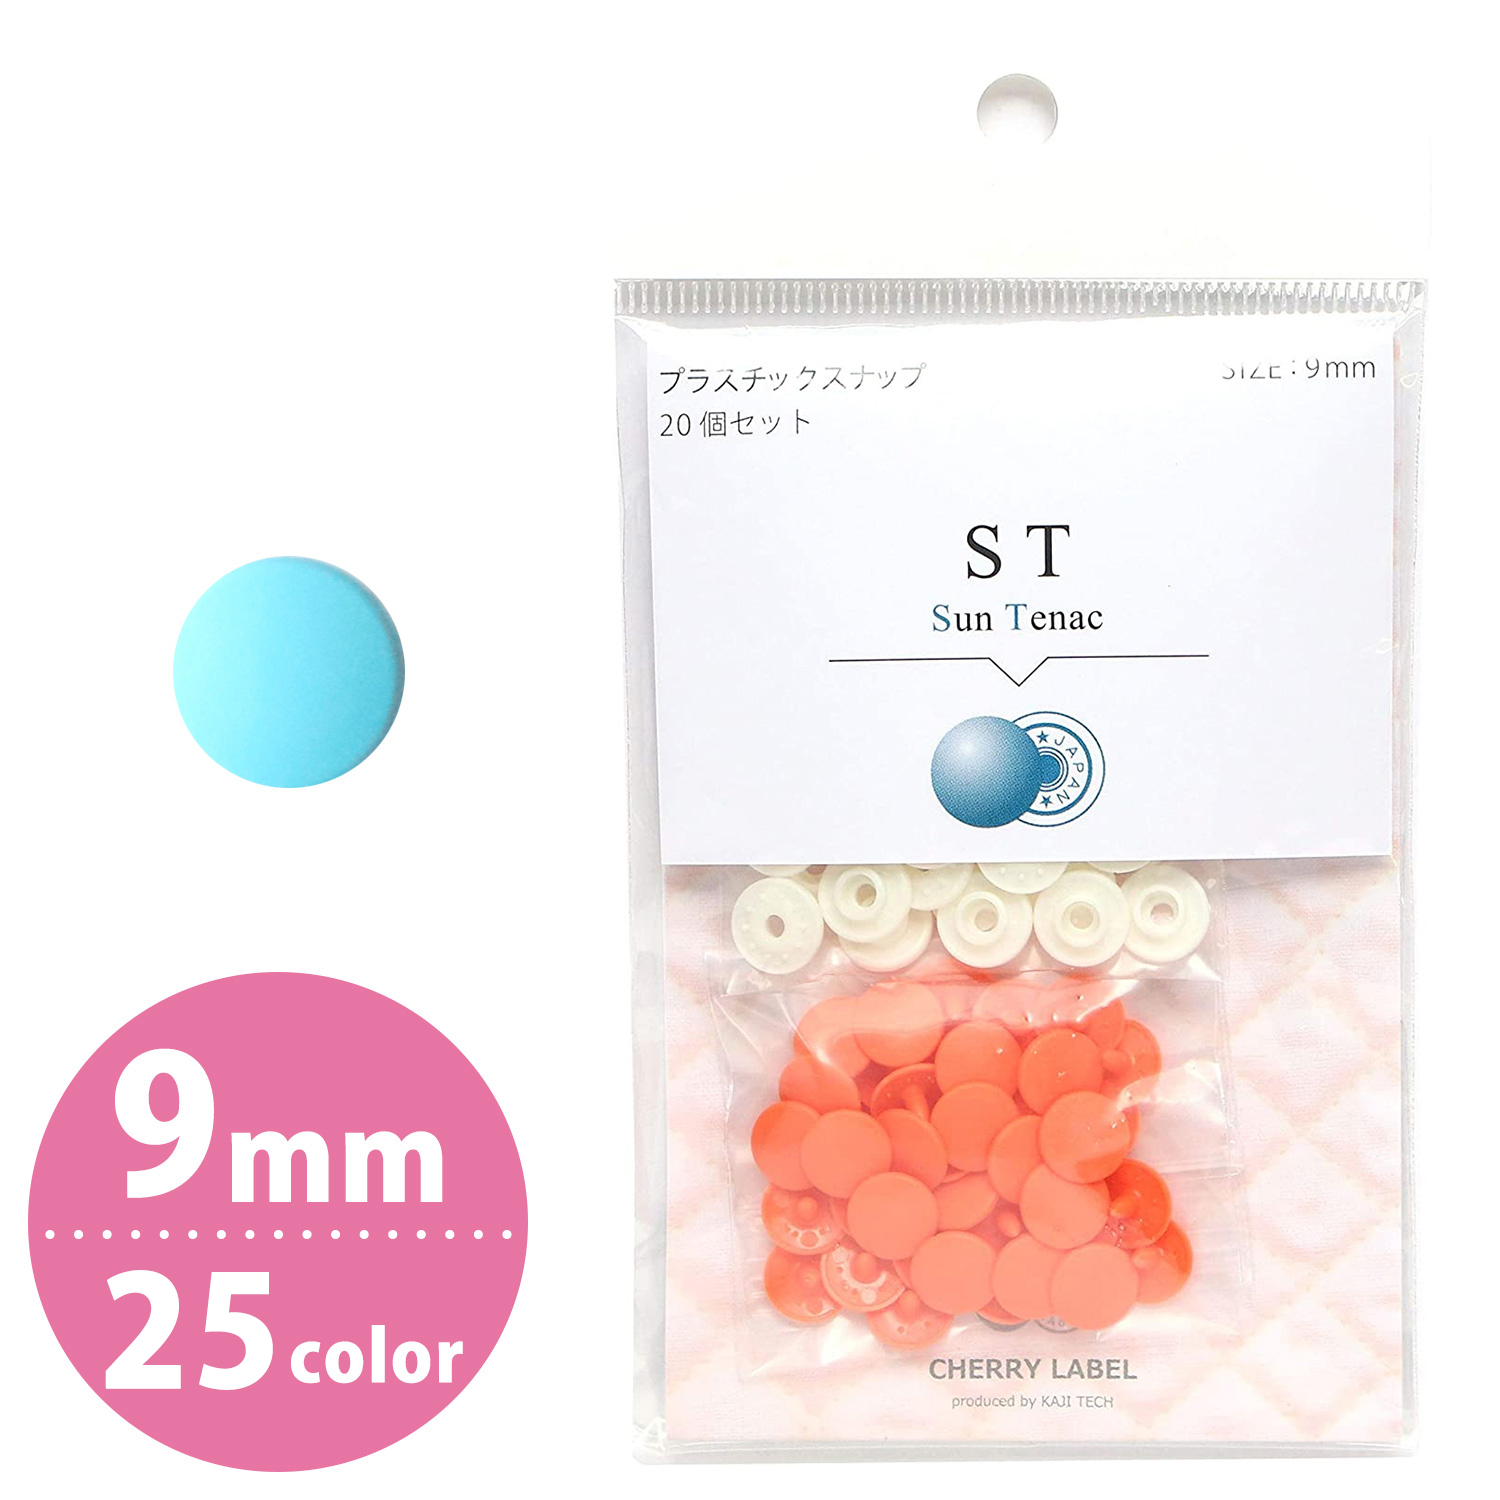
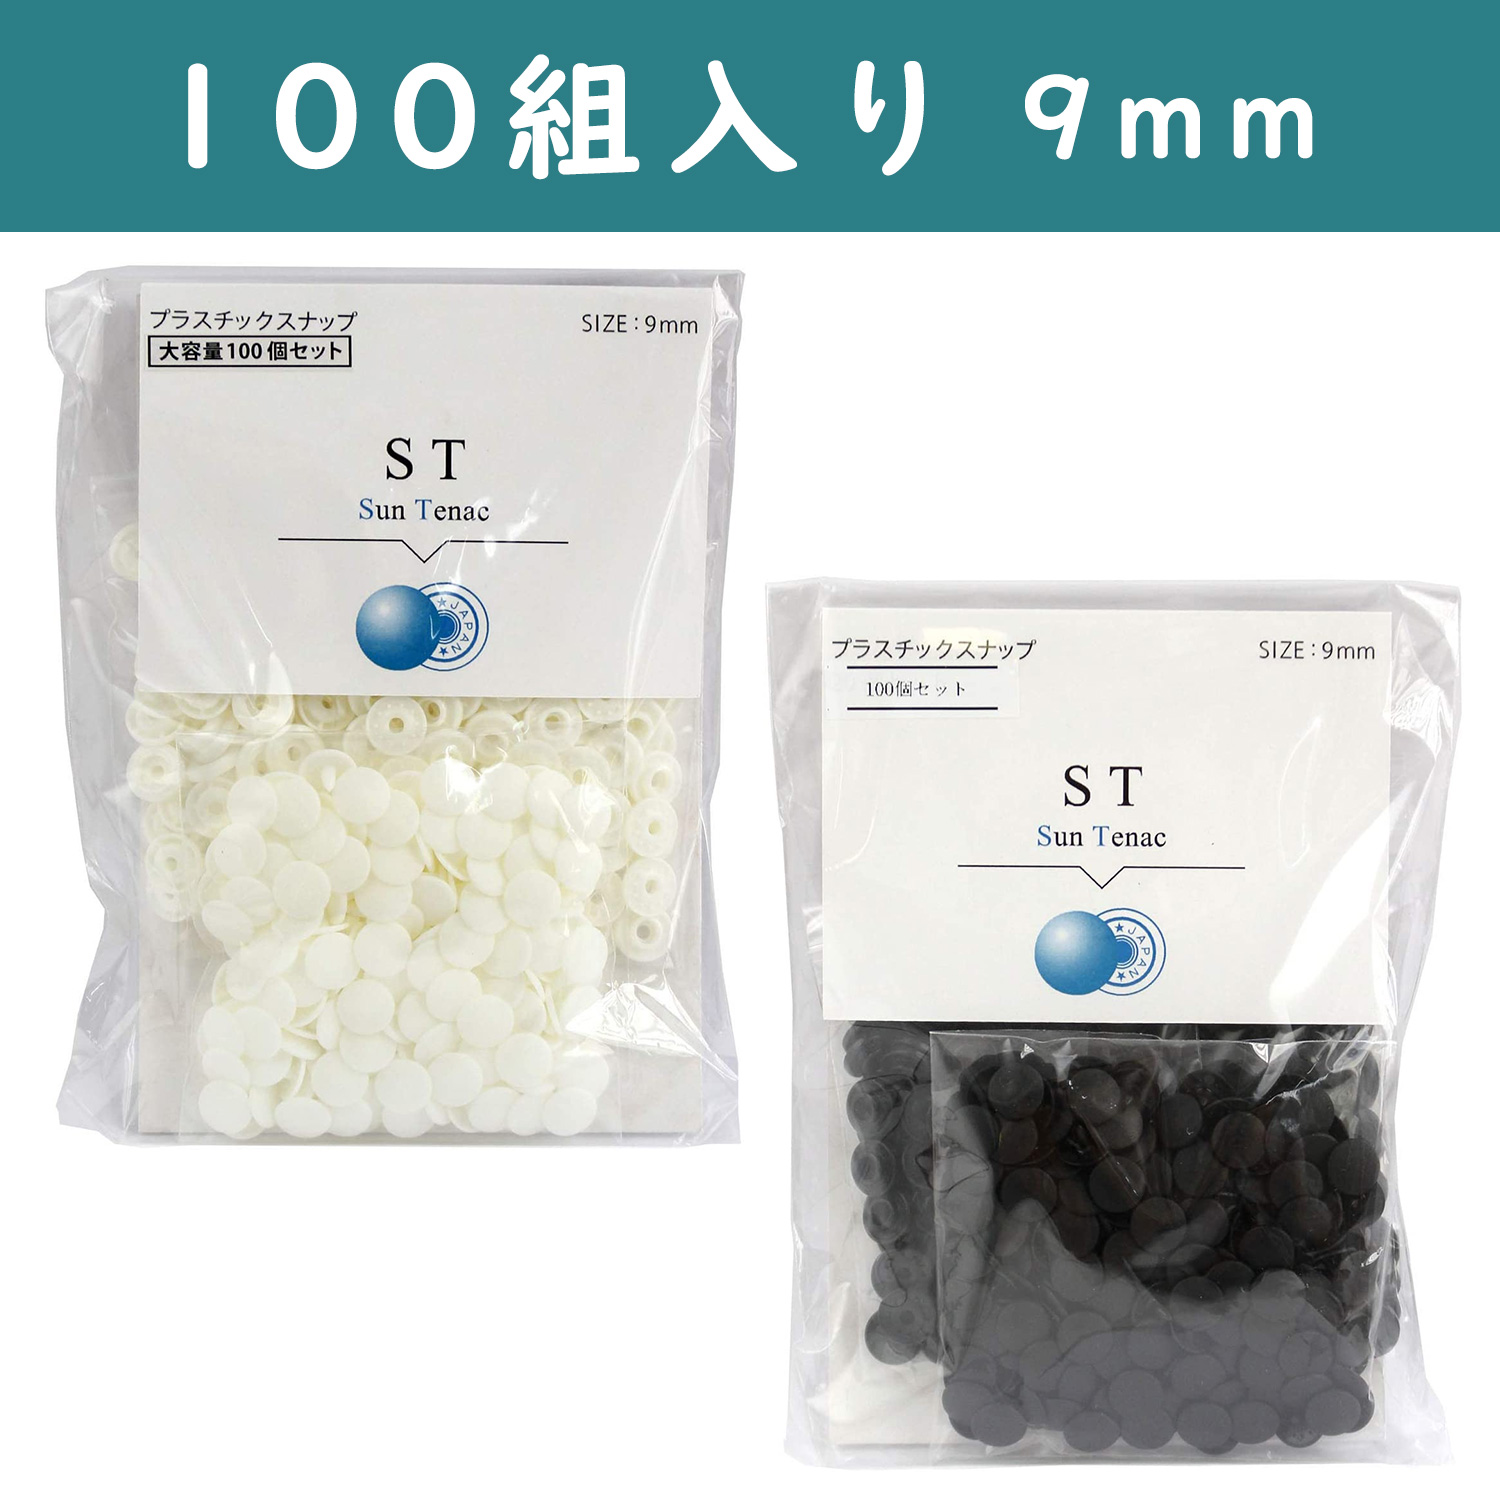
For everyday baby items such as bibs and feeding aprons, we recommend ST/Sun Tenac!
These snaps are a small 9 mm size, making them a great fit for baby items and small fabric accessories without taking away from the look of your project.
They are made of lightweight plastic, so they are easy to use with fabric projects and resistant to rust, too. 😊💛
Baby items are opened and closed frequently, so after attaching the snaps, make sure they are securely fastened before use.
For Pouches and Cases👝
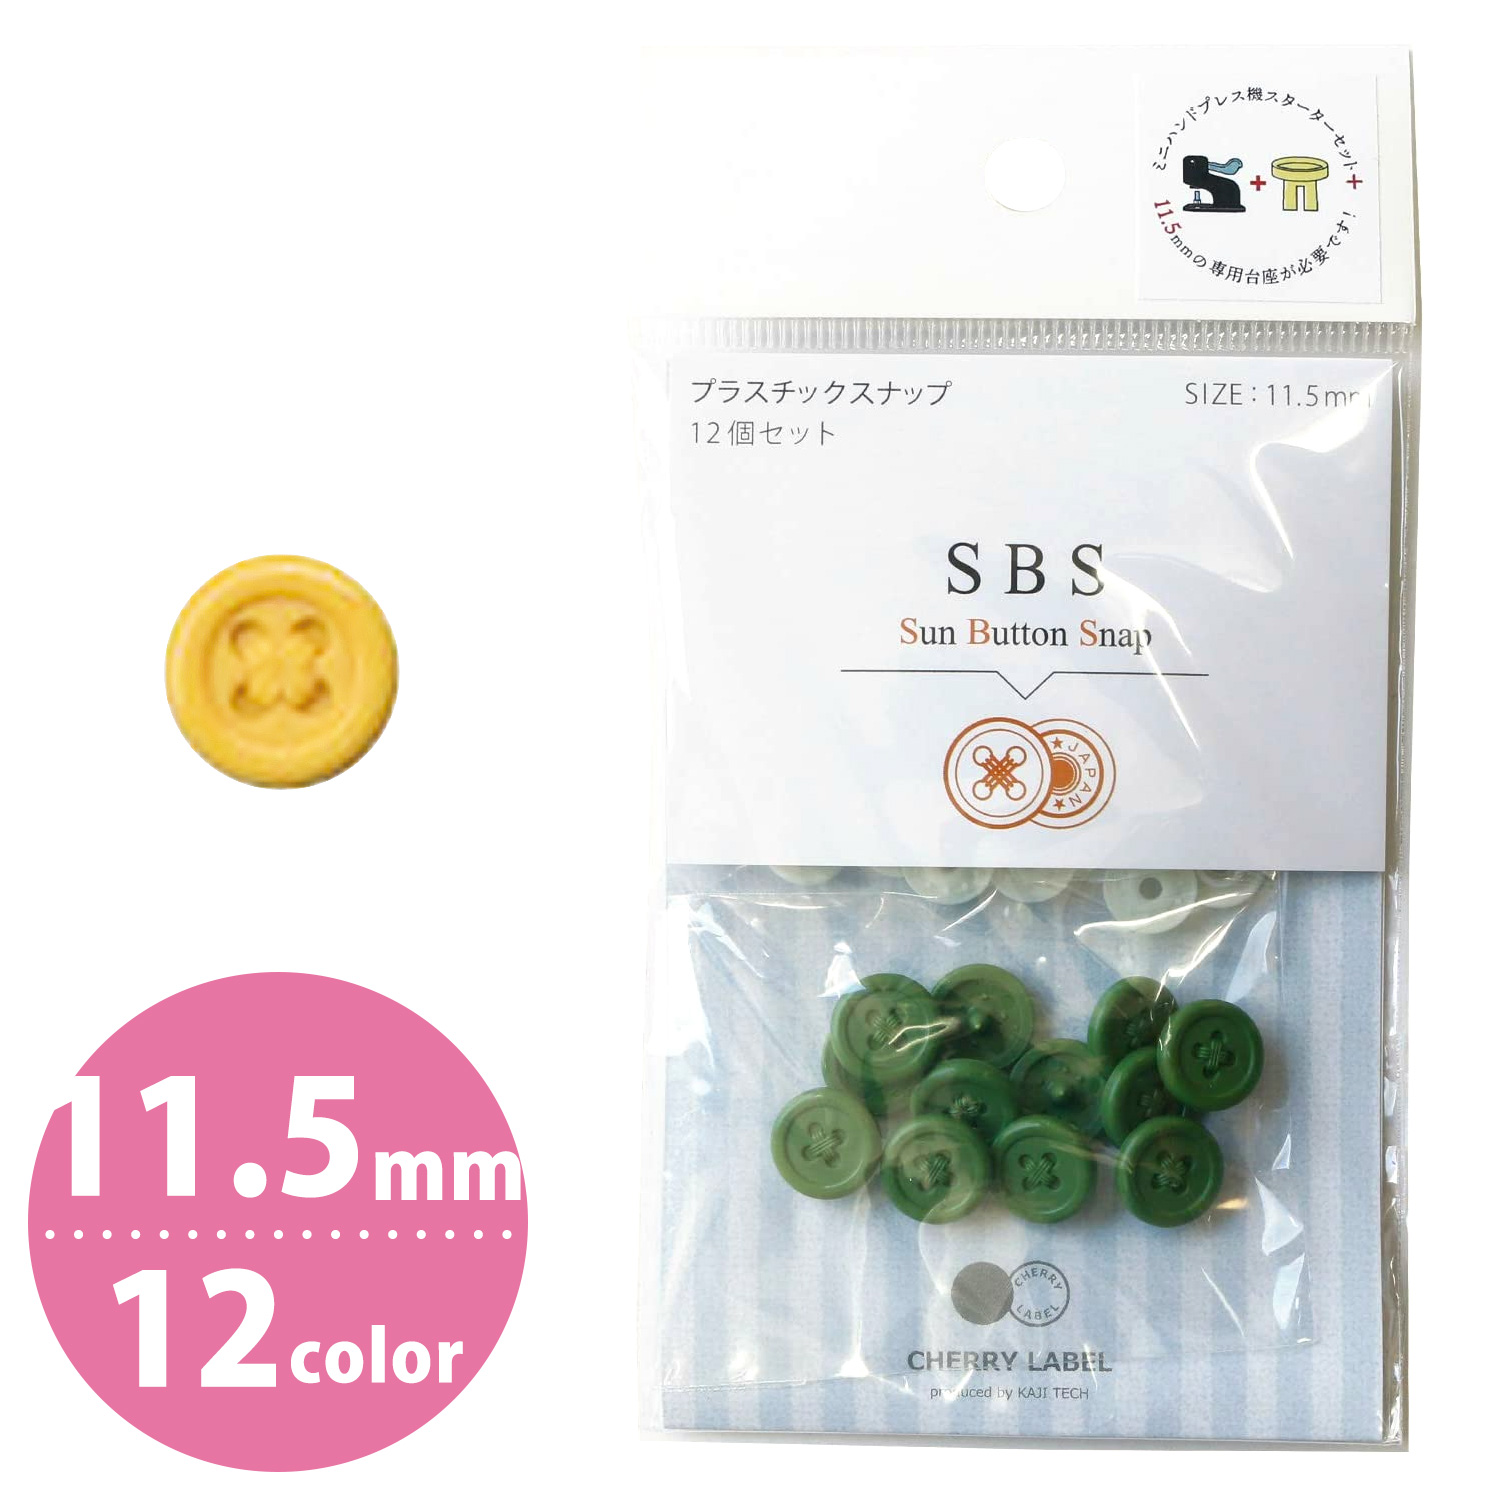
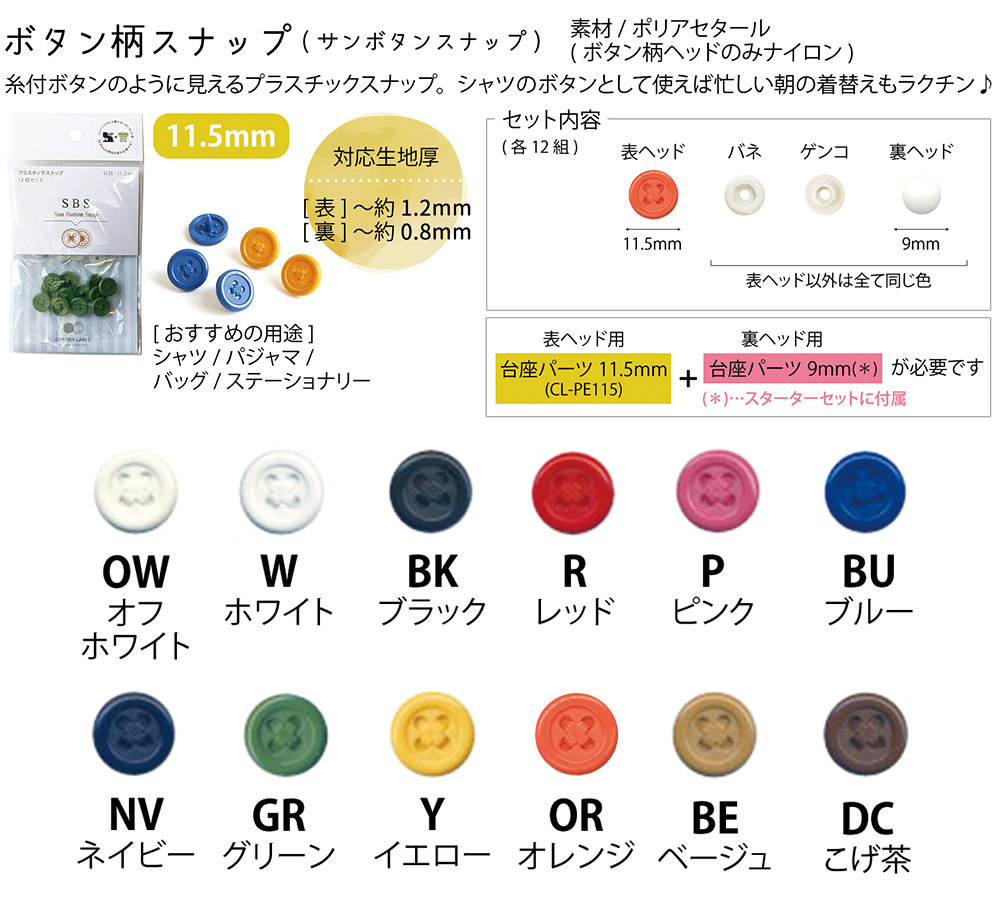
For pouches, multi-purpose cases, and bankbook cases, we recommend SBS/Sun Button Snap!
At 11.5 mm, these snaps are slightly more noticeable than the ST Sun Tenac (9 mm) mentioned above, while still being compact enough for fabric accessories.
They are also perfect when you want to keep a pouch or case from opening too wide, but don’t need to add a zipper.
With their thread-attached button-like design, some people even use them as shirt buttons for dolls.♪
Chuko Onlineオンラインストアでご注文
Chuko Online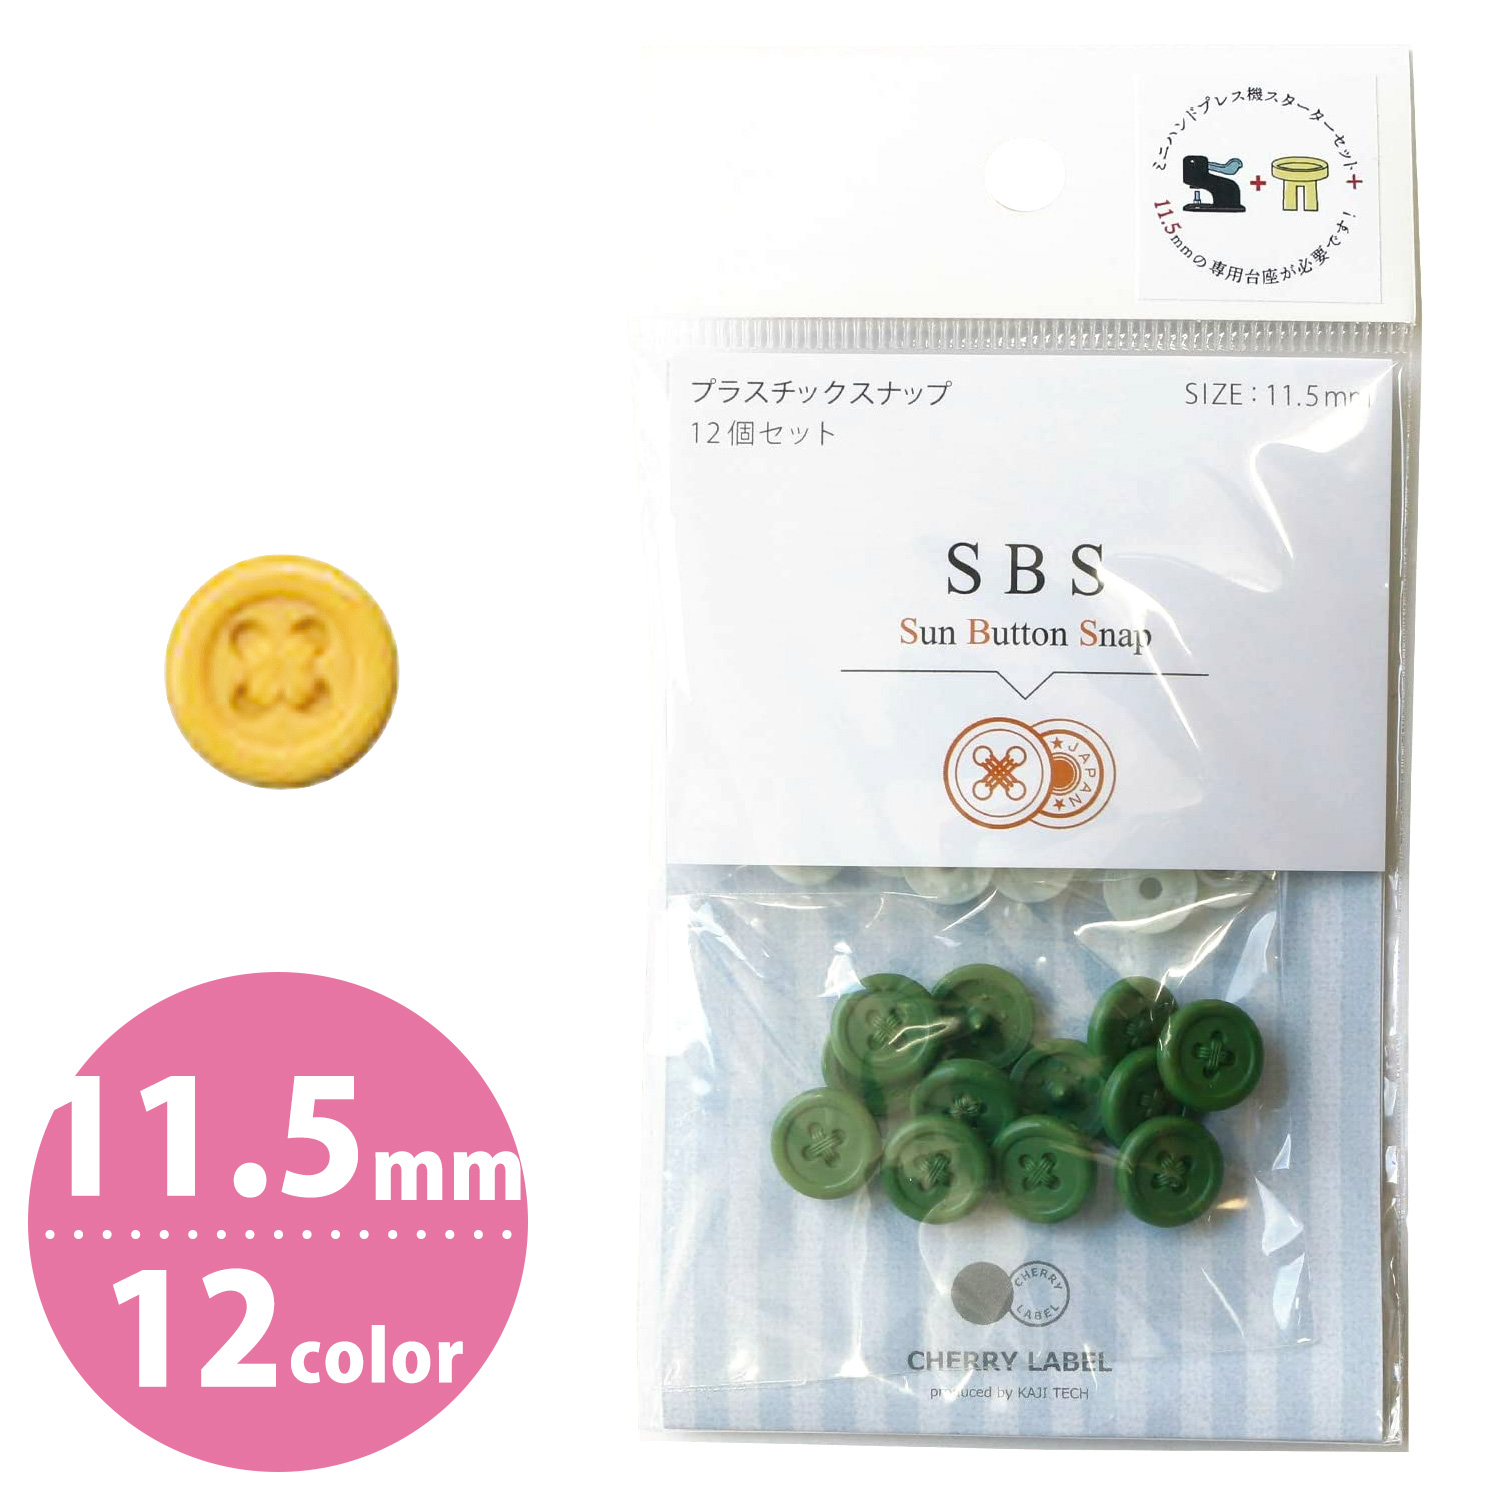
For School Items 📛, Bags, and Larger Fabric Accessories 👜
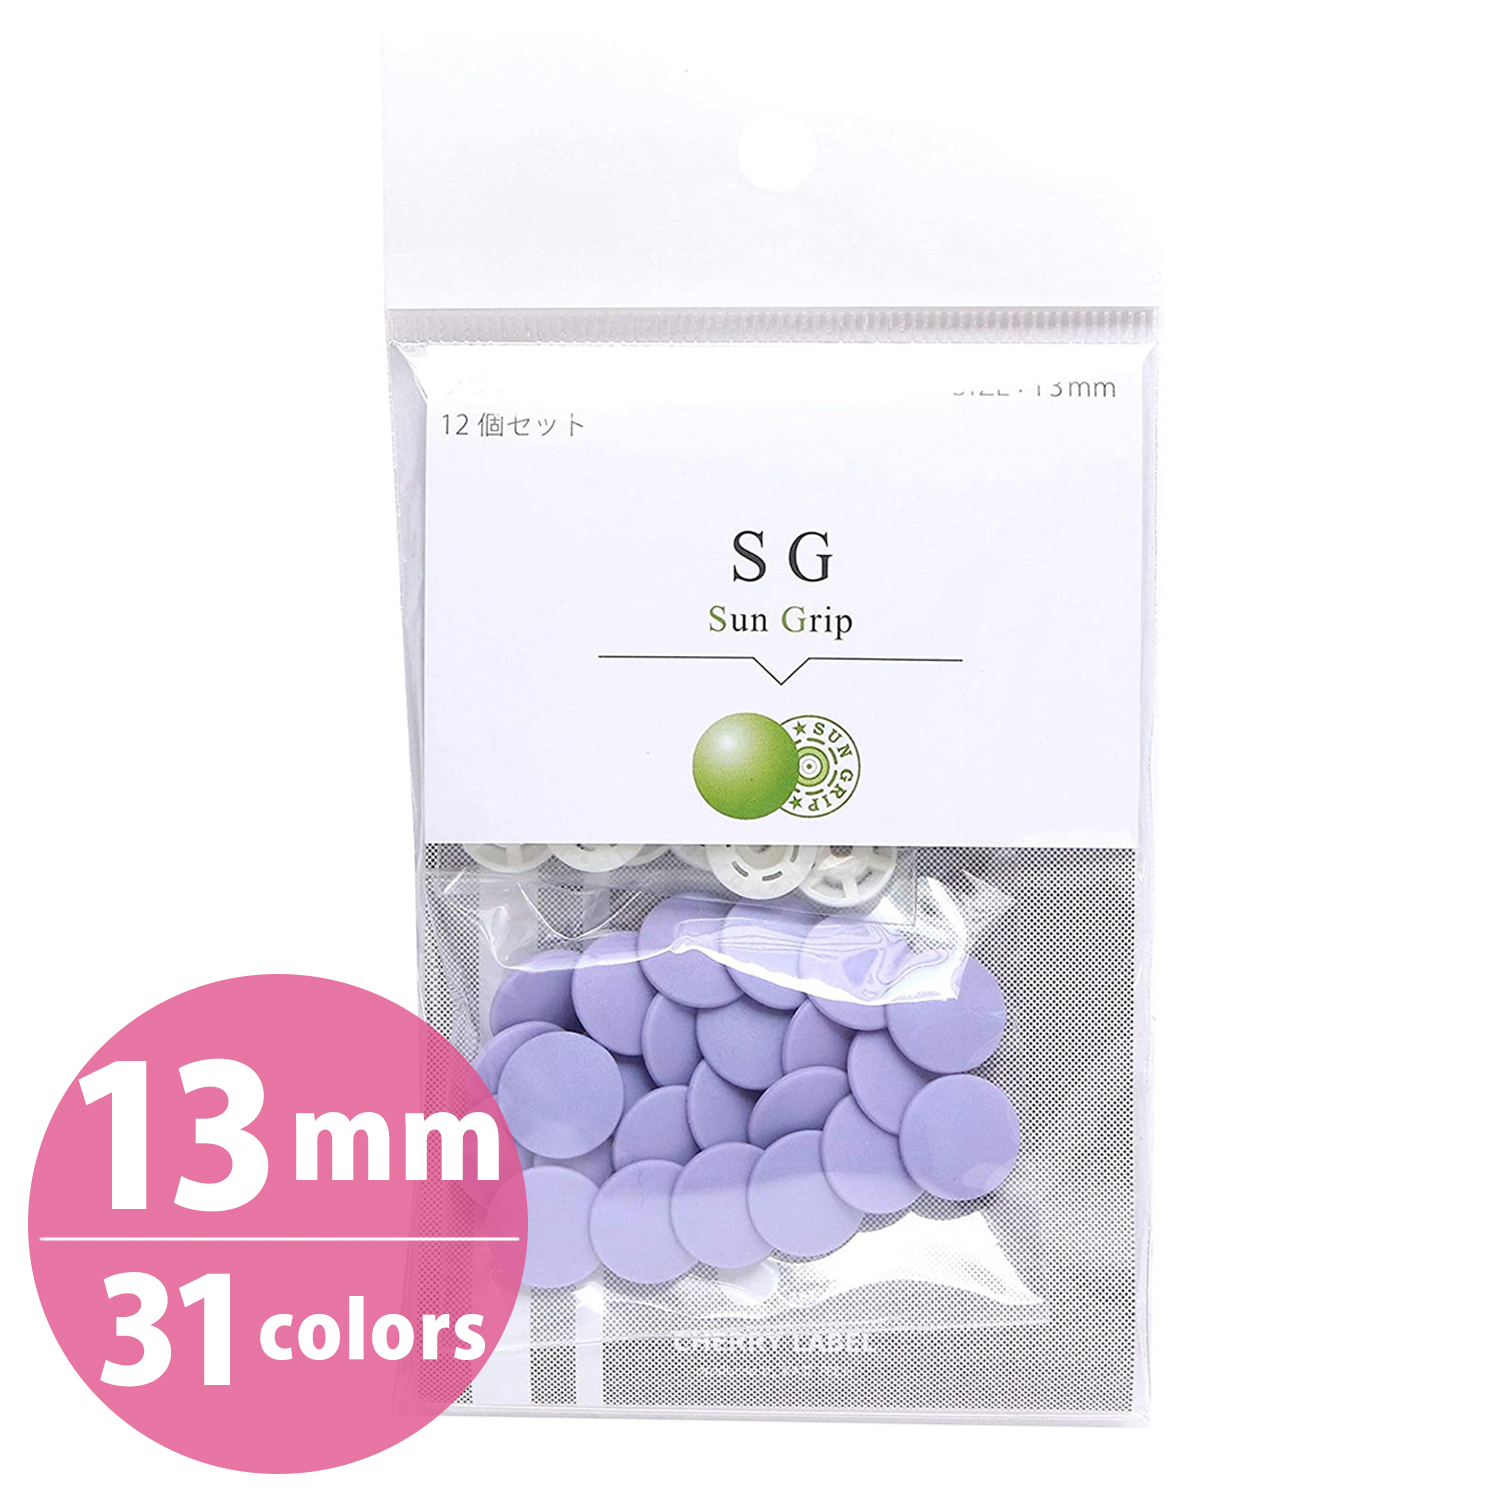
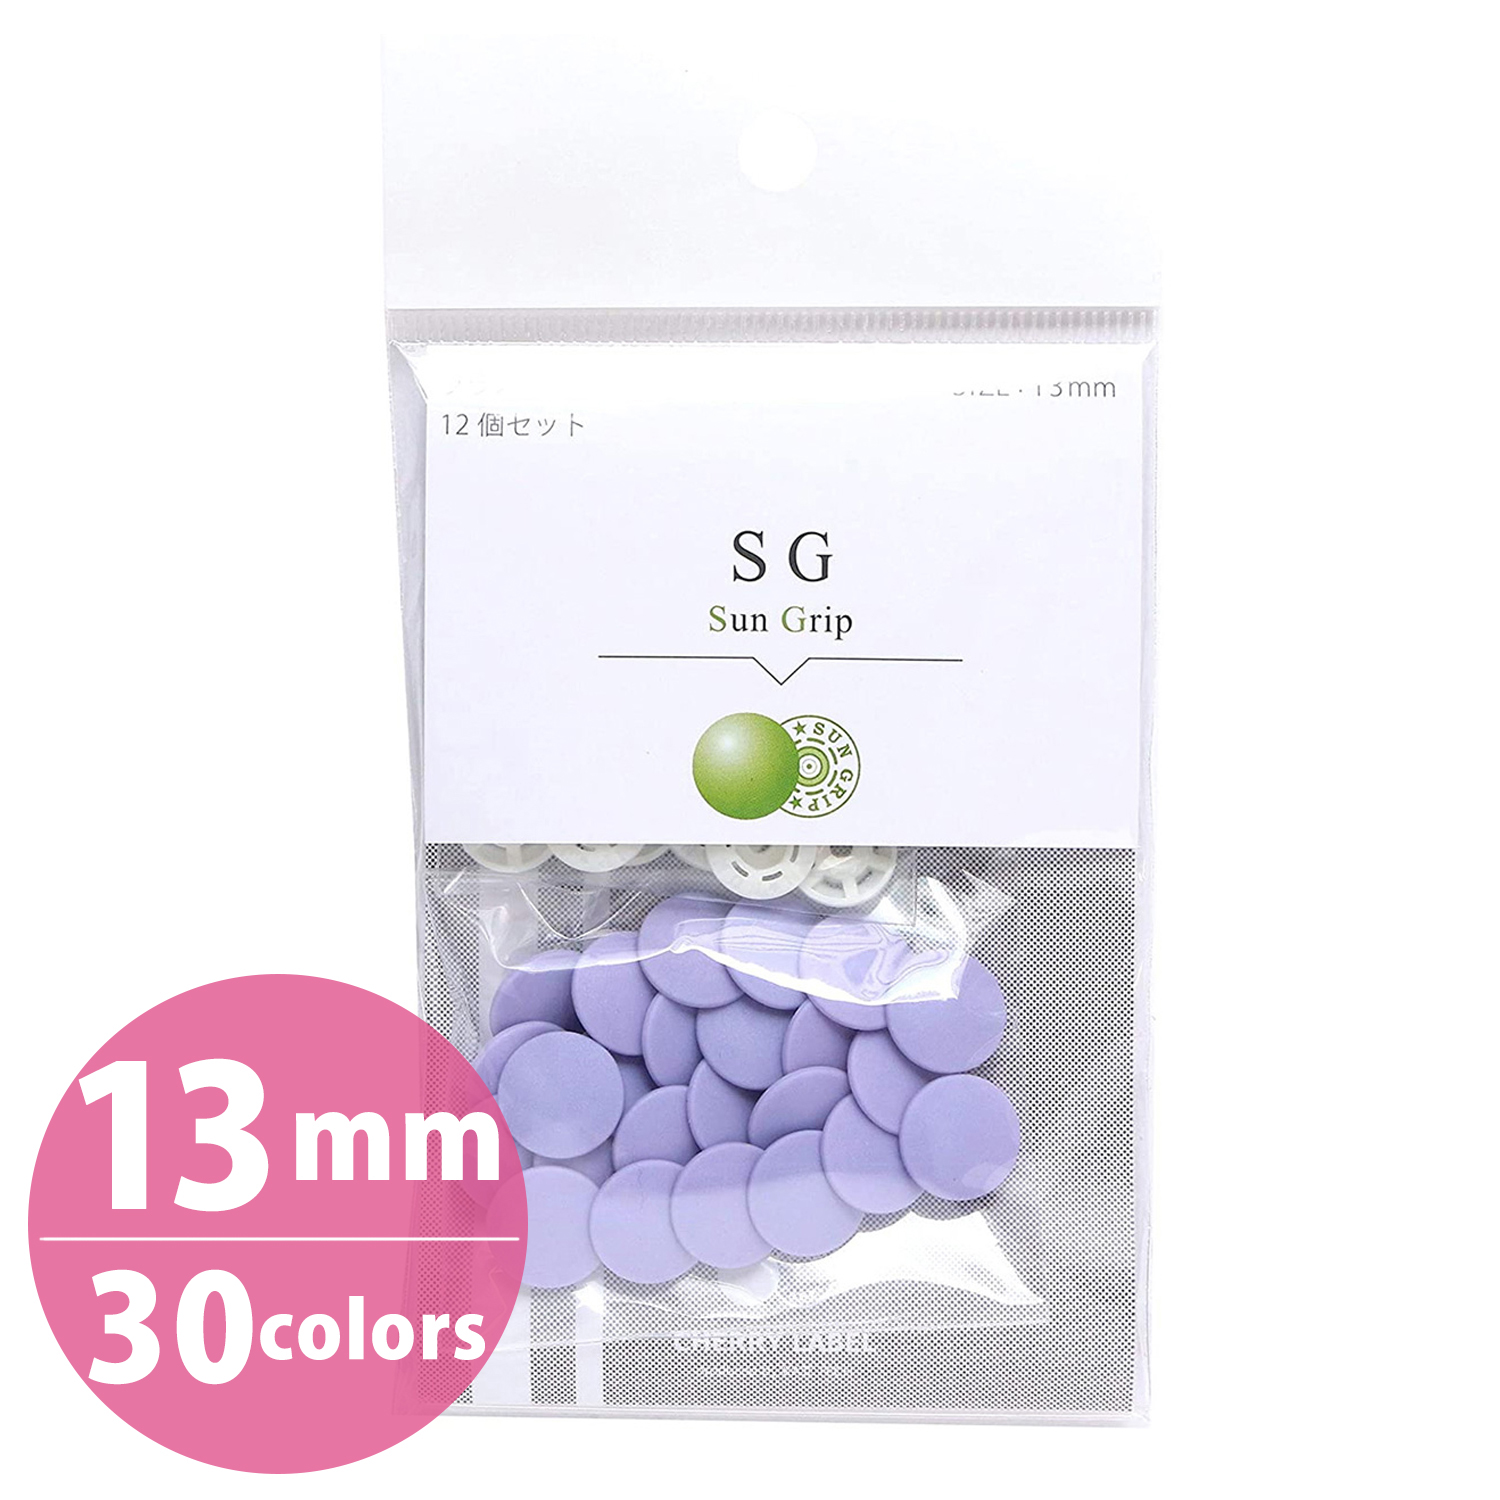
For school items such as portable pockets, school backpack covers, and bags, as well as bag flaps, larger pouches, and storage cases, we recommend SG/Sun Grip!
At 13 mm, these snaps have just the right amount of presence while still being easy to use for everyday fabric accessories.
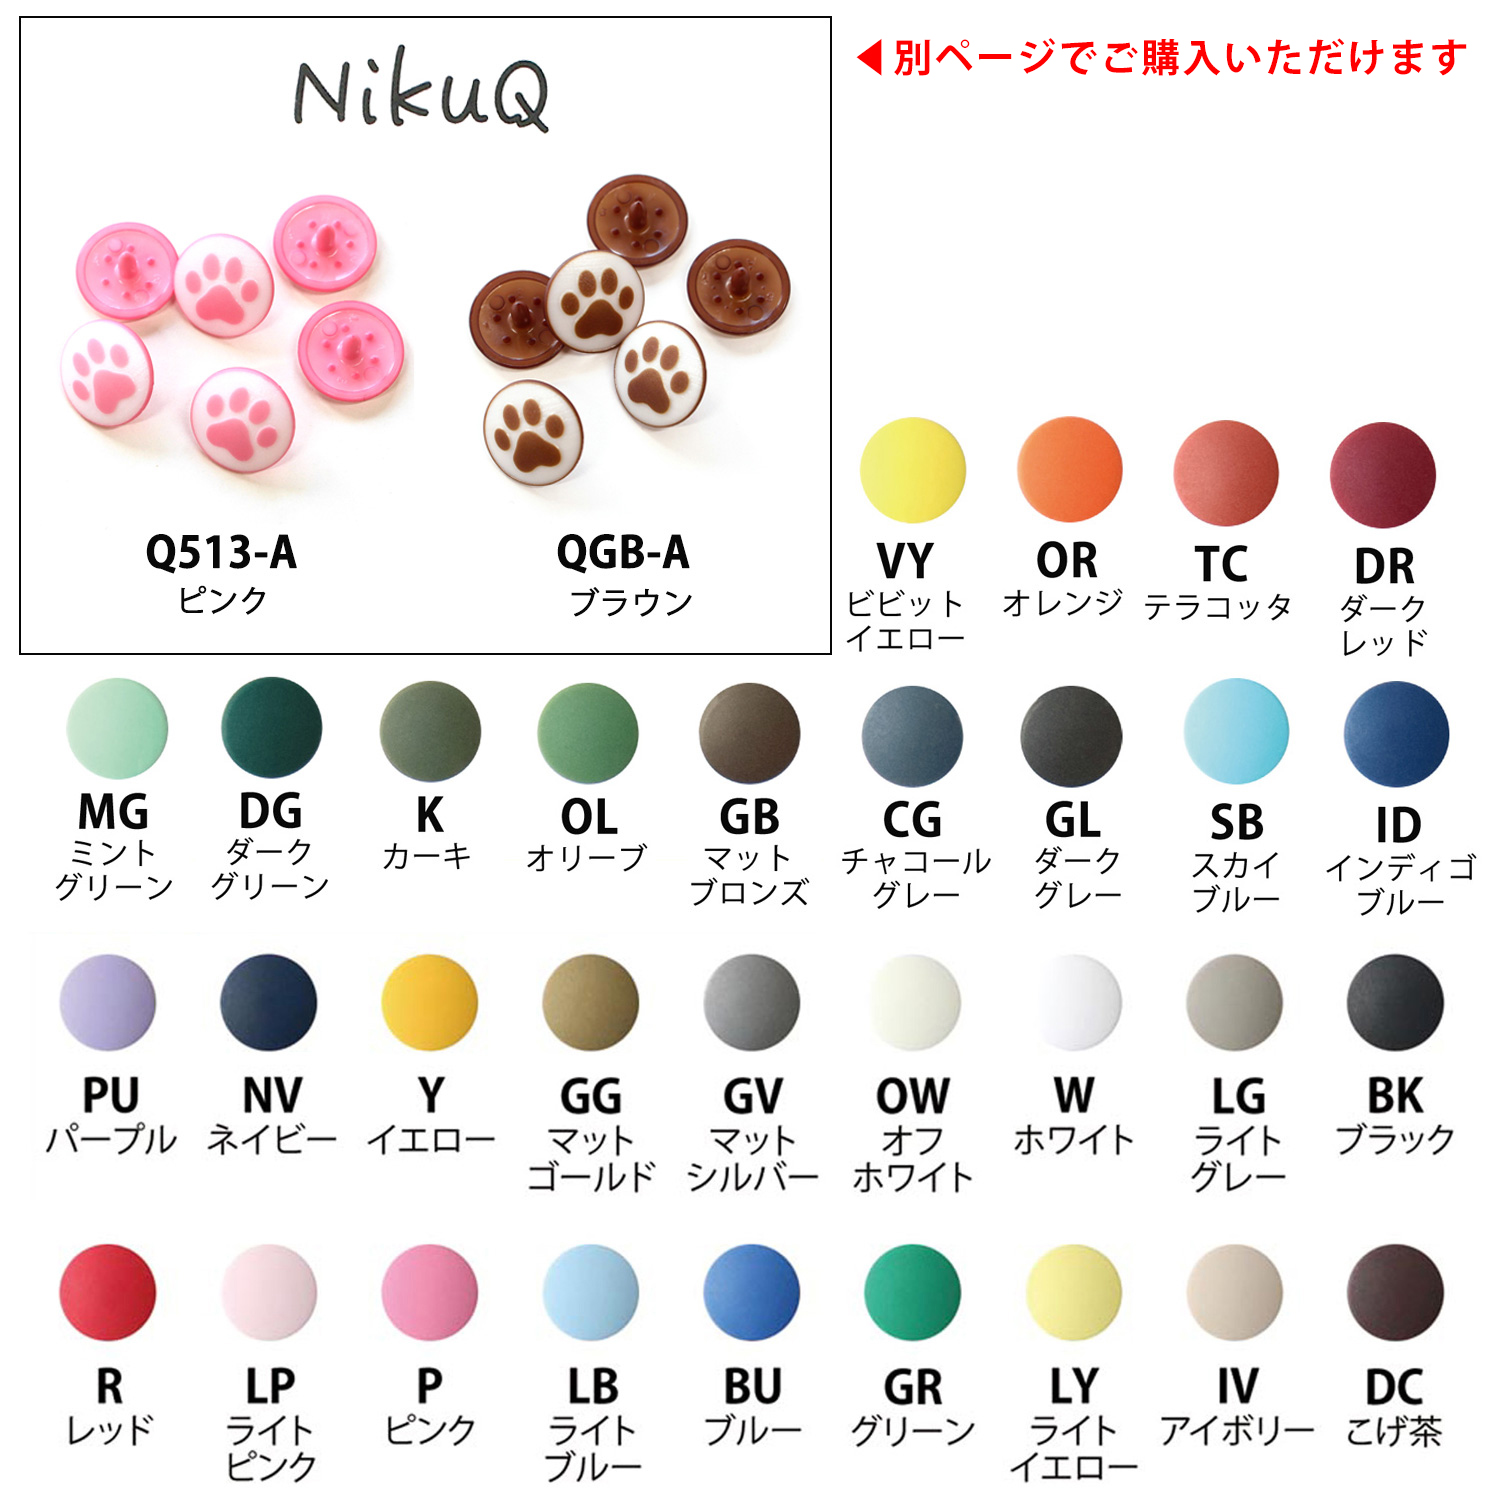
With more than 30 colours available, you can choose a colour that blends with your fabric or pick a contrasting colour to create a fun accent!
Because the opening and closing part is easy to see, they are also a great choice for items made for children.
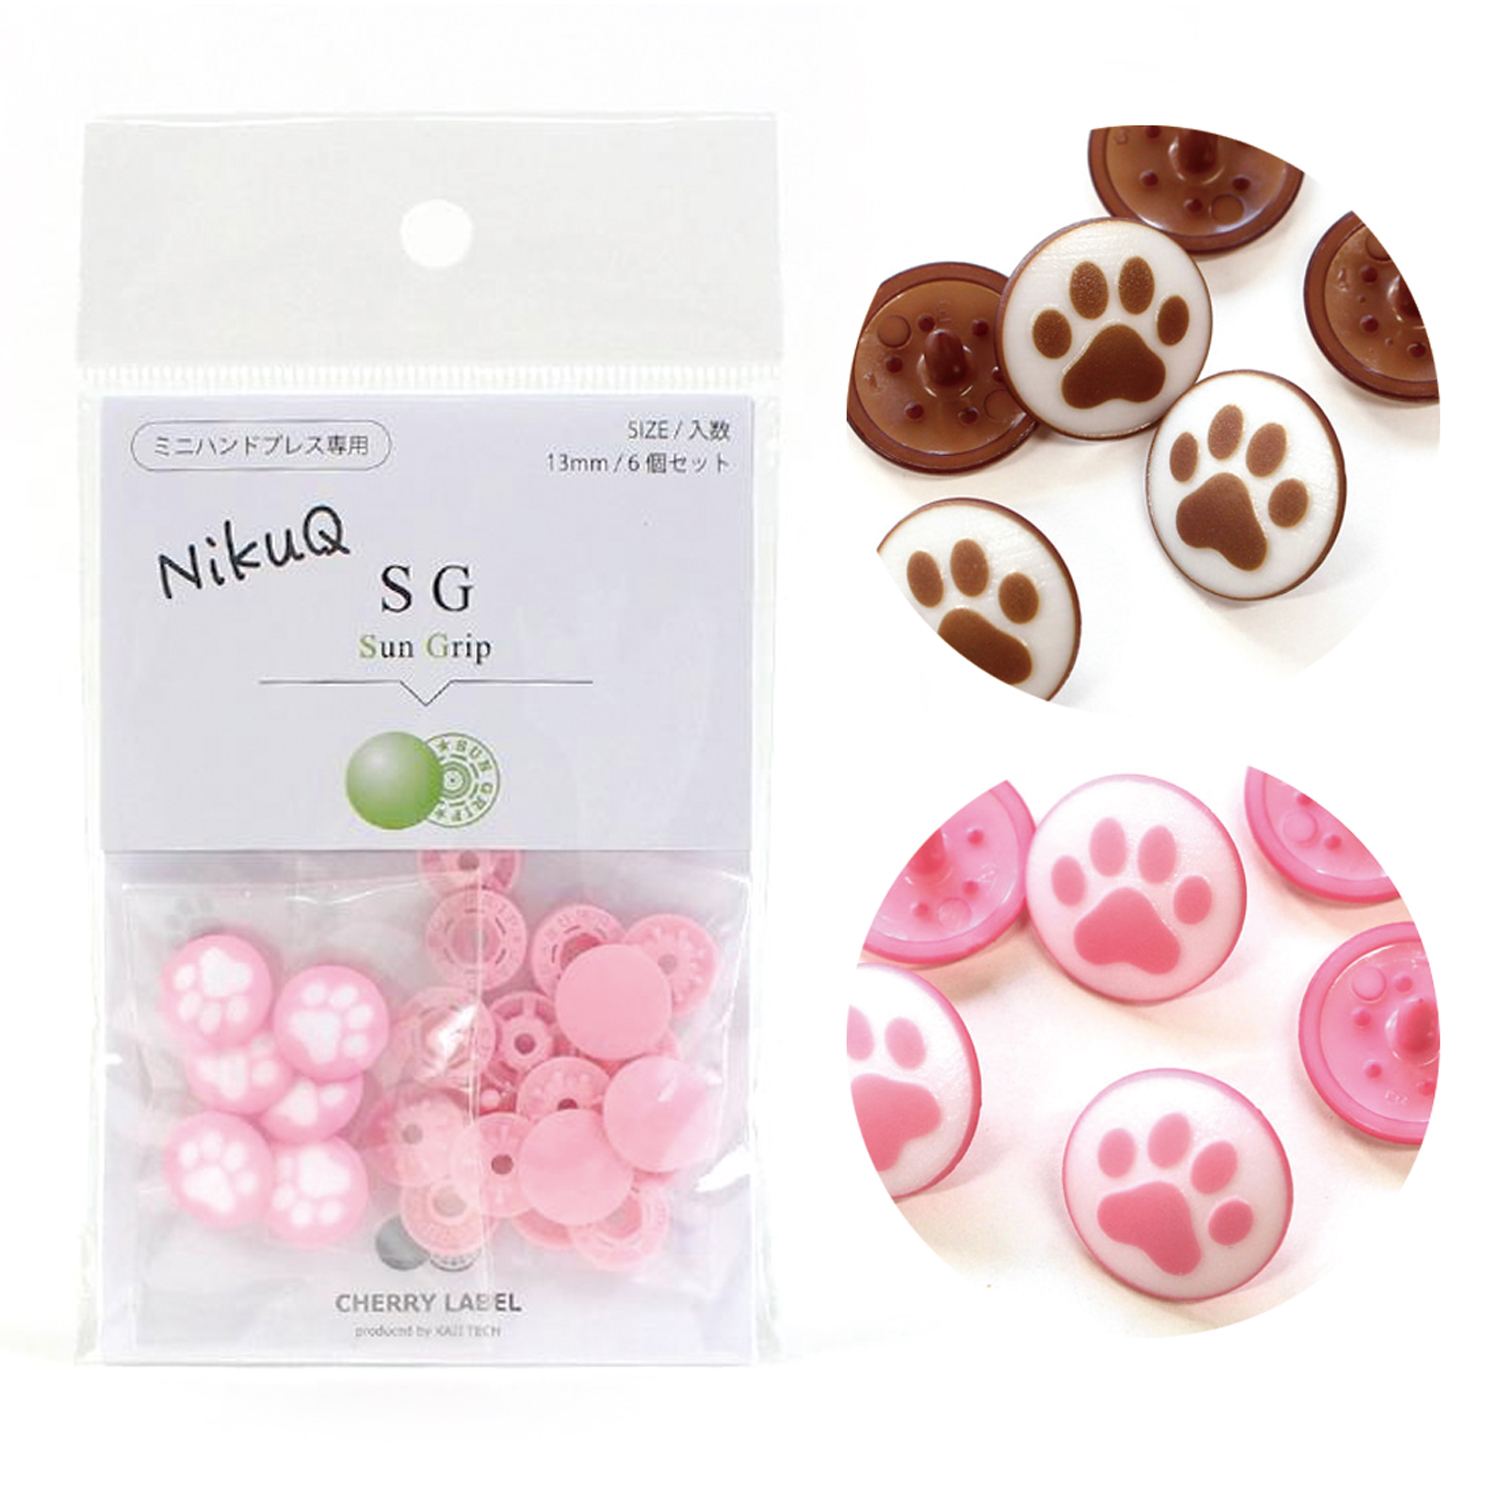
In addition to the wide range of colours, patterned options such as paw prints and bread designs are also available, making it fun to choose one that matches the look of your project.♪
Cute patterned snaps can add a fun accent even to simple fabrics. ✨
For a More Sophisticated Look💎✨
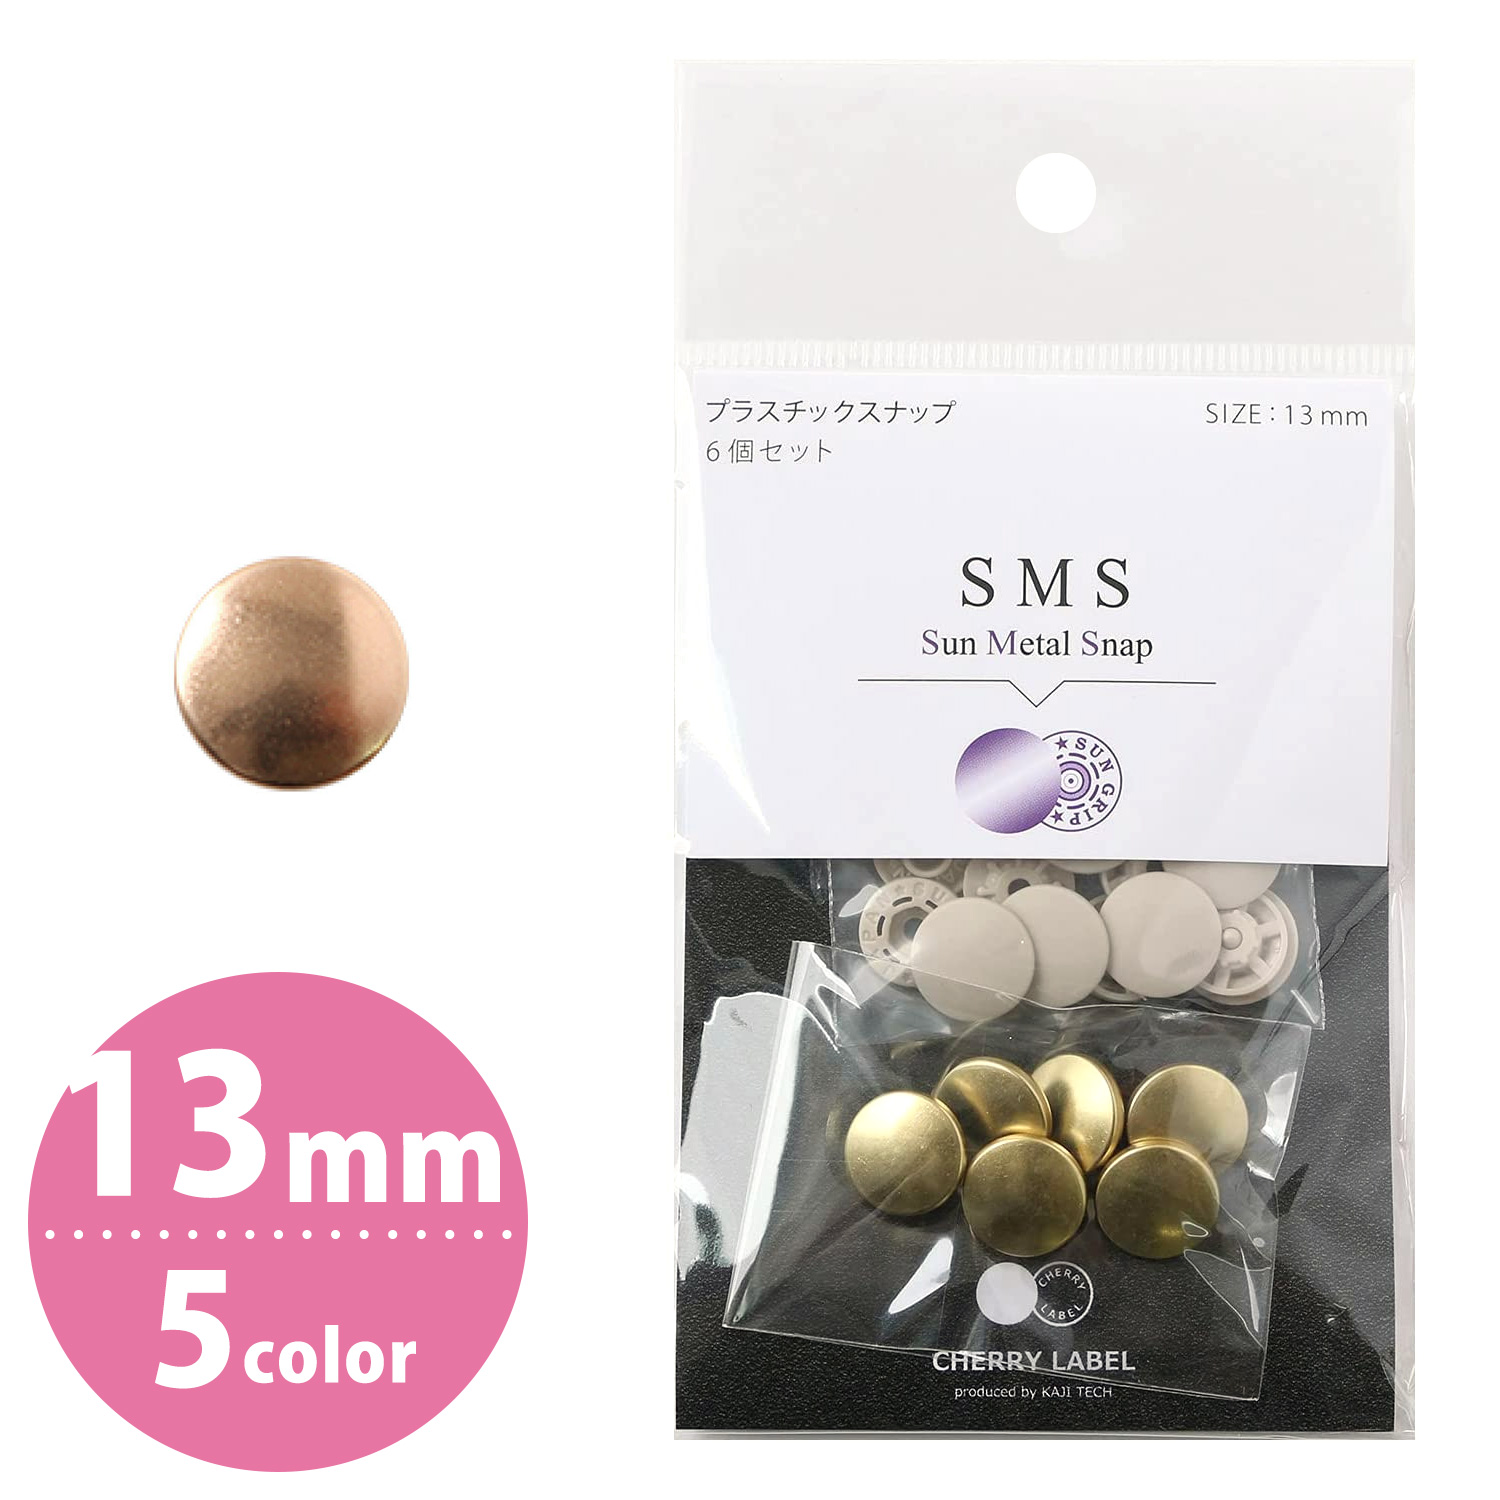
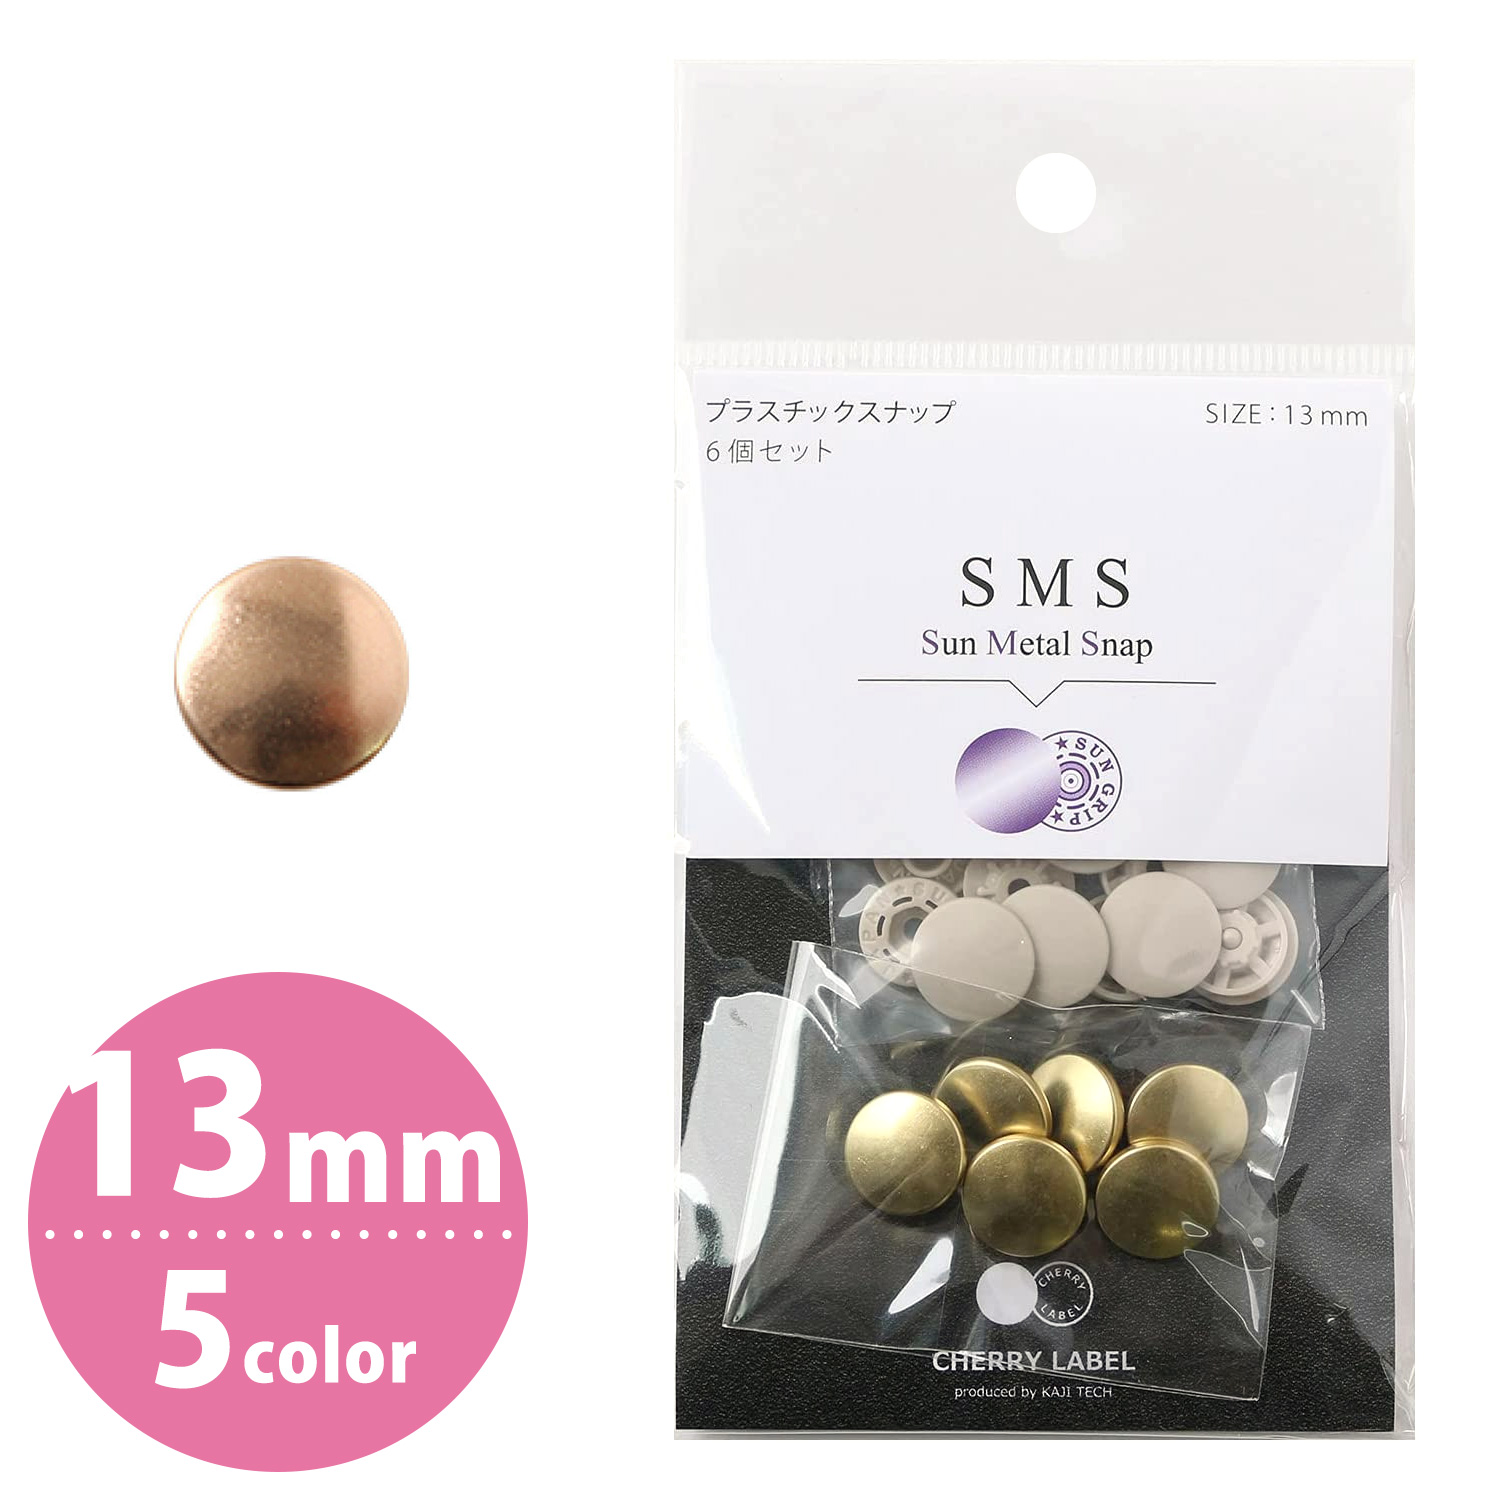
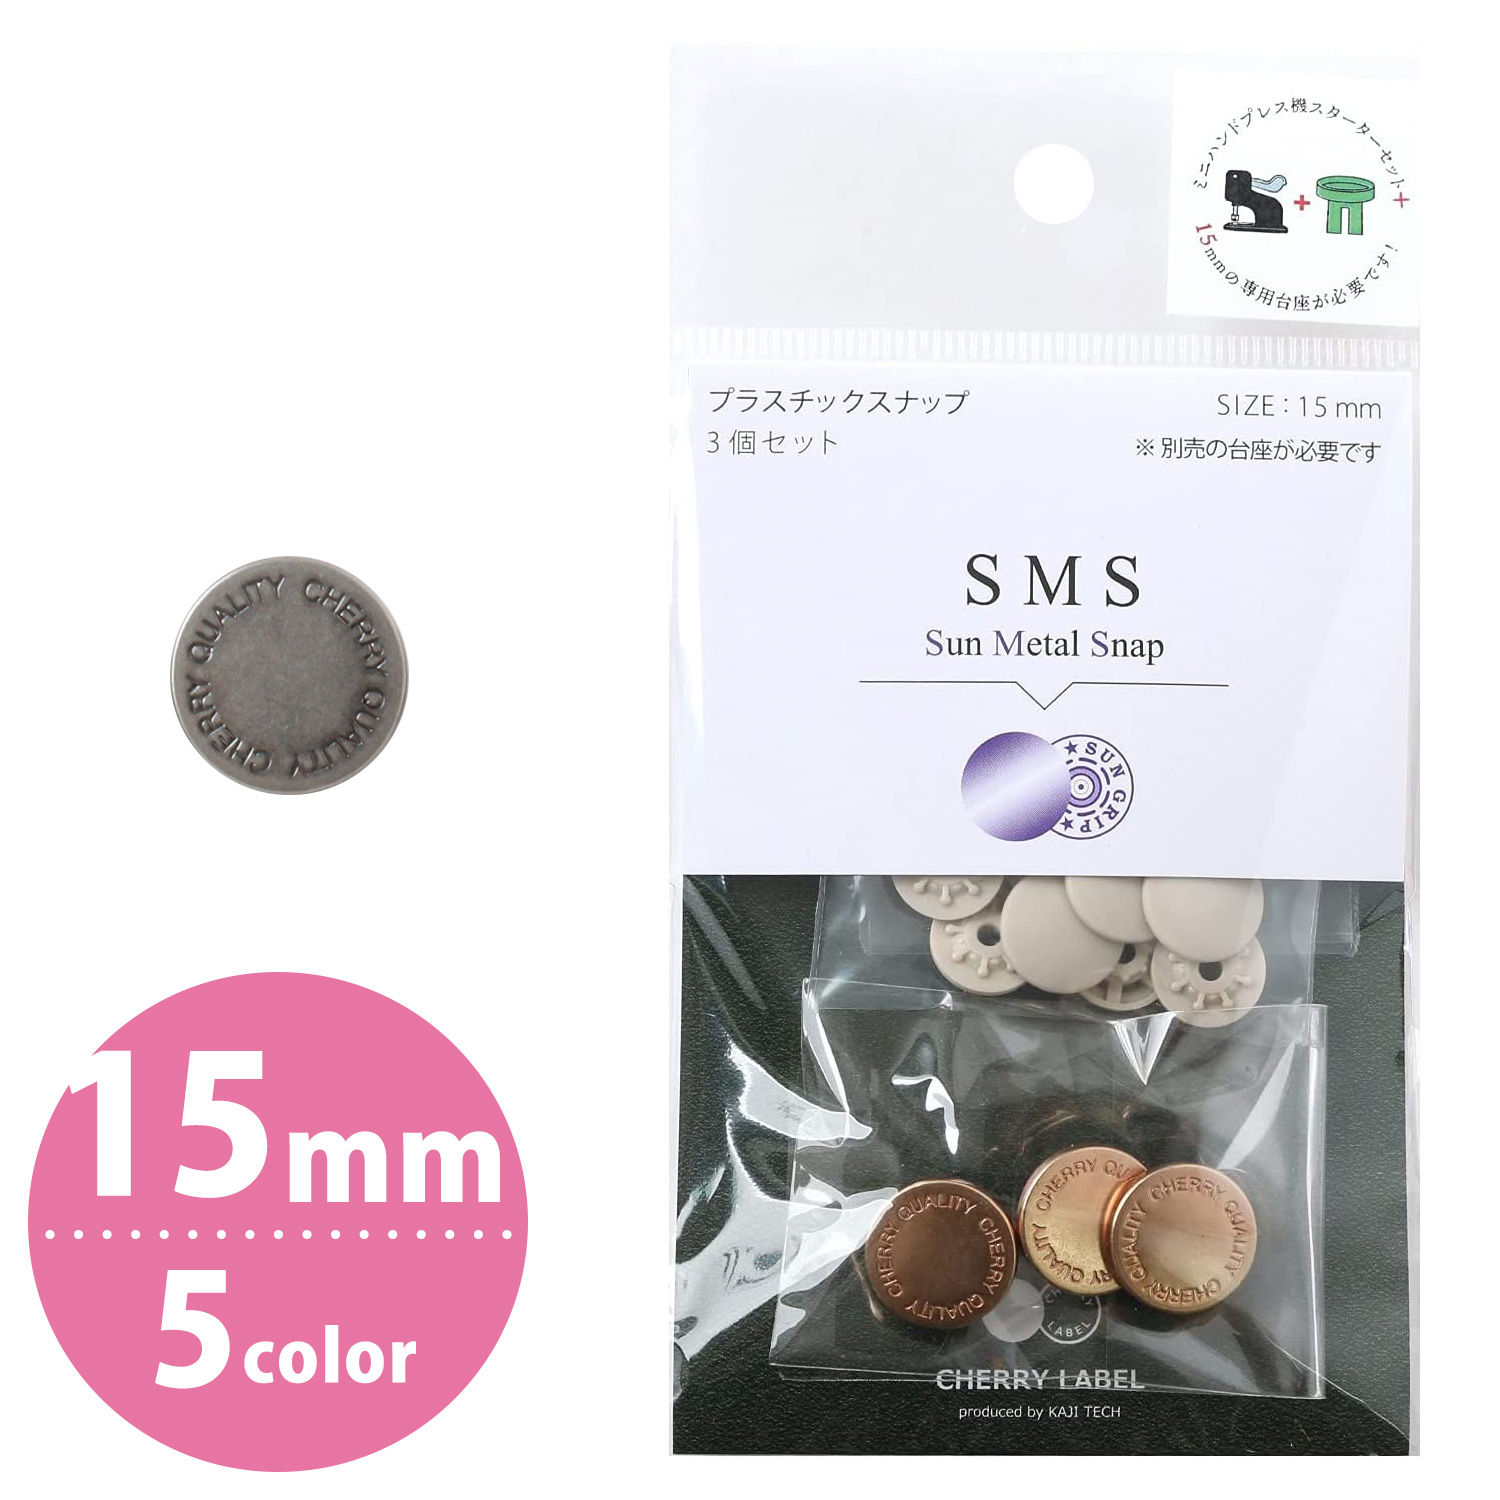
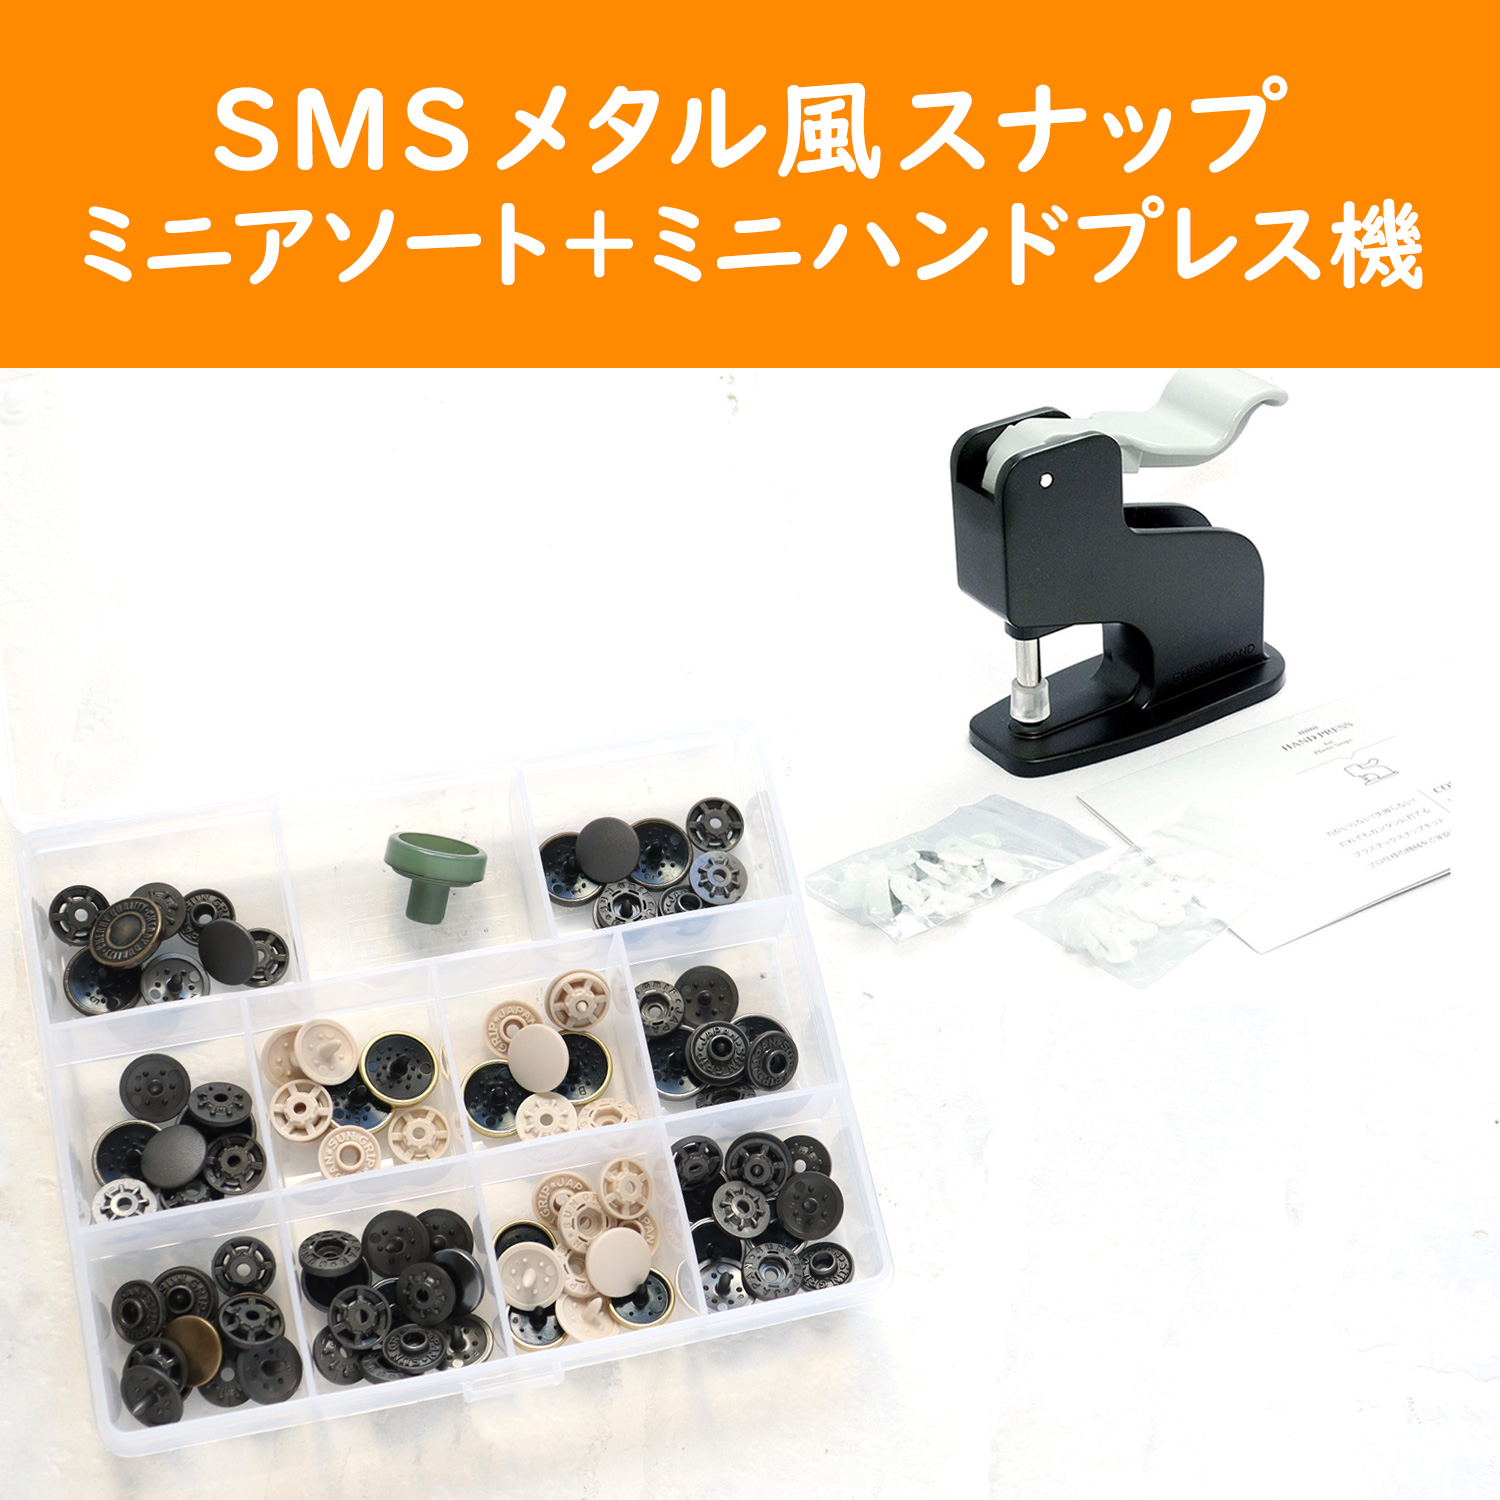
For projects with a more sophisticated look or when you want to add a stylish touch to a bag, we recommend SMS Sum Metal Snap.
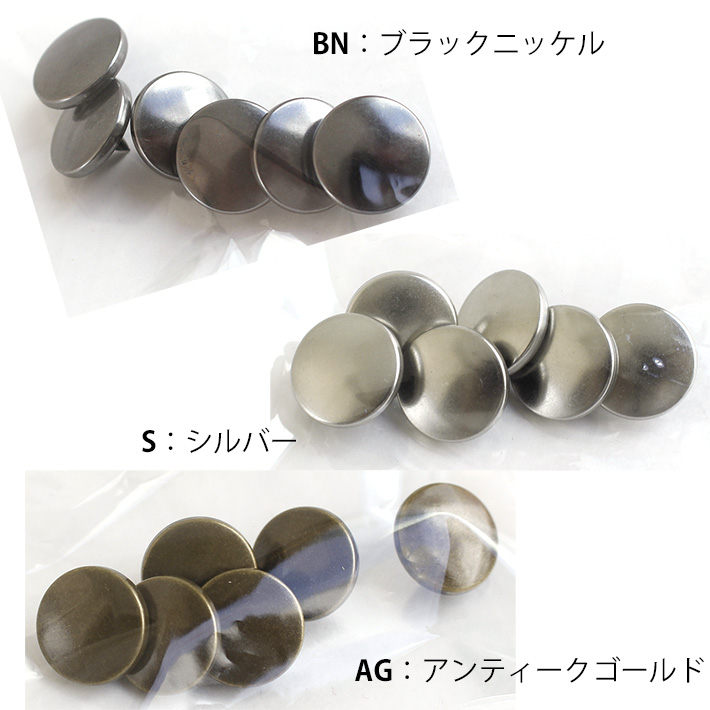
These Sum Metal Snap have a realistic metallic appearance that adds a premium feel and a stylish accent to your projects!
They are so realistic that customers at our store sometimes ask, “Wait, it’s not metal?!” 😊
Using them on simple bags or pouches gives them a more polished, refined look.
They are popular and easy to match with natural, casual, and more sophisticated fabric accessories.
The 13 mm size has a simple design, while the 15 mm size features an engraved design.
Want to Try Them First? Start with a Set!👍
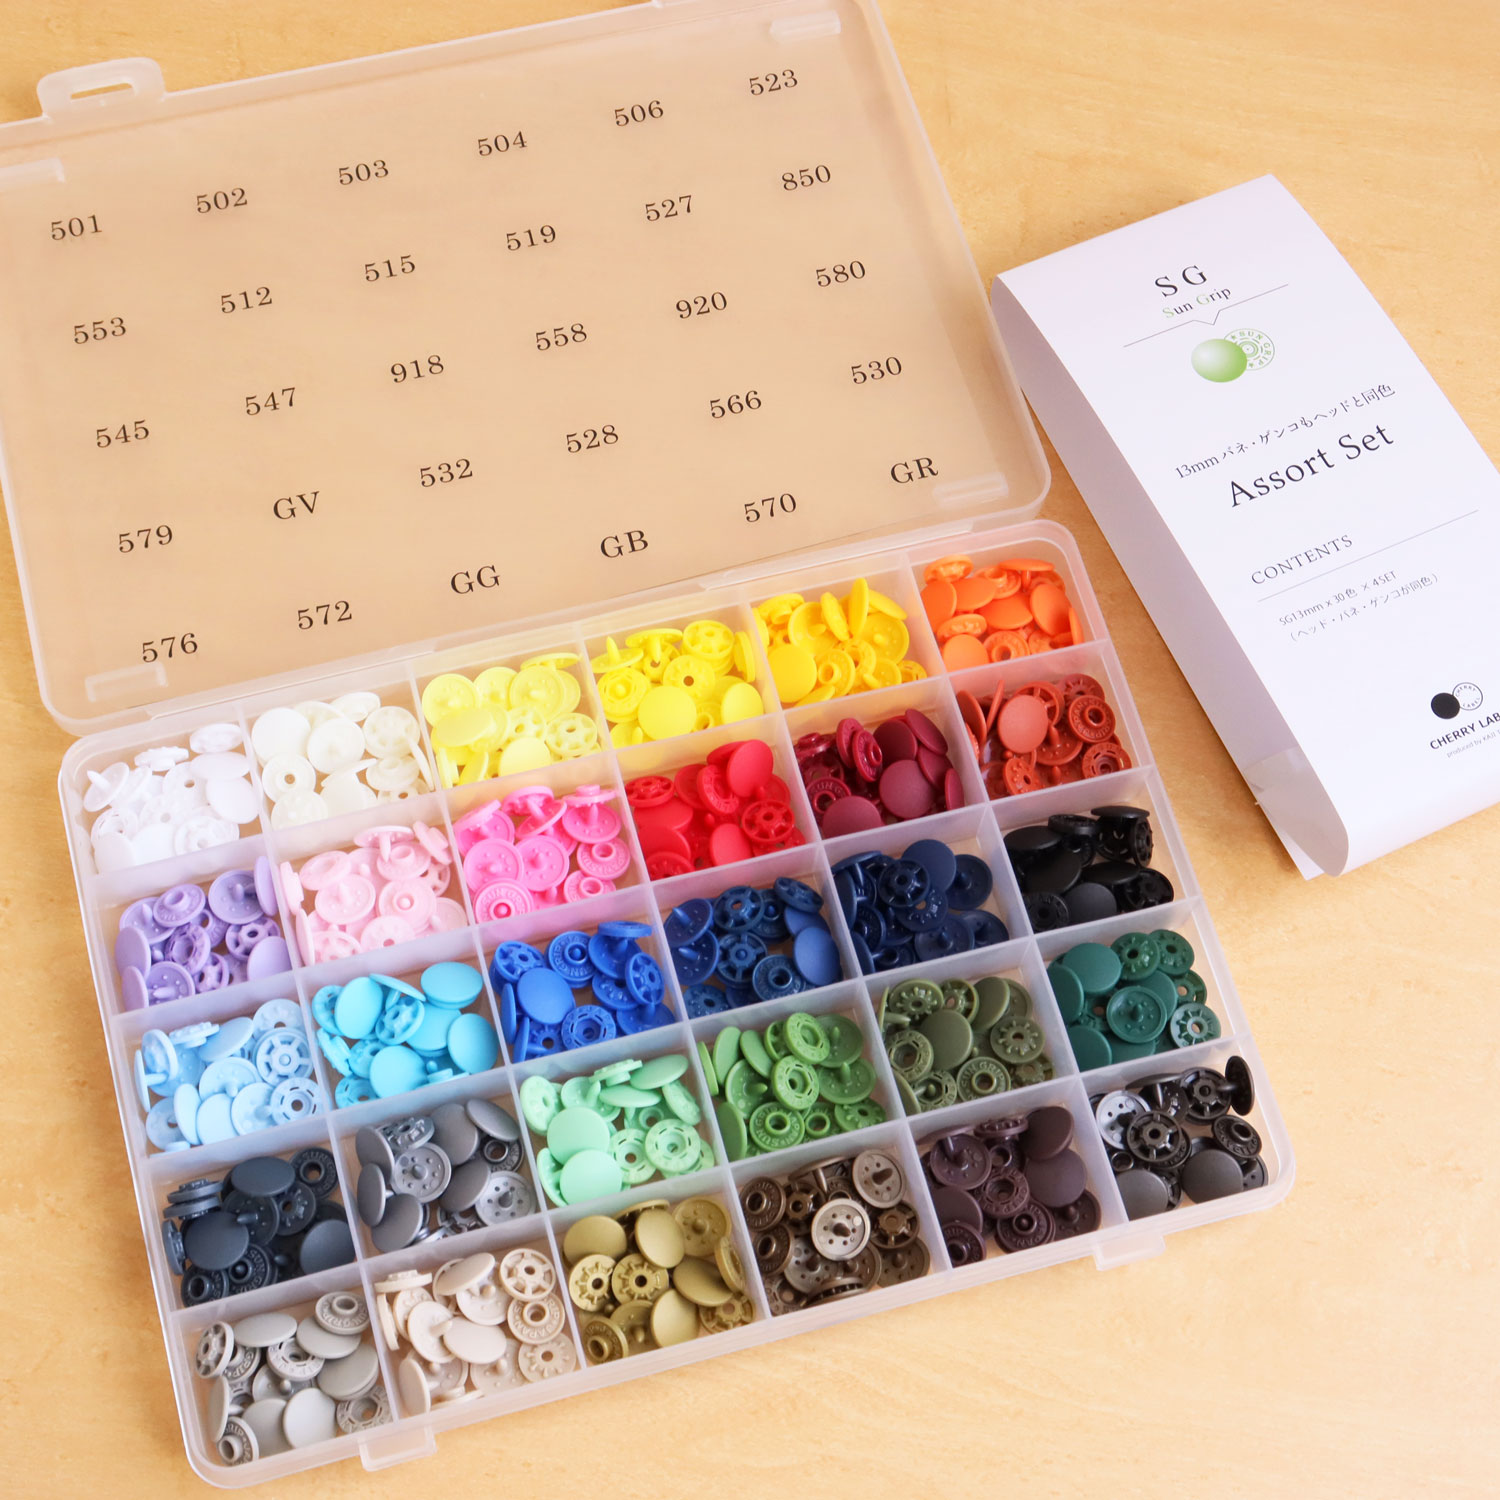
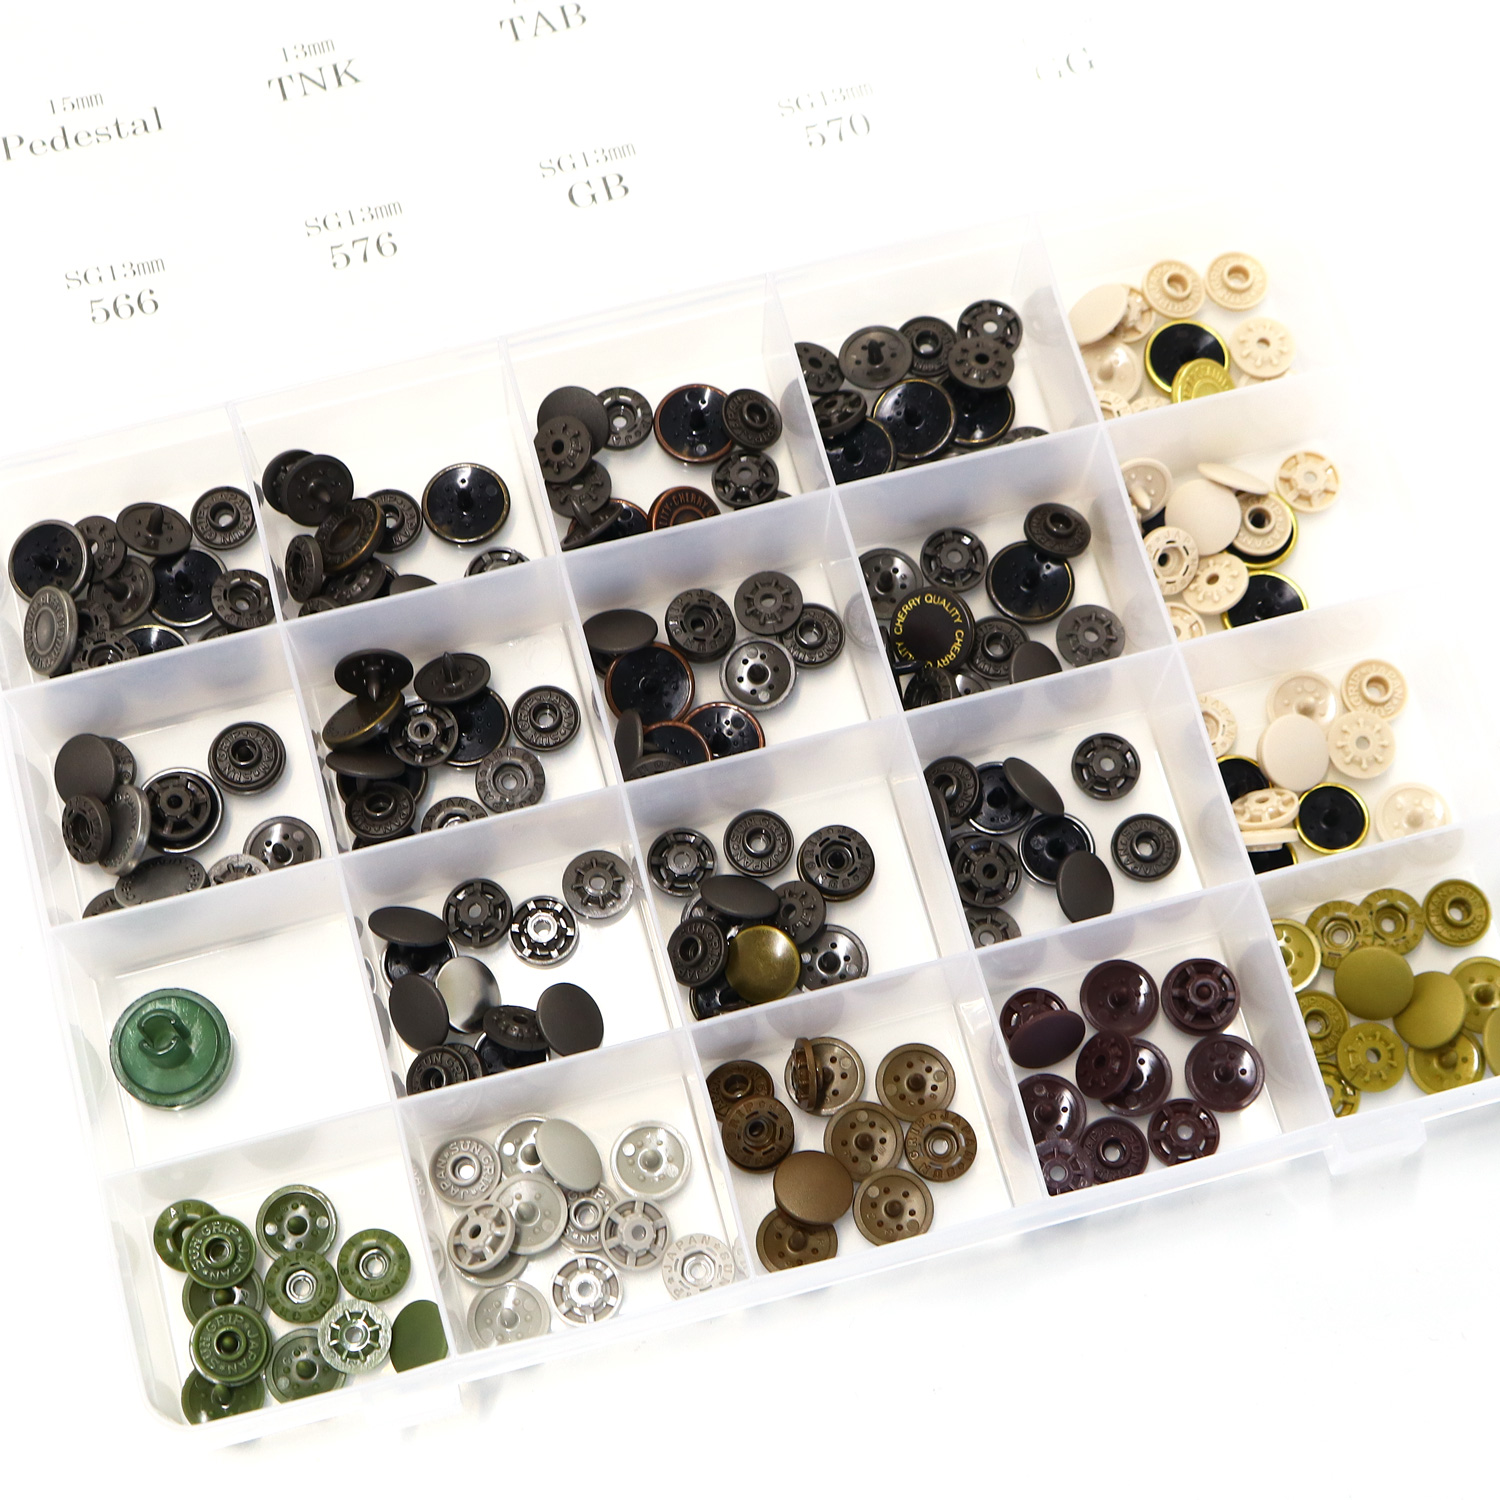
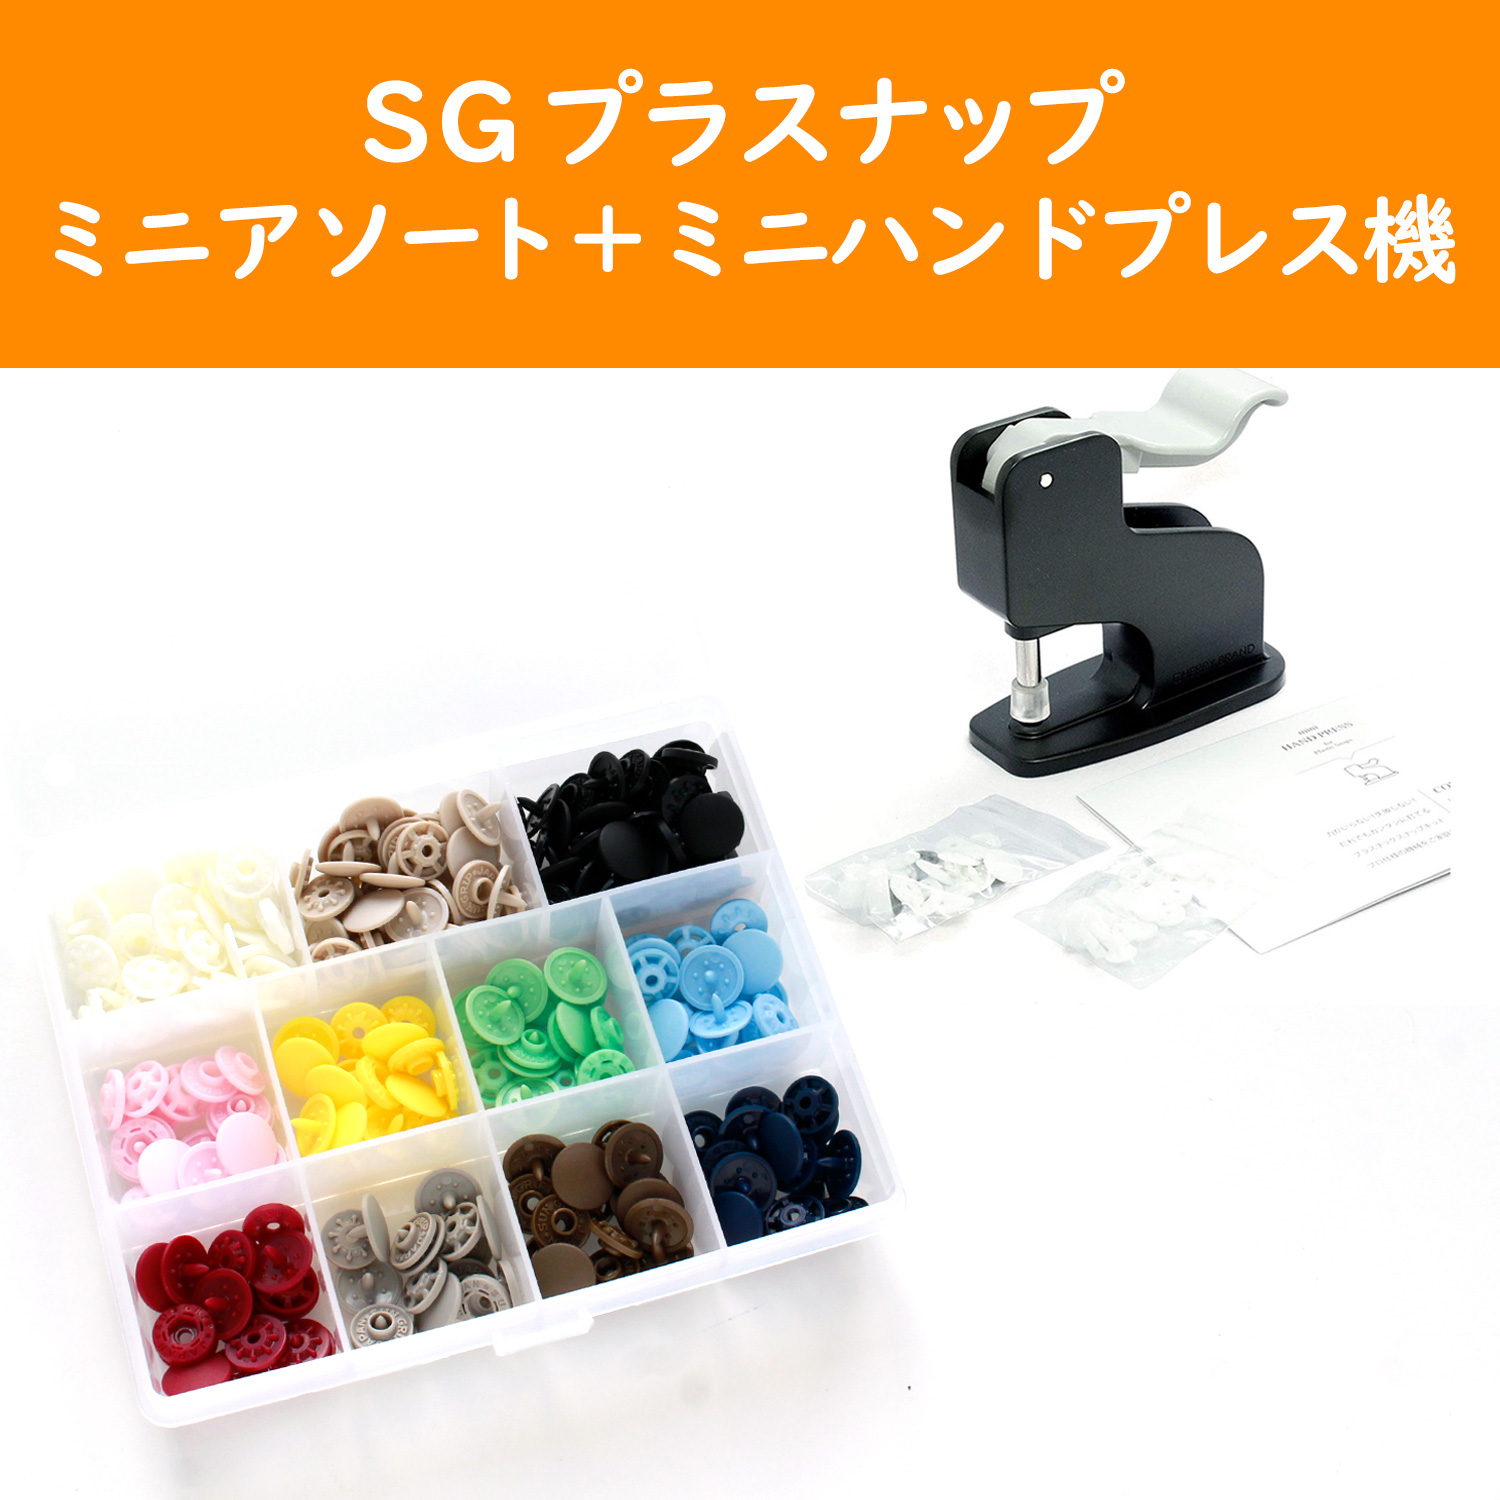
If you’re thinking, “Now I know which size to choose, but I want to try a few different types along with a press machine!”, we also have set products that are perfect for getting started.✨
At Chuko Online, we offer starter sets that include a mini hand press and snaps, as well as assorted sets that make it easy to try different colours.
If you’re using plastic snaps for the first time, starting with a set is a convenient way to get everything you need and start attaching snaps right away.💪
| Project | Recommended Snap | Why |
|---|---|---|
| Bibs & baby items | ST Sun Tenac 9 mm | Small and easy to match with your project |
| Pouches & cases | SBS Sun Button Snap 11.5 mm | A convenient size for fabric accessories |
| Portable pockets & preschool/school items | SG Sun Grip 13 mm | Just the right size and easy to open and close |
| Bags & larger fabric accessories | SG Sun Grip 13 mm / Sum Metal Snap | Adds both practicality and style |
| First-time users | Starter sets / Assortment sets | Easy way to try different tools and colours |
Now that you’ve chosen the snap you want to use, let’s look at how to attach it!👀
How to Attach Plastic Snaps with a Hand Press
Here, we’ll show you how to attach plastic snaps.
First, let’s check the names of the parts and what you need for installation.
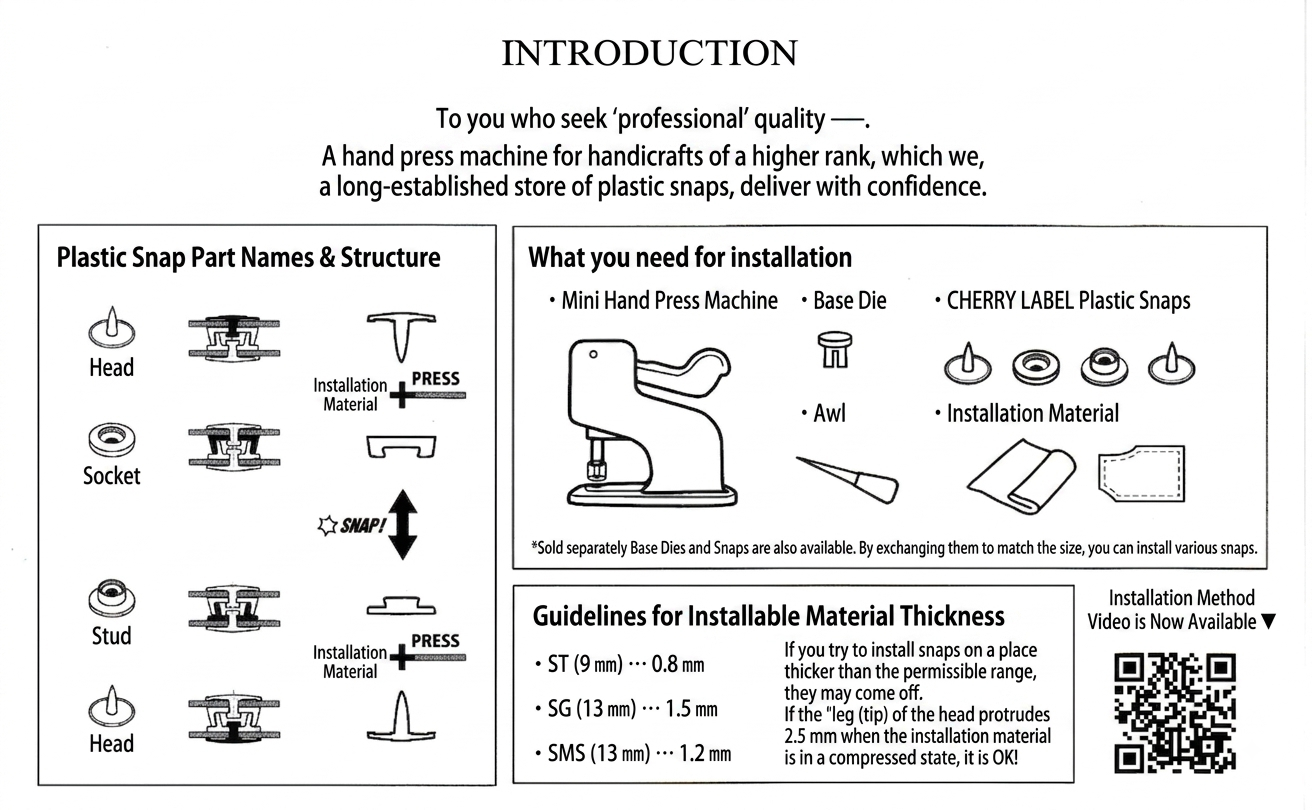
Next, let’s go through the steps!
1. Set the Base in the Hand Press
First, place the base that matches the size of your plastic snaps into the hole in the base of the hand press.
(The starter set includes bases for 9 mm and 13 mm snaps.)
Using the wrong size base can prevent the snap from being attached properly or cause the parts to not stay securely in place. 😱
2. Make a Hole at the Attachment Point
Decide where you want to attach the snap and make a small hole with an awl.
If the hole is too large, the snap may not stay securely in place. The key is to make a hole just large enough for the stem of the cap to pass through. 👀
If you’re attaching a snap to a pouch or bag flap, also check that the positions on both sides are aligned and that they overlap neatly when closed!
3. Insert the Cap into the Fabric
Insert the stem of the cap through the hole you made with the awl.
Make sure the end of the stem sticks out slightly from the other side of the fabric.
If the stem is too short, the socket or stud may not be securely attached, so be careful.
4. Place the Socket or Stud Over the Stem
From the other side of the fabric, place the socket or stud over the stem so that the stem passes through its hole.
If the parts are tilted, they may shift when you press them.
Before placing the fabric in the hand press, make sure the cap, fabric, and socket or stud are aligned straight.
5. Set the Fabric in the Hand Press
Place the fabric in the hand press so that the cap is positioned in the indentation of the base.
At this point, make sure the handle of the hand press is fully raised.
Hold the fabric gently so that it does not move, and check the attachment position.
If the parts are tilted or not properly positioned on the base, it may affect the finished result.
6. Lower the Handle and Press
Once everything is in position, lower the handle all the way!
The key to a neat finish is to press firmly all the way down. ✨
If you’re using a hand press for the first time, watching a video before you start can help you understand the process.
You can also check our YouTube video to see how to set the parts in the hand press and how to lower the handle.📺
How Can You Avoid Common Mistakes?
Now that we’ve gone over how to attach the snaps, here are three tips to help you avoid mistakes!
◎Avoid Seams and Uneven Areas
Plastic snaps should generally be attached to a flat area.
Be careful with areas that are very close to the edge of the fabric, overlap a seam, have a step or uneven surface, or are especially thick. These areas may cause the snap to come loose or fall out.
◎Reinforce Stretchy or Terry Fabrics
When attaching snaps to stretchy fabrics such as knits or terry cloth, the hole may become larger or the snap may come loose after repeated opening and closing if the fabric is not reinforced.
For extra security, reinforce the fabric with fusible interfacing or nonwoven fabric before attaching the snap.
◎Check the Direction Before Attaching
Sometimes you may only notice that the snap is facing the wrong way after you’ve attached it. (I’ve made this mistake several times myself… 💦)
Especially when attaching snaps to the flaps of pouches or bags, make sure the socket and stud are facing the right directions so that they fit together properly when closed!
If you’re attaching snaps for the first time, it’s a good idea to test the process on a scrap of fabric before working on your actual project.♪
In Closing
The CHERRY LABEL plastic snaps introduced in this article are convenient products that can be attached neatly and cleanly using a hand press.
They can be used for a wide range of projects, including pouches, bags, baby items, and preschool and school items.
Why not add plastic snaps to your projects and enjoy making handy and cute handmade items?♪
We also share products and special offers on Instagram.
Please follow our Instagram account here!
Our Official Websites
Chuko Online: https://www.nippon-chuko.co.jp/shop
Facebook: https://www.facebook.com/nipponchuko


Chuko Onlineではみなさまに日々の手芸用品の仕入れを便利にしていただけるように、お得なセール情報などを更新しております! ▽Chuko Onlineのサイトはこちらから! https://www.nippon-chuko.co.jp/shop/ みなさまからのご注文をお待ちしております。