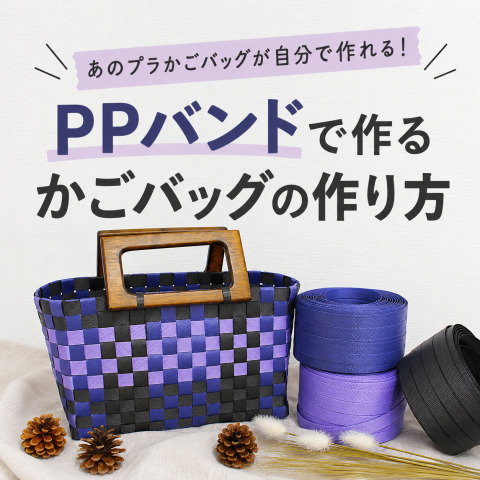
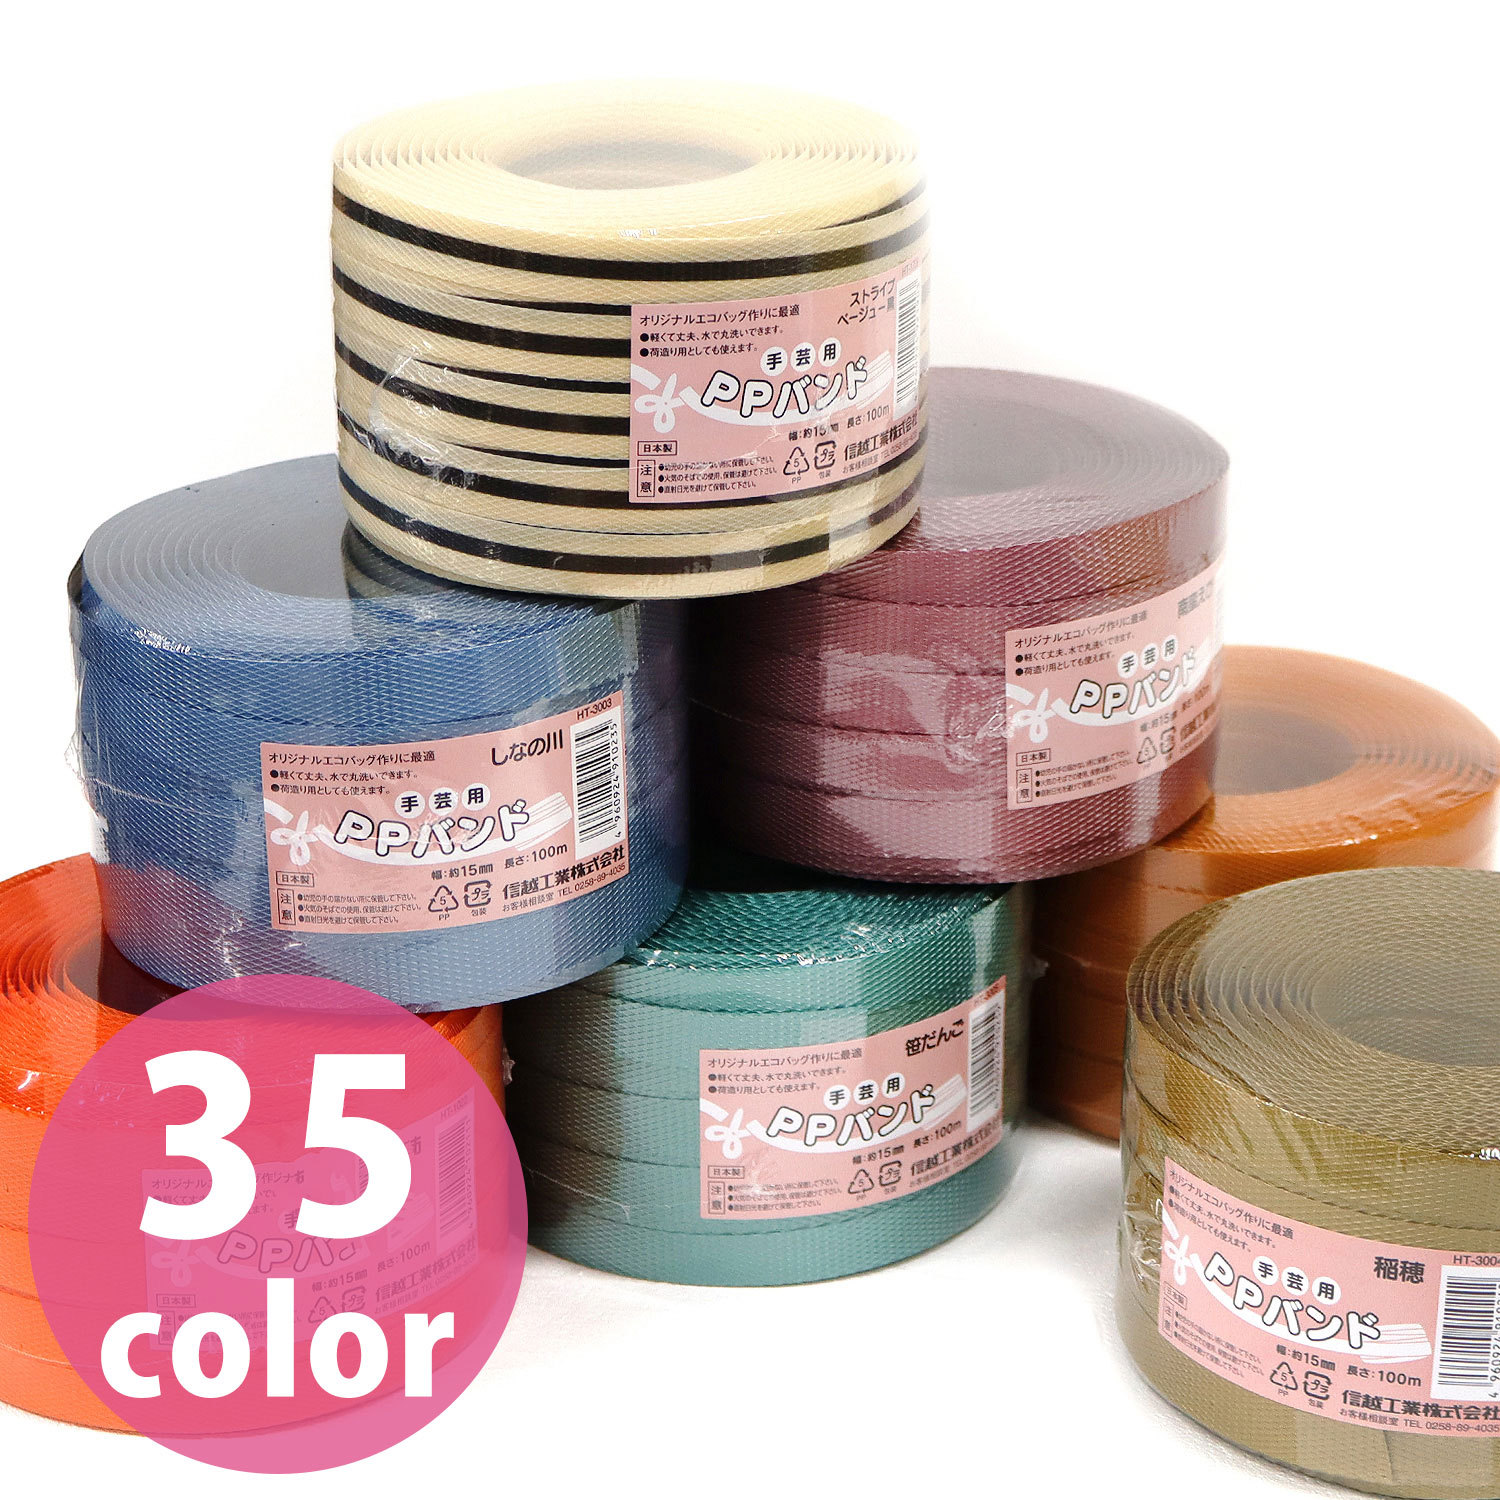
PP bands are strong, lightweight, and water-resistant.
They have become increasingly popular for handmade projects in recent years, thanks to their practicality (you can carry plenty of items) and the fun of creating your own designs by combining your favorite colors.
This time, we’ll show you how to make your own original basket bag using PP bands.
We combined three colors—black, navy, and amethyst—to create a bag with a simple, elegant look that still stands out.
It may look difficult at first, but the basic technique is simply weaving the bands over and under each other. You can enjoy watching your bag gradually take shape as you work!
Estimated time: 7–8 hours
目次
Tools and Materials

- PP bands
- Scissors
- Ruler
- Clips for PP bands (clothespins or other clips will also work)
- Measuring tape
- Masking tape (or painter’s tape)
- Pattern weights or craft weights (to hold the PP bands in place while weaving)
- Palette knife (to insert between the woven bands)
- PP band slitter (if needed)
- Cutting mat (if needed)
*The look of your bag can change greatly depending on the colors you choose for your PP bands.
Using similar colors creates an elegant look, while combining contrasting colors gives your bag a more unique style.*
Preparation: Cutting the PP Bands

編み始める前の重要な工程、編み紐をカットします。
サイズ感によって使用する長さ、編みたい色やデザインによって選ぶ色や細さも変わってきます。
今回製作するサイズは、W24×H16×D12cm のバッグです。
製作する際のカットする紐の長さと本数は下記のとおりです。
又、PPバンドの使い始めはロールの中の紐から使用すると絡まりにくいのでお勧めです。
Before you start weaving, the first important step is to cut the PP bands.
The lengths you need will depend on the size of your bag. The colors and widths you choose will also vary depending on your preferred color combination and design.
The finished bag in this project measures W24 × H16 × D12 cm.
Cut the PP bands to the following lengths and quantities:
We recommend starting with the end of the PP band roll to help prevent tangling.
For the bottom
- (a) Navy: 82 cm × 7 strips
- (b) Navy: 71 cm × 9 strips
- (c) Black: 71 cm × 6 strips
For weaving
- (d) Black: 80 cm × 6 strips
- (e) Amethyst: 80 cm × 4 strips
For finishing the top edge
- (f) Black: 80 cm × 2 strips
For attaching the handles
- (g) Black: 80 cm × 2 strips
Split each strip in half lengthwise before use.
Handles of your choice
Step 1: Weave the Bottom
First, make the bottom of the bag, which will serve as its base.
Lay out the PP bands for the bottom vertically. Then weave the horizontal PP bands through them, alternating over and under.
At the beginning, the bands can easily shift out of place. Using clips to hold them in place as you work will make weaving easier.
Tips for Weaving
PP bands may feel stiff at first, but gently folding them before weaving will make them easier to handle.
Also, keep the woven rows tightly packed as you work. This will help create a sturdy bag that holds its shape. Here are a few things to keep in mind as you weave:
- Keep the spacing between the bands even.
- Push each woven row firmly into place.
- Check that both sides remain straight and even.
A neat, even bottom will help your finished bag keep a nice shape.

1. Start weaving the bottom PP bands from the center, working your way outward to both sides.

2. Once the bottom is complete, fold all the PP bands upward to form the sides. Secure the finished bottom with painter’s tape to help keep it in shape.

3. Make sure to secure the edges on both sides and at the top and bottom, as these areas are especially likely to come loose.
Step 2: Add PP Bands for Weaving to Make the Sides
Once the bottom is complete, fold the bands upward and start weaving the sides.
Raise the vertical PP bands extending from the bottom, then weave the horizontal PP bands through them, alternating over and under.
For this bag, we used three colors—black, blue, and lavender—to create a checkered pattern.
Even with the same weaving technique, changing the color arrangement can give your bag a completely different look.
Tips for Weaving
- Push each horizontal PP band down firmly as you add it.
- Keep the vertical PP bands straight.
- Take extra care when adjusting the corners, as they tend to loosen easily.
As you weave, the shape of the bag gradually takes form. This is the most enjoyable part of the process!

1. Starting from the bottom row, weave in the PP bands in this order: (c) for 4 rows, (d) for 4 rows, then (c) for 2 rows. You should have 10 rows in total.
Note: While I was weaving away without thinking, I accidentally used black PP bands for the fifth row instead of amethyst… I noticed the mistake and replaced them with amethyst bands. One great thing about PP bands is that you can undo your work and fix mistakes!

2. As you weave each row, use clips to hold the bands in place whenever possible, especially at the four corners and where you start weaving each row.
Step 3: Finish the Top Edge
Finally, finish the top edge of the bag.
Fold the excess vertical PP bands inward and secure them along the woven rows.
The top edge is an important detail that affects the overall look of the bag. Folding the bands evenly will give your bag a neat, professional-looking finish.
Tips for Finishing
- Fold the bands to an even length.
- Secure the PP bands firmly all the way to the ends.
- Check that the top edge is even in height.

1. Fold the weaving PP bands sticking out from the basket. Fold the bands coming out from the inside toward the outside, and the bands coming out from the outside toward the inside. Then fold the bands extending from the inside to the outside, tuck them into the woven rows, and trim off any visible excess.

2. This is how the basket should look after completing 1.

3. Place one (d) PP band for the top edge along the top row of the basket. Bring the remaining bands that were folded inward out through the outside, and tuck them into the woven rows. After weaving about 4–5 rows, add the second (d) PP band for the top edge and repeat the same process to finish the edge.

4. The basket is now complete! If you’d like to add your own design, you can use narrow strips of PP bands to weave patterns vertically, horizontally, or diagonally.
Step 4: Attach the Handles and You’re Done!
Decide where you want to place the handles. Then insert the PP bands for attaching the handles upward from underneath the first row of the top-edge PP bands, and thread them through to the inside to secure them.
For each handle, secure it at one point on each side. And that’s it!

Conclusion
Lightweight yet sturdy, this PP band basket bag is perfect for shopping or storage.
Another great thing about PP band bags is that you can create different looks and seasonal styles simply by changing the color combinations.
aWhy not try making your own unique basket bag in your favorite colors?



We also share products and special offers on Instagram.
Please follow our Instagram account here!
About Us
Nippon Chuko Ltd. (日本紐釦貿易株式会社)
We are a trading company specializing in handicraft supplies and apparel materials, founded in Osaka in 1917.
We offer a carefully selected range of products to customers around the world, both in our store and through our online shop.
Official Websites & Social Media
Company Website: https://www.nippon-chuko.co.jp/global-nippon-chuko/
Chuko Online (Online Shop): https://www.nippon-chuko.co.jp/shop
Facebook: https://www.facebook.com/nipponchuko



Chuko Onlineではみなさまに日々の手芸用品の仕入れを便利にしていただけるように、お得なセール情報などを更新しております! ▽Chuko Onlineのサイトはこちらから! https://www.nippon-chuko.co.jp/shop/ みなさまからのご注文をお待ちしております。