


Hello everyone! I’m Y from the 3rd floor.
The other day, I posted a workshop report about my sashiko experience.
This time, I’d like to explain the tips I learned there in more detail and in a way that’s easy for beginners to understand!
You can read the workshop report here.👉
目次
What Is “Sashiko” Anyway?
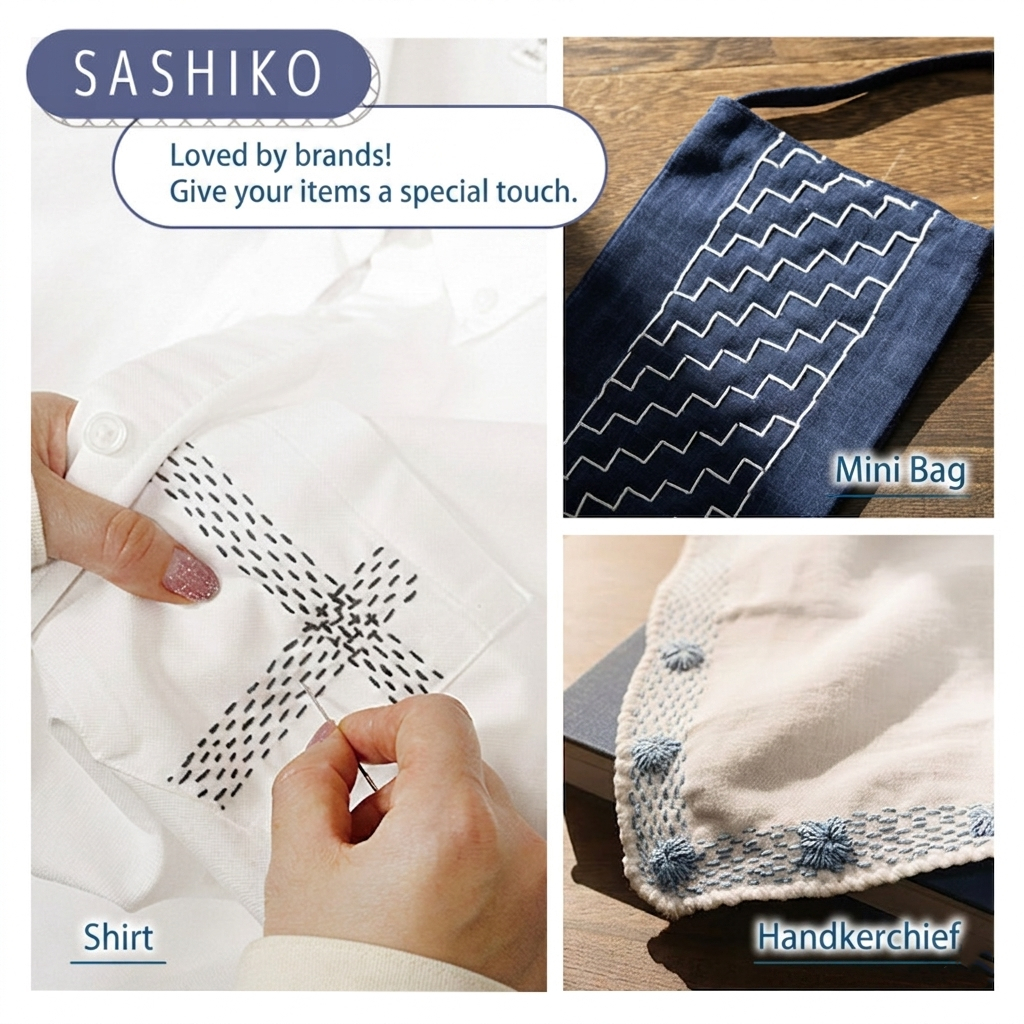
Sashiko is a stitching technique that started in the Tohoku region during the Edo period.
People layered fabric and stitched it together to make it warmer and stronger, so it originally spread as a very practical craft.
Today, its geometric beauty has made it popular again as a design style.
It’s used for many different items like coasters, dish cloths, pouches, and bags.
And the best thing about sashiko is that there are no difficult stitches at all!
The patterns may be more or less detailed, but the stitching method is basically the same for all of them.
You can stitch everything using simple running stitches that almost everyone has tried before.
If you’ve been thinking, “I want to try it, but it looks hard…,” definitely give it a try!
What Tools and Materials Do You Need for Sashiko?
Before you start, let’s get the basic tools ready. You don’t need to buy everything from the beginning. You may already have some of the items at home.
Basic Materials and Tools List

(Item No. SSK-BASESET)!
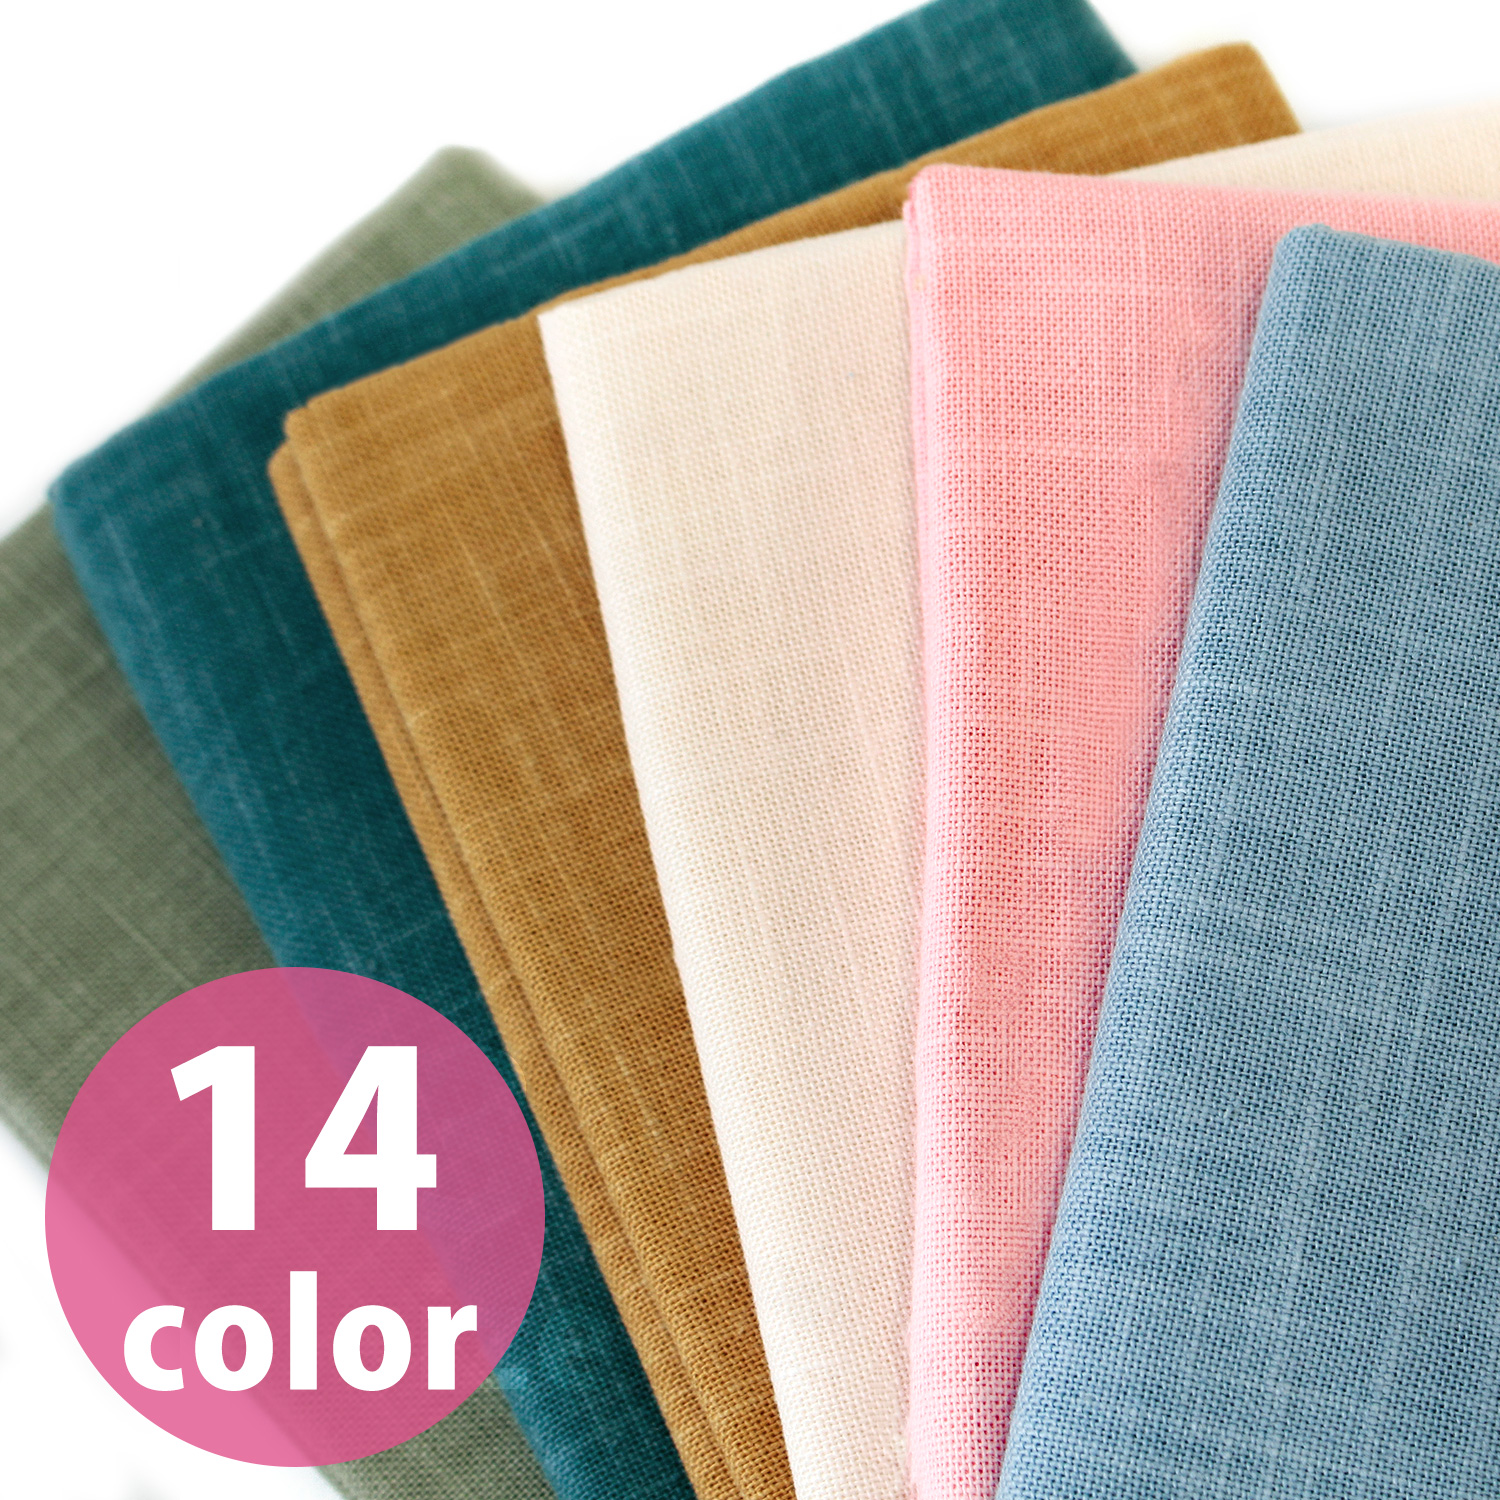
- Sashiko fabric: Made with a looser weave for easier stitching, so the needle and thread can pass through smoothly.
- Sashiko thread: Thicker than regular embroidery thread and gives a textured look.
- Sashiko needle: Slightly rounded tip with a larger eye for easy threading.
- Chaco pen: Used to draw patterns on the fabric.
- Ruler: Essential for drawing patterns.
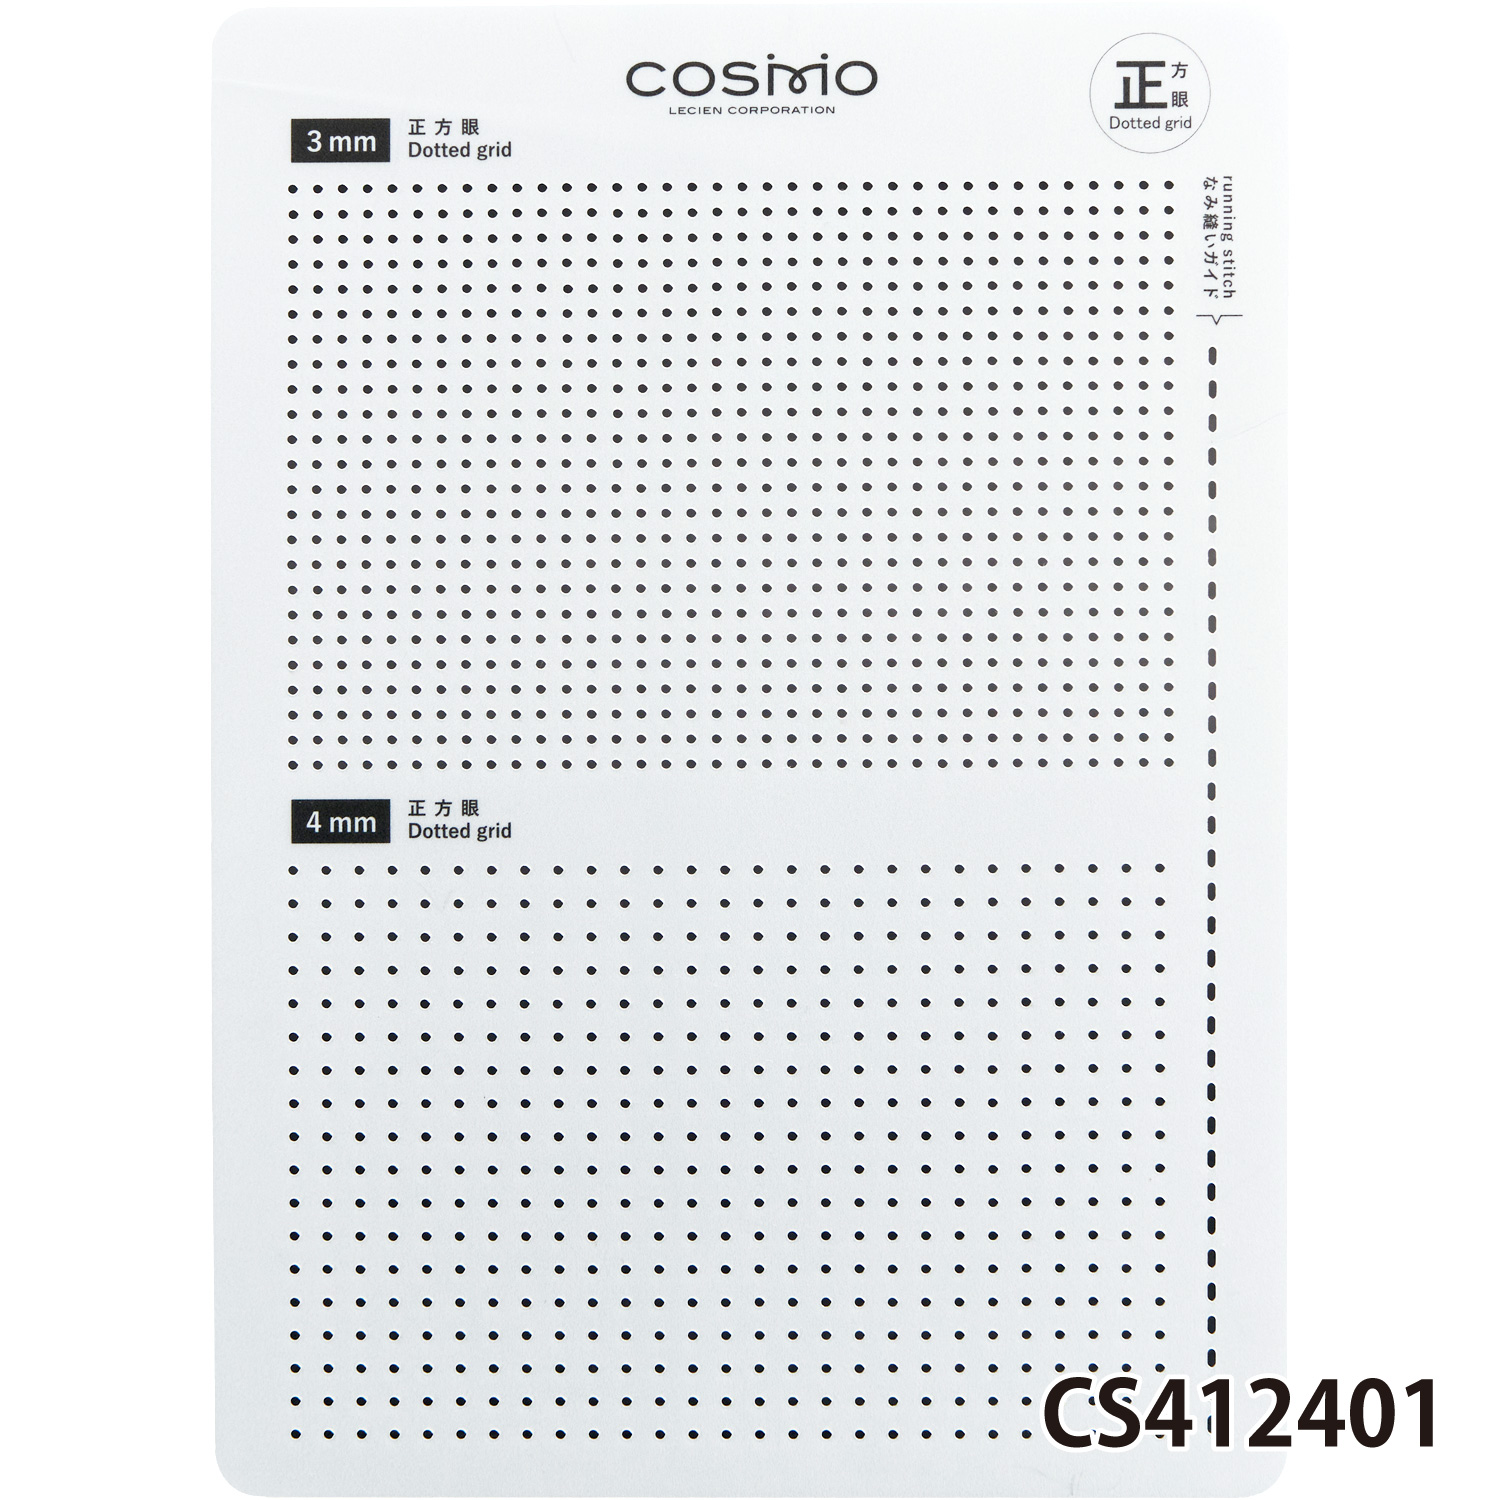
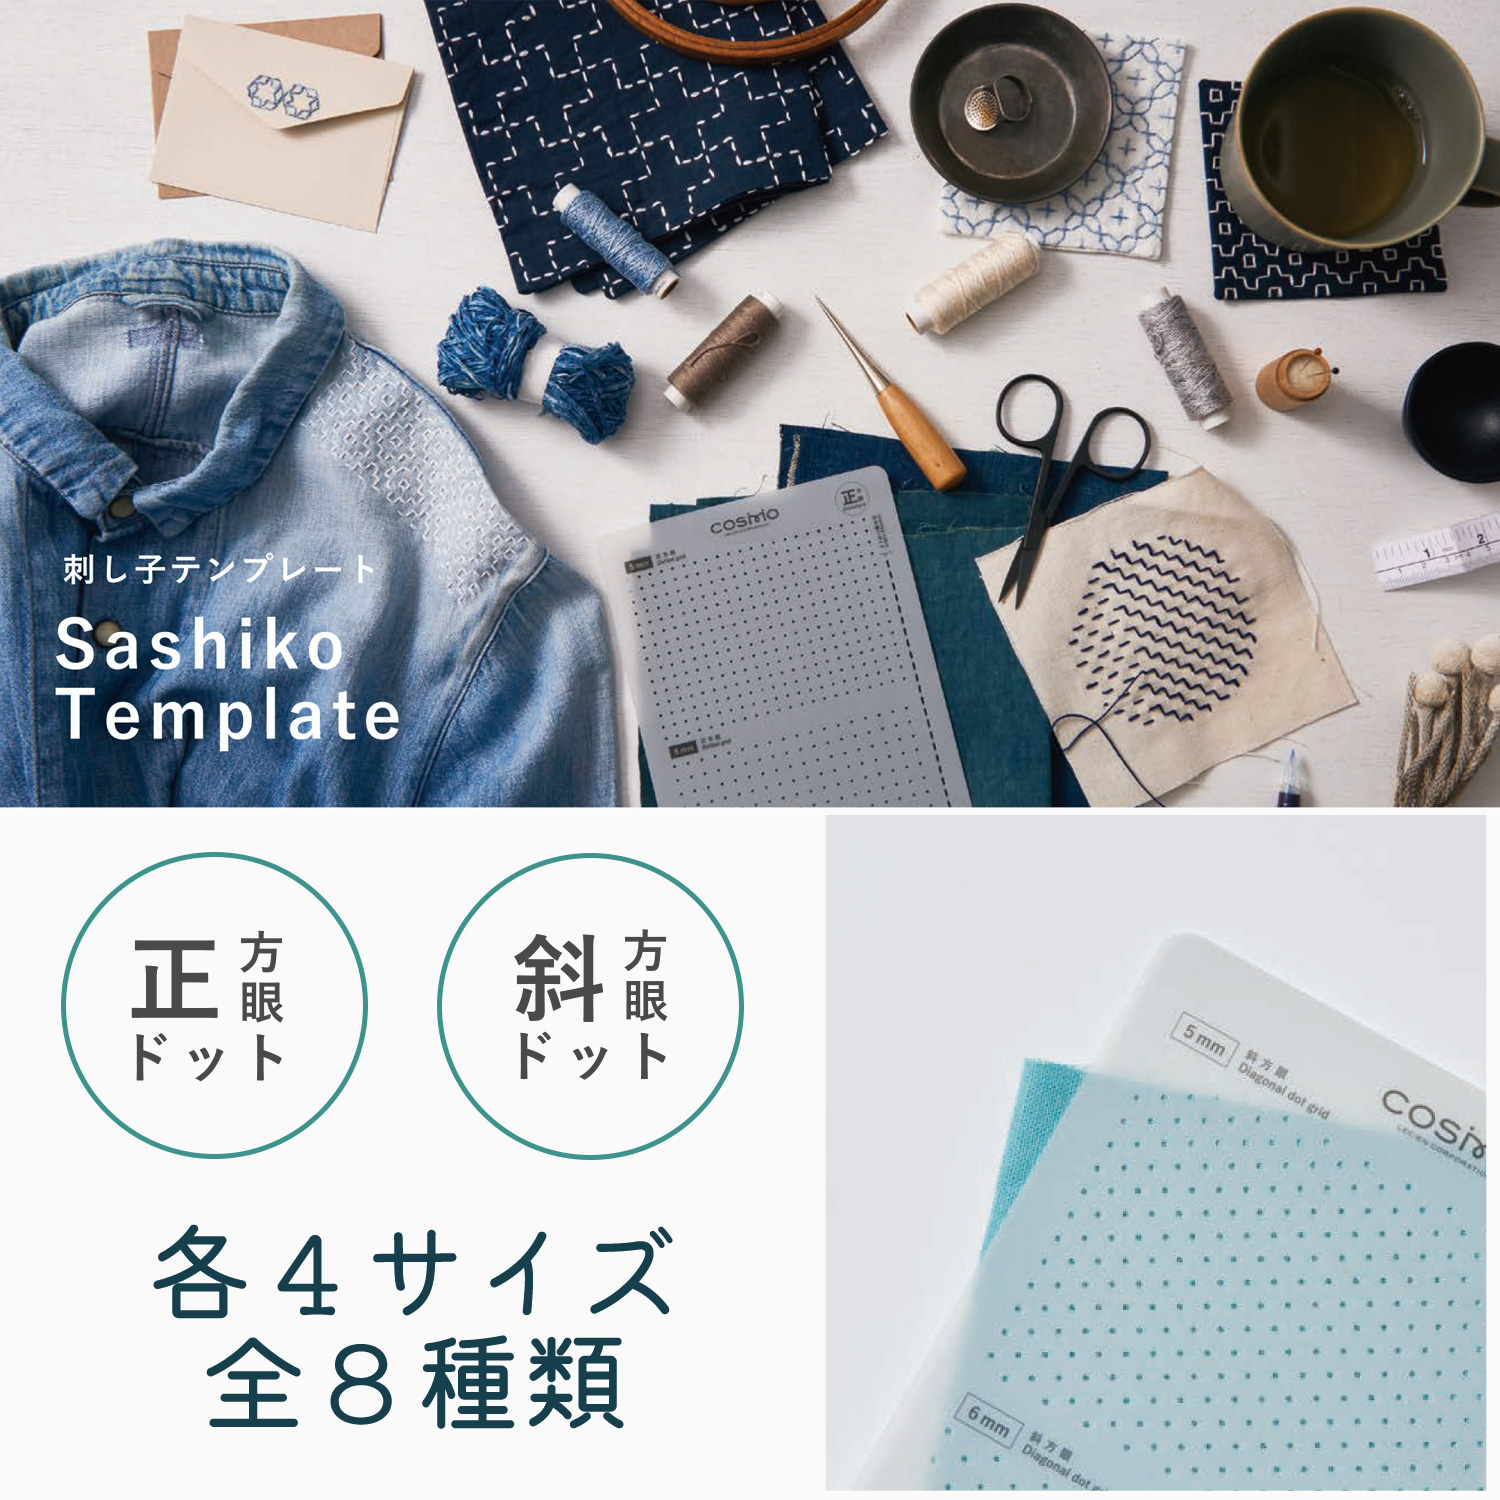
- Sashiko template: A sheet with grid lines used for transferring sashiko patterns. It’s helpful to have.
We carry a wide variety of these items, so please check them out online♪
Trying Sashiko Step 1 – Drawing the Pattern –
Most sashiko patterns are very regular and repetitive.
Many people may wonder how they can draw such neat patterns, but actually, because the designs are so regular, they’re easier to draw accurately and neatly.
Usually, you use a ruler to make evenly spaced dots, then connect them like a dot-to-dot puzzle to create the pattern.
But if that process feels difficult, there’s a very useful item for you.
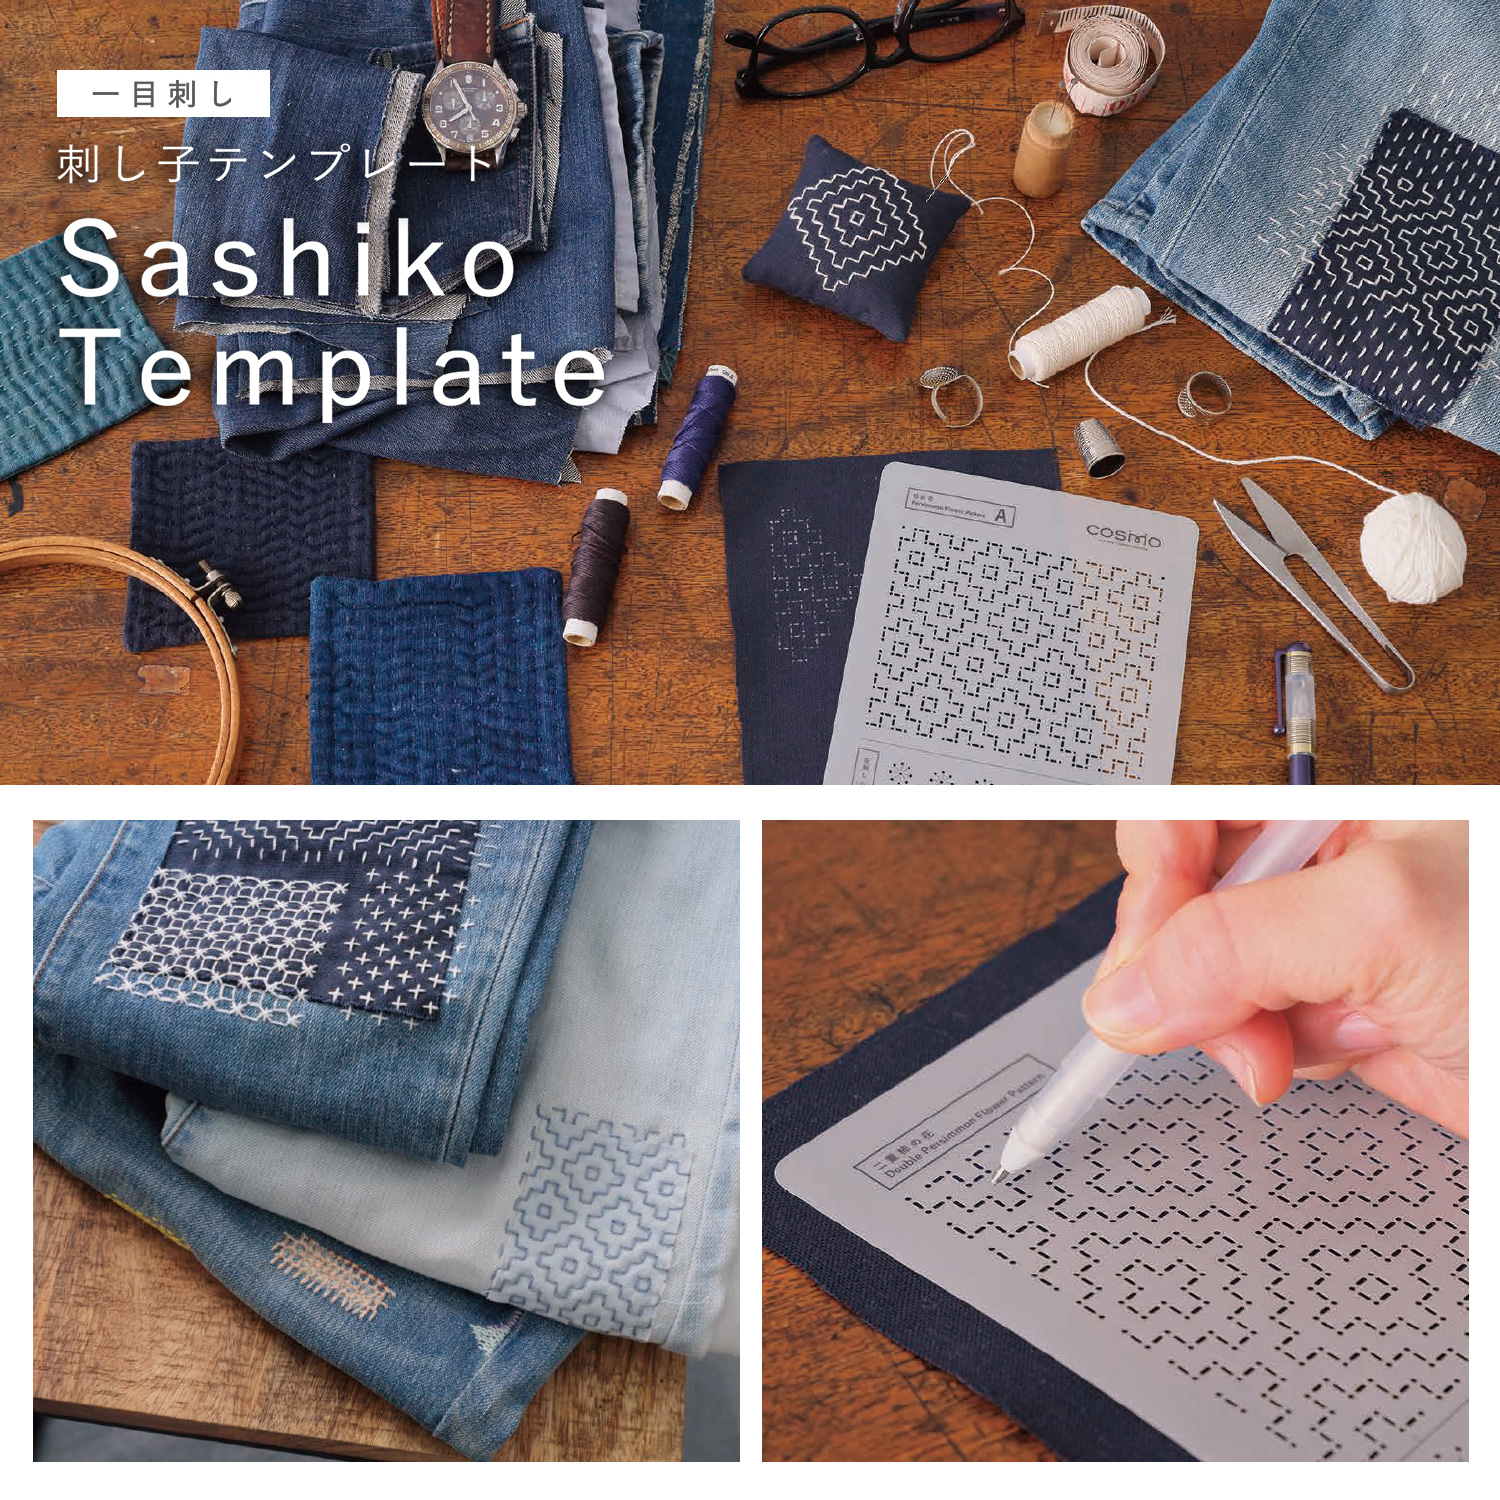
It’s called a sashiko template.
There are dot-type templates that let you create your own designs freely, and hitomezashi-type templates with ready-made patterns.

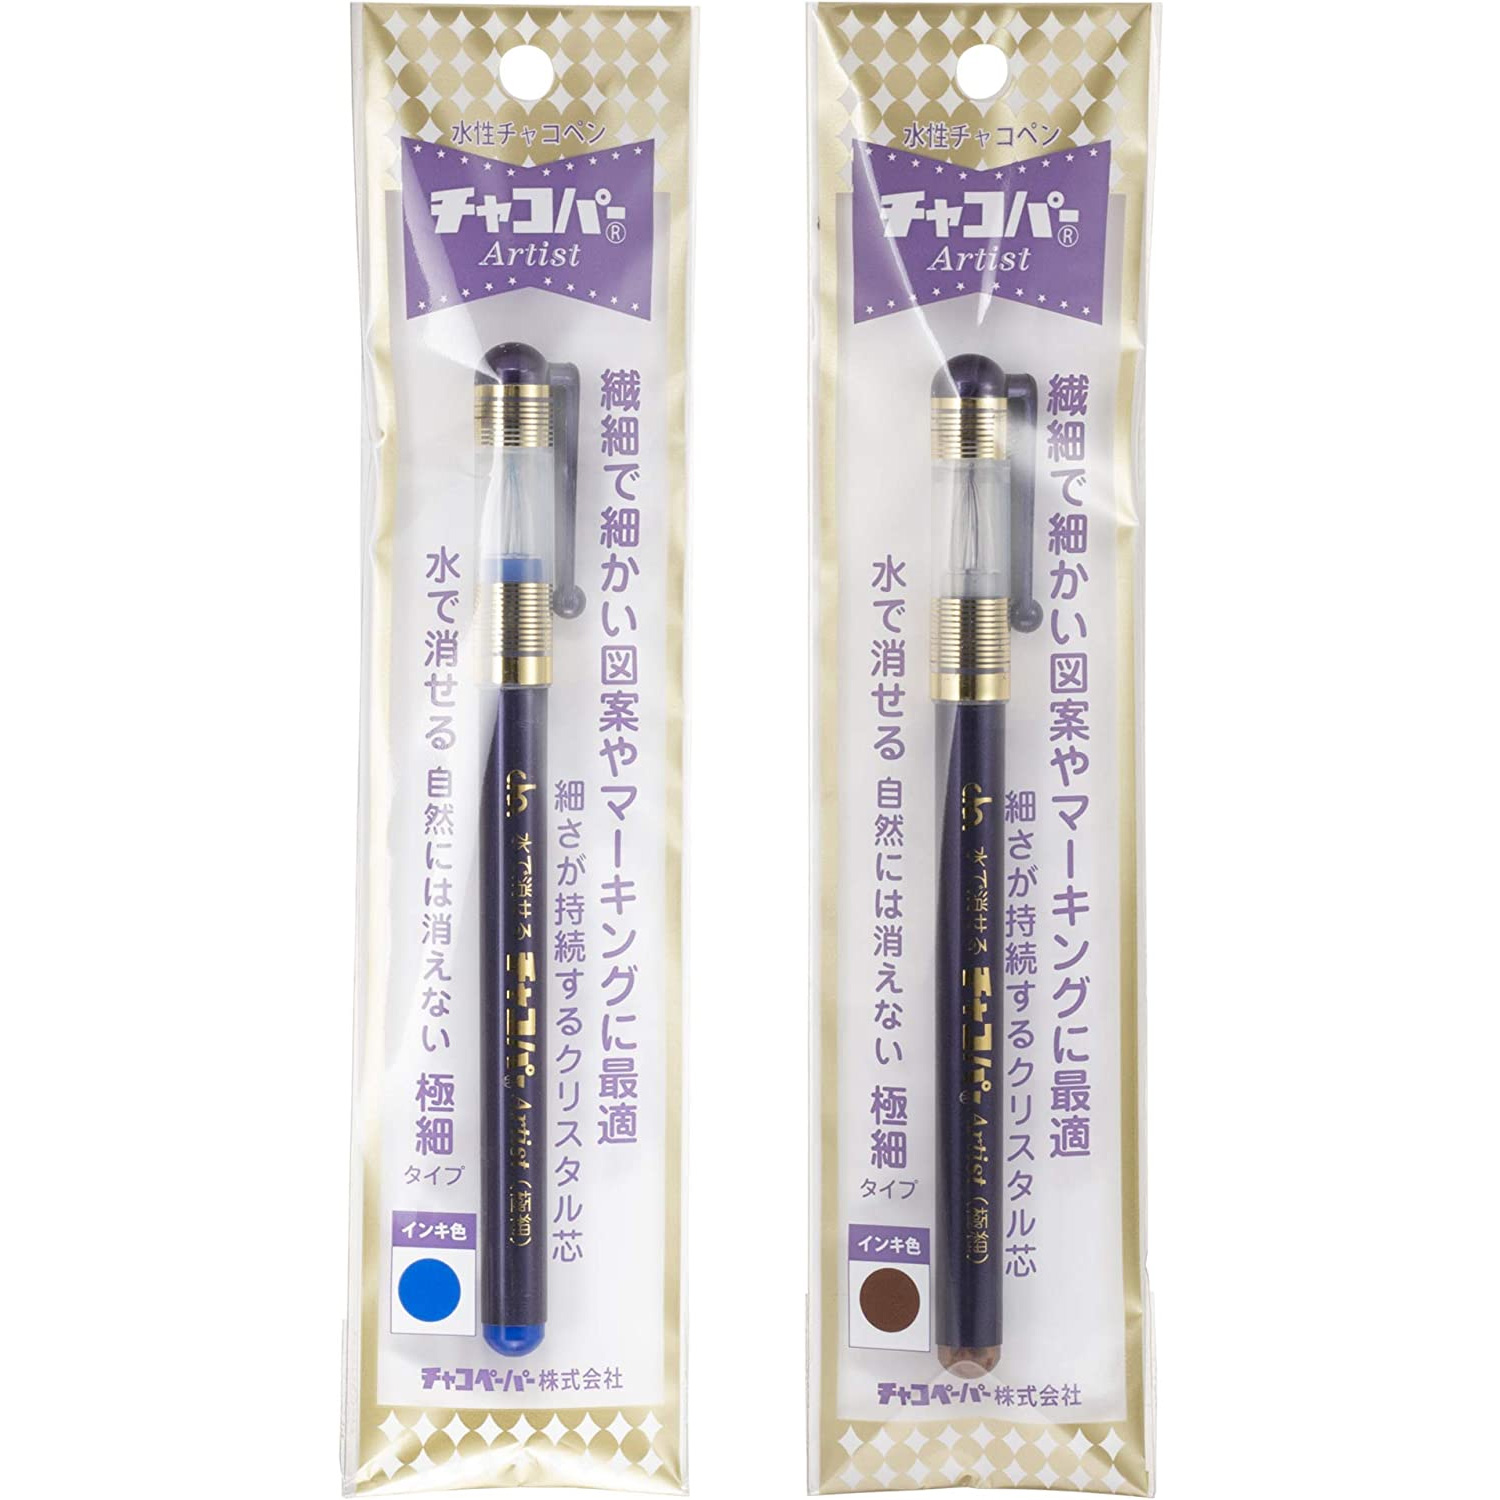
A recommended chaco pen is the extra-fine Chacoper Artist.
The ink flows smoothly, so you can draw detailed patterns accurately.

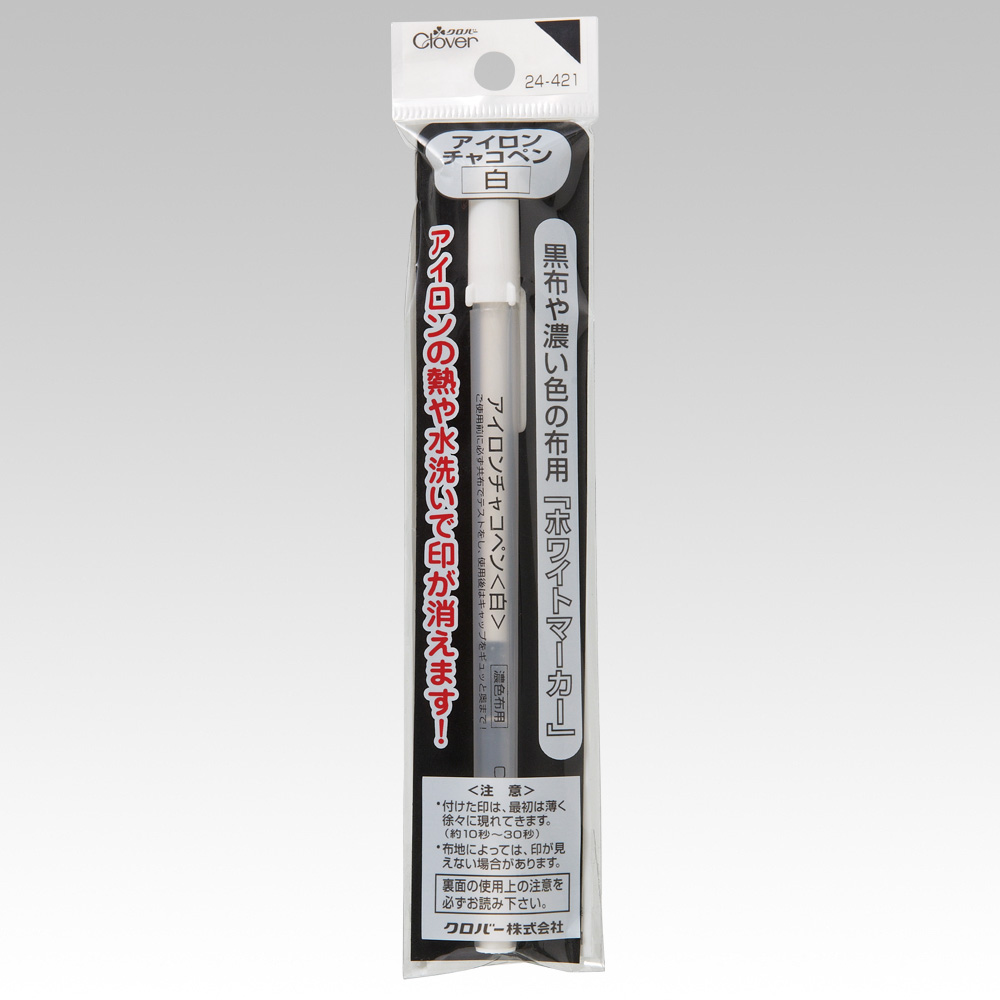
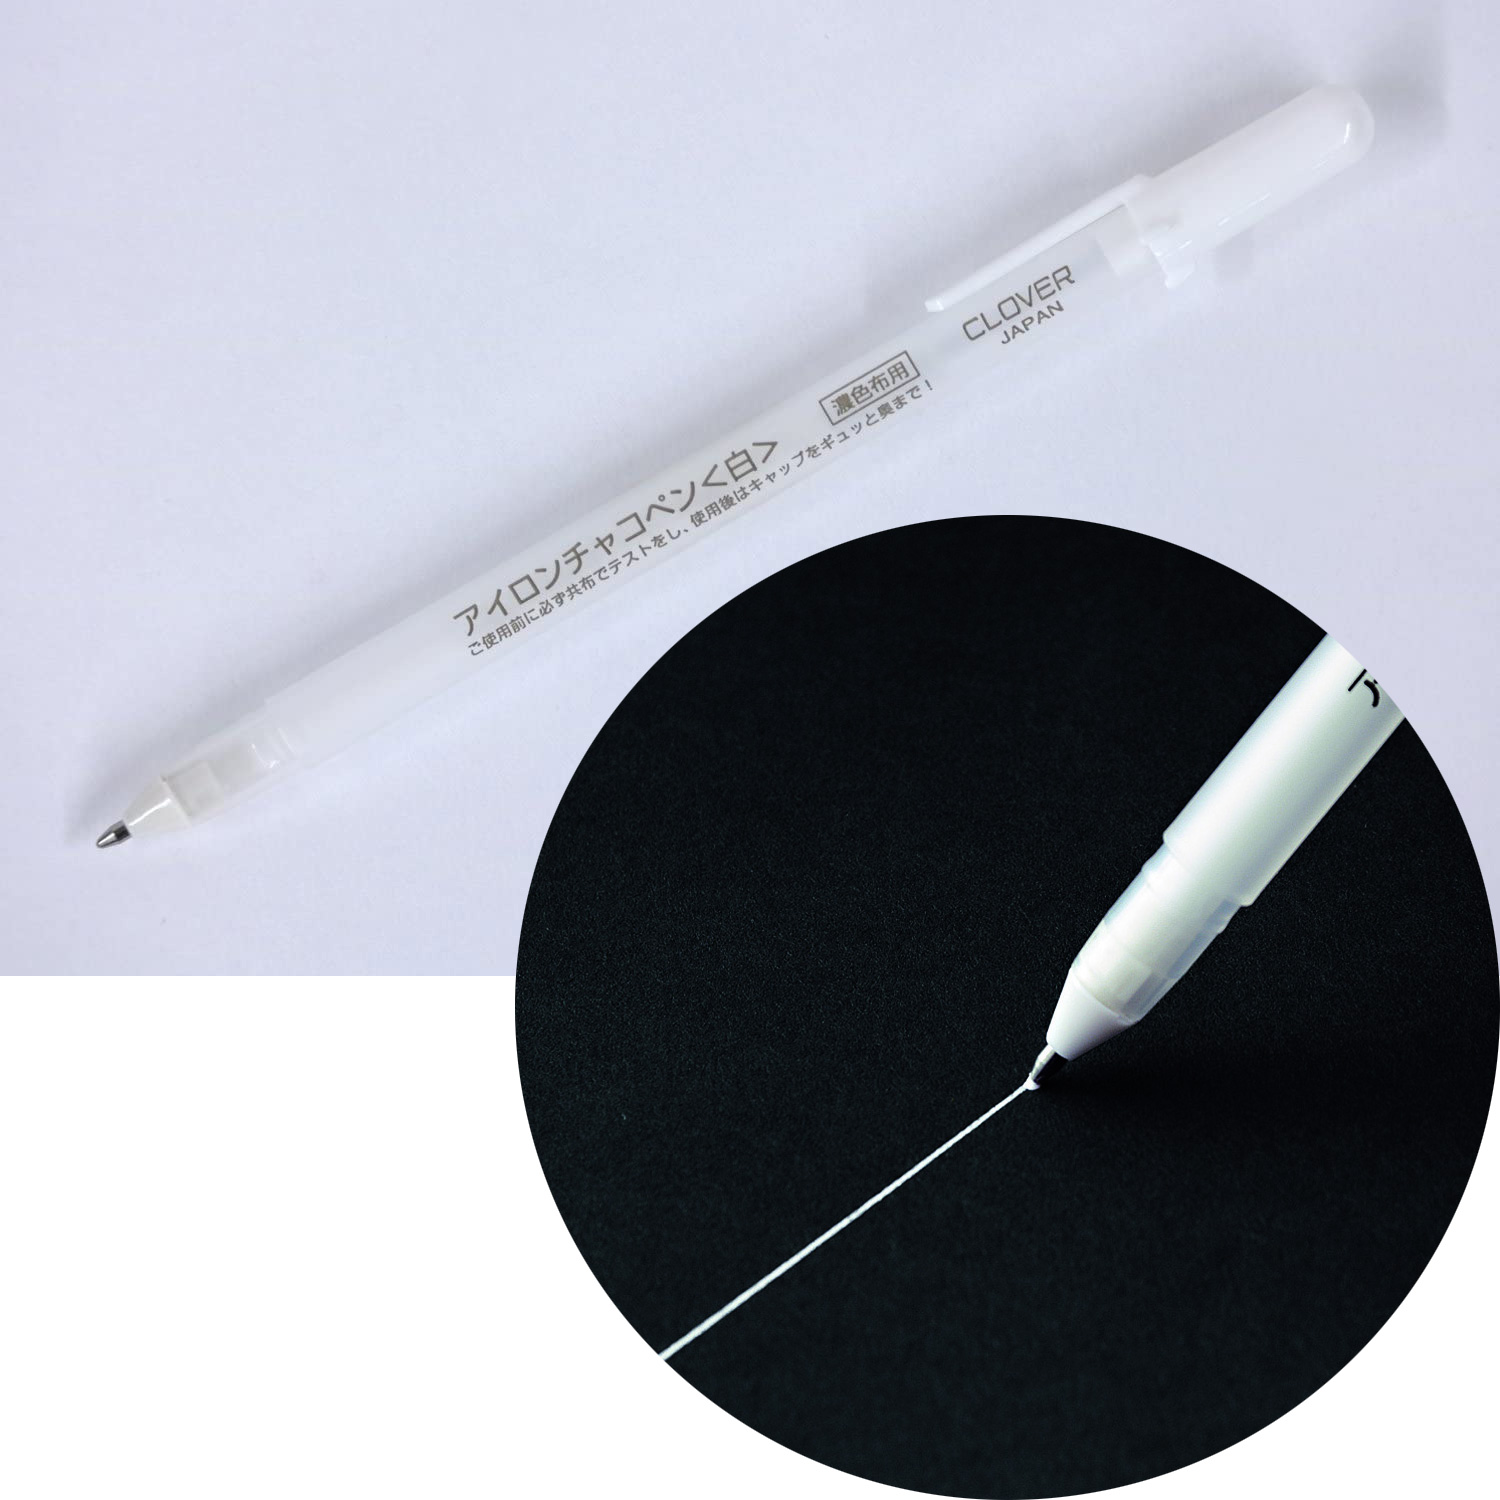
Another recommended chaco pen introduced in the workshop is the Clover Iron-Erasable Chaco Pen.
At first, it may seem like the ink is not showing much, but the lines gradually appear over time.
This pen can be used to draw patterns on popular sashiko fabric colors like navy and black.
Trying Sashiko Step 2 – Sashiko Tips –
Most sashiko projects are almost finished in just these two steps.
Unlike embroidery, sashiko uses only running stitches! Basically, the patterns are made with straight stitches only.
This time, we’ll explain using a hitomezashi pattern.
Hitomezashi is a type of pattern made with regular repeating designs.
- Stitch all the horizontal lines
- Stitch the vertical lines
- Stitch the diagonal lines (if there are any)
- Done!
Following this order helps prevent the threads from getting messy and keeps the pattern looking clear.

Tip 1: Move the Fabric, Not the Needle
To make your sashiko stitches look neat,
it’s important to “move the fabric.”
Instead of moving the needle up and down again and again, stitch several times at once and sew in one go. This helps keep the stitches even and neat.
It works well if you gather the fabric slightly while stitching.

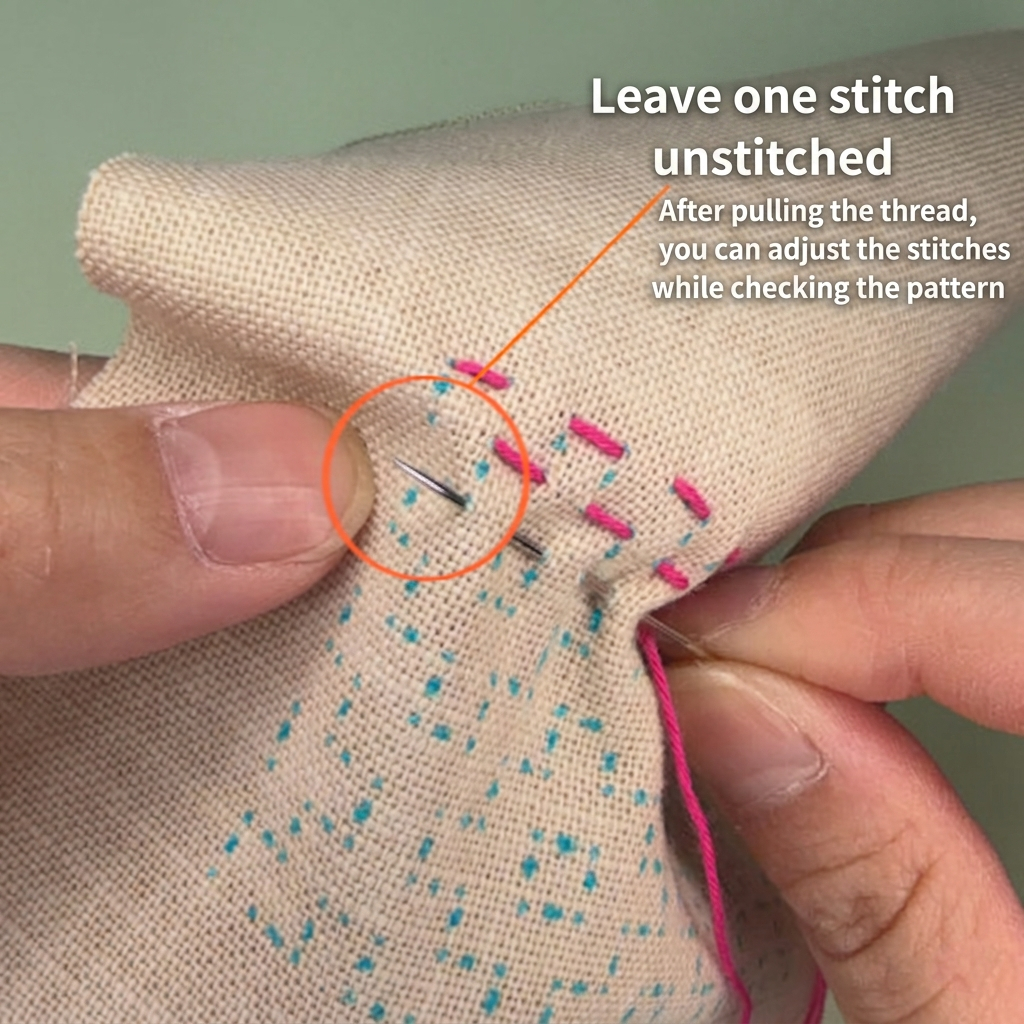
【Tips for an Even Cleaner Finish】
Instead of stitching the whole row at once, leave the last stitch unstitched and bring the needle out from the front side there.
This helps prevent pulling the thread too tightly when you pull the needle through.
Once you try it yourself, you’ll notice a big difference in the finished look. Please give it a try!
Tip 2: Adjust the Stitches After Each Section
Of course, sashiko is mainly about stitching, but there is actually another important step.
That step is “stretching the fabric”!
Let’s explain what that means.
As mentioned above, in sashiko, you usually pass the needle through several stitches at once instead of pulling it through one stitch at a time.
This makes the work more efficient.
However, when you pull the thread, you may accidentally pull too hard and gather the fabric.
If you keep stitching without noticing, you may finish and find wrinkles and puckering in the fabric!
Here’s a tip to prevent that from happening.
Even though we call it a “tip,” the method is actually very simple.
Every time you pull the needle and thread through, gently stretch the fabric afterward.
Instead of simply pulling the fabric, hold the starting thread firmly and stretch only the fabric. That’s the key.
Doing this several times, not just once, will make your stitches look even neater.

Use These Tips for a Cute and Neat Finish
Just keeping these two points in mind can make a big difference in how your project turns out.
The photo shows a piece stitched using the tips introduced in this article.
The stitches are straight, and there are no wrinkles in the fabric.
The finished stitching also has a soft and slightly raised look.
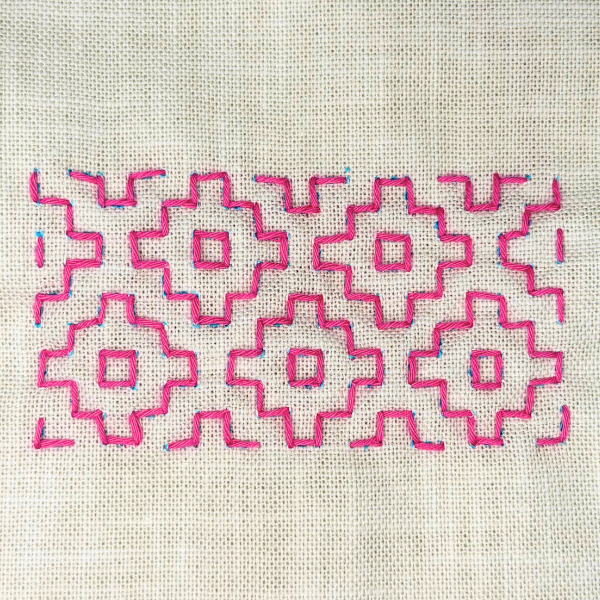
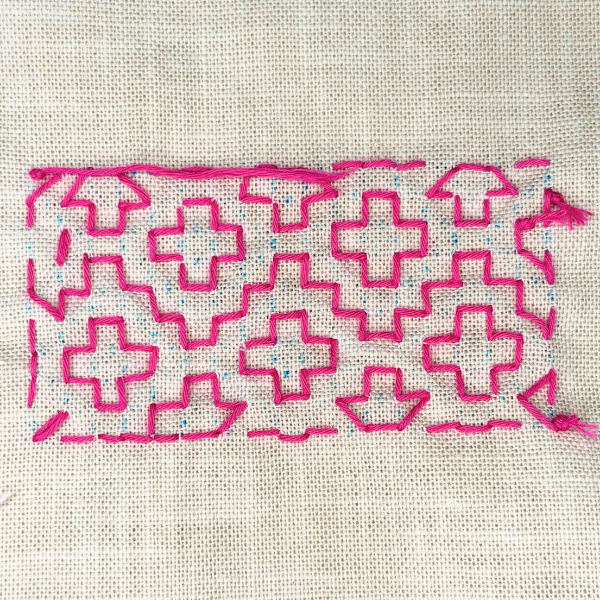
By focusing on making the front side neat, the back side also turned out beautifully.
One of the charms of sashiko is that the front and back can show different patterns.
We also share videos on Instagram showing the actual stitching method and how to stretch the fabric. Please check them out too!📱
Let’s Try Sashiko Casually
If you’ve been feeling like “I want to make something,” sashiko is something I really recommend right now.
There are many useful tools and materials available today, so it’s fun to keep trying different ones and find what works best for you♪
We also carry a wide variety of sashiko supplies at Chuko.
Don’t think of it as something difficult — please feel free to give it a try!✨
Bonus
Good news for anyone thinking, “I want to try the patterns first!”
We offer free sashiko patterns on our website. You can download and use them right away, so please check them out.
👉 Download the free patterns here.
We also share products and special offers on Instagram.
Please follow our Instagram account here!
Our Official Websites
Chuko Online: https://www.nippon-chuko.co.jp/shop
Facebook: https://www.facebook.com/nipponchuko
For product inquiries, please contact us here!
At our Main Building 3rd floor, you’ll find Sashiko and embroidery supplies.
If you’re visiting Osaka, please stop by and say hello!


Chuko Onlineではみなさまに日々の手芸用品の仕入れを便利にしていただけるように、お得なセール情報などを更新しております! ▽Chuko Onlineのサイトはこちらから! https://www.nippon-chuko.co.jp/shop/ みなさまからのご注文をお待ちしております。