


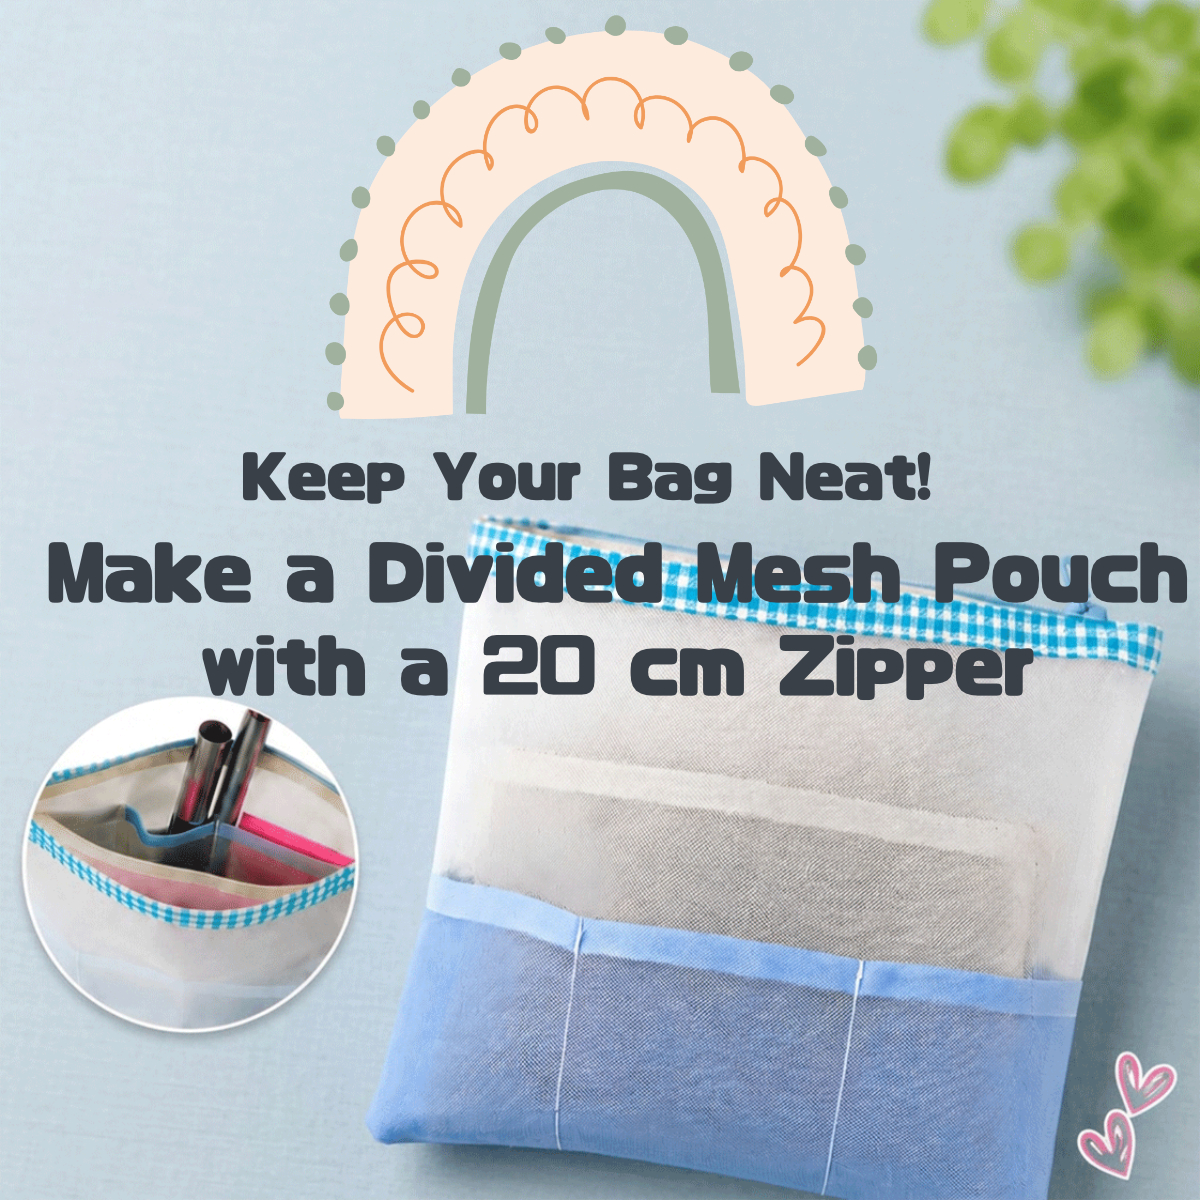
“Pens and stationery items get scattered around in my bag…”
“I want to keep my cosmetics and favorite items neatly organized!”
The divided mesh pouch we’re introducing this time is perfect for these problems ☺
Because it is made of mesh fabric, you can see what’s inside at a glance and quickly find what you need.
It also has an inner divider pocket, so you can neatly organize small items by type♪
The simple, slim design has no gusset, so it doesn’t take up much space in your bag. It’s perfect for everyday use as well as organizing small items when traveling♪
This time, based on a pouch made by one of our staff, we’ll show you how to make a divided mesh pouch with a 20 cm zipper, with step-by-step photos!

Finished Size
Approx. 20 cm wide × 15 cm high
※ No gusset
※ Uses a 20 cm zipper
※ Includes a 1 cm seam allowance
Keep Small Items Neatly Organized with Dividers ✨
This pouch has a divided pocket inside, split into three sections.
We made the center section a little wider, making it easier to store slightly wider items such as pens and scissors ☺
You can use the left and right sections for smaller items and organize them according to what you want to store!
The 20 cm zipper also makes this pouch perfect for everyday small items such as stationery, cosmetics, and gadgets♪
Let’s start by looking at the materials you’ll need!
目次
Materials
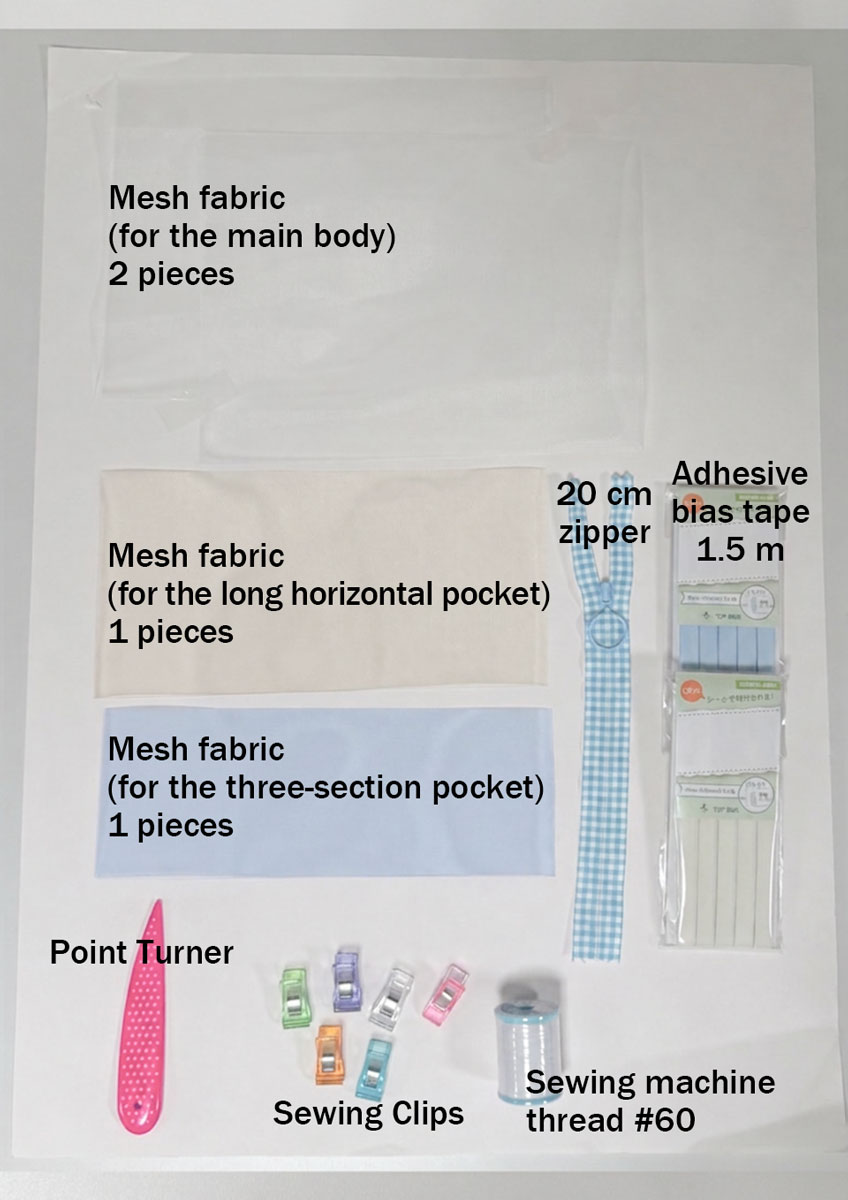
| Material | Quantity |
|---|---|
| Mesh fabric (for the main body) / 22 cm wide × 17 cm high | 2 |
| Mesh fabric (for the long horizontal pocket) / 22 cm wide × 11 cm high | 1 |
| Mesh fabric (for the three-section pocket) / 22 cm wide × 8 cm high | 1 |
| 20 cm zipper | 1 |
| Adhesive bias tape / 1.5 m | 1 |
| Sewing machine thread (#60) | As needed |


Staff-Recommended Tools That Are Handy to Have!👀
| Tools | Recommended Features |
|---|---|
| Sewing Clips | You can use them instead of pins to hold the fabric in place without making holes! |
| Point Turner | Used to neatly shape corners. It is gentle on the fabric, making it easy to shape corners without damaging the material! |
Chuko Onlineオンラインストアでご注文
Chuko Online

Preparing the Fabric (Cutting)
First, let’s cut the fabric to get everything ready!
※ All measurements include a 1 cm seam allowance.
Main Body
・Front: 22 cm wide × 17 cm high — 1 piece
・Back: 22 cm wide × 17 cm high — 1 piece
Inner Pockets
・Three-section pocket: 22 cm wide × 8 cm high — 1 piece
・Long horizontal pocket: 22 cm wide × 11 cm high — 1 piece
Once everything is prepared, let’s start making the pouch!🪡
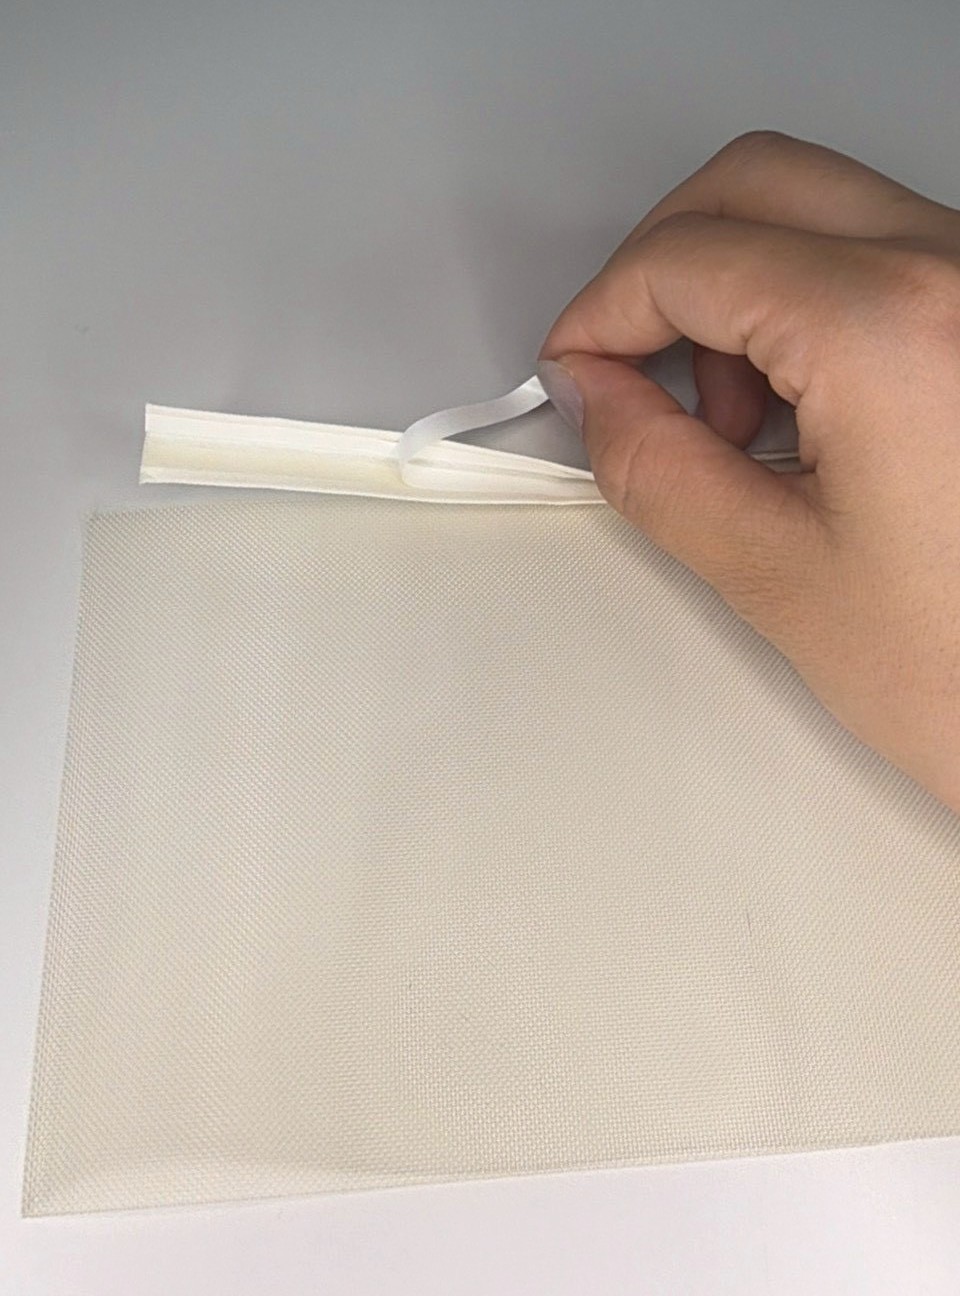
① Finish the Top Edges of the Inner Pockets
For the top edges of the three-section pocket and the long horizontal pocket, we’ll use adhesive bias tape this time.
Unlike regular bias tape, it doesn’t need to be sewn on. Since it has an adhesive backing, you can easily finish the edges neatly.


② Make the Three-Section Pocket
Place the three-section pocket (blue) on the inside of the front piece of the main body, aligning the left, right, and bottom edges.
Secure it in place with sewing clips.
Next, sew vertical lines to divide the pocket into three sections.
※ This time, we made the center section a little wider. (We sewed the vertical lines at 7 cm and 14 cm from the finished edges.)
We chose the pocket sizes with ease of use in mind, making the center section suitable for items such as pens and scissors, and the side sections suitable for smaller items.
📣Check Before You Start!
Adjust the pocket widths to fit the items you want to store!
Decide which items you use most often, then adjust the divider positions to create a pouch that works best for you. ☆


Sew about 5–7 mm from the edge for a neat finish. ✨

③ Attach the Long Horizontal Pocket
Place the long horizontal pocket (cream) on the inside of the back piece of the main body.
Align the left, right, and bottom edges, secure it in place, and baste about 5–7 mm from the edge.
☺This pocket is large enough to hold slightly bigger items such as a smartphone or memo pad.


Sew about 5–7 mm from the edge for a neat finish. ✨
④ Attach the Zipper
Now that we’ve sewn the main body and all the pockets, it’s time to attach the zipper!
Place the main body fabric and the zipper together, then sew them using a zipper foot.
Sew about 5–7 mm away from the zipper teeth. This makes the zipper easy to open and close and gives you a neat finish.✨
Sew the other side in the same way.
Once both sides are sewn, topstitch from the right side.

Repeat on the other side.

⑤ Sew the Main Body Together
Now that the zipper is attached, it’s time to shape the pouch!🙌
Place the front and back pieces right sides together and sew around the edges.
📣Check Before You Start!
Make sure to leave the zipper more than halfway open at this point.
Leaving the opening will make it easier to turn the pouch right side out later.👍

⑥ Shape the Pouch and Finish!
Turn the pouch right side out and use a point turner to neatly shape the corners.
(You can also use an awl instead.)
Finally, shape the pouch neatly, and your divided mesh pouch is finished!✨👏

Tips for a Neat Finish
We asked the staff member who made this pouch to share some tips they found helpful while making it, and we’ve put them together here!
We hope you’ll find these tips helpful as you make your own♪
・Use sewing clips instead of pins to hold the mesh fabric in place. (Pins can make holes in the mesh.)
・We recommend using a regular needle for medium-weight fabrics, size 11–14. (We also used No. 60 sewing thread.)
・Set the stitch length to about 2.8–3 mm to help prevent the fabric from puckering.
・Do not pull the fabric. Sew slowly and let the sewing machine move the fabric through.
※Mesh fabrics may be sensitive to heat, so be careful not to place an iron directly on the fabric.
Summary
This time, we showed you how to make a divided mesh pouch with a 20 cm zipper!
The mesh fabric lets you see the contents at a glance, making it easy to stay organized. With the divided pockets, you can also neatly store small items.
It can also be very useful when you have lots of things to carry, such as when traveling, since you can quickly find and take out what you need.😊
By using handy items such as the adhesive bias tape, sewing clips, and point turner we introduced this time, even beginners can make a neat and finished-looking pouch.
Why not combine your favorite fabrics and colors and enjoy making your own original pouch?♪
We’re Also Sharing the Tutorial on Instagram📷
We’ve also shared a behind-the-scenes look at making the divided mesh pouch in an Instagram Reel.
Some of the steps can be difficult to explain with photos alone, so be sure to check out the video too♪
We also share products and special offers on Instagram.
Please follow our Instagram account here!
Our Official Websites
Chuko Online: https://www.nippon-chuko.co.jp/shop
Facebook: https://www.facebook.com/nipponchuko


Chuko Onlineではみなさまに日々の手芸用品の仕入れを便利にしていただけるように、お得なセール情報などを更新しております! ▽Chuko Onlineのサイトはこちらから! https://www.nippon-chuko.co.jp/shop/ みなさまからのご注文をお待ちしております。