



Do you ever lose track of small items like earphones and accessories inside your bag?
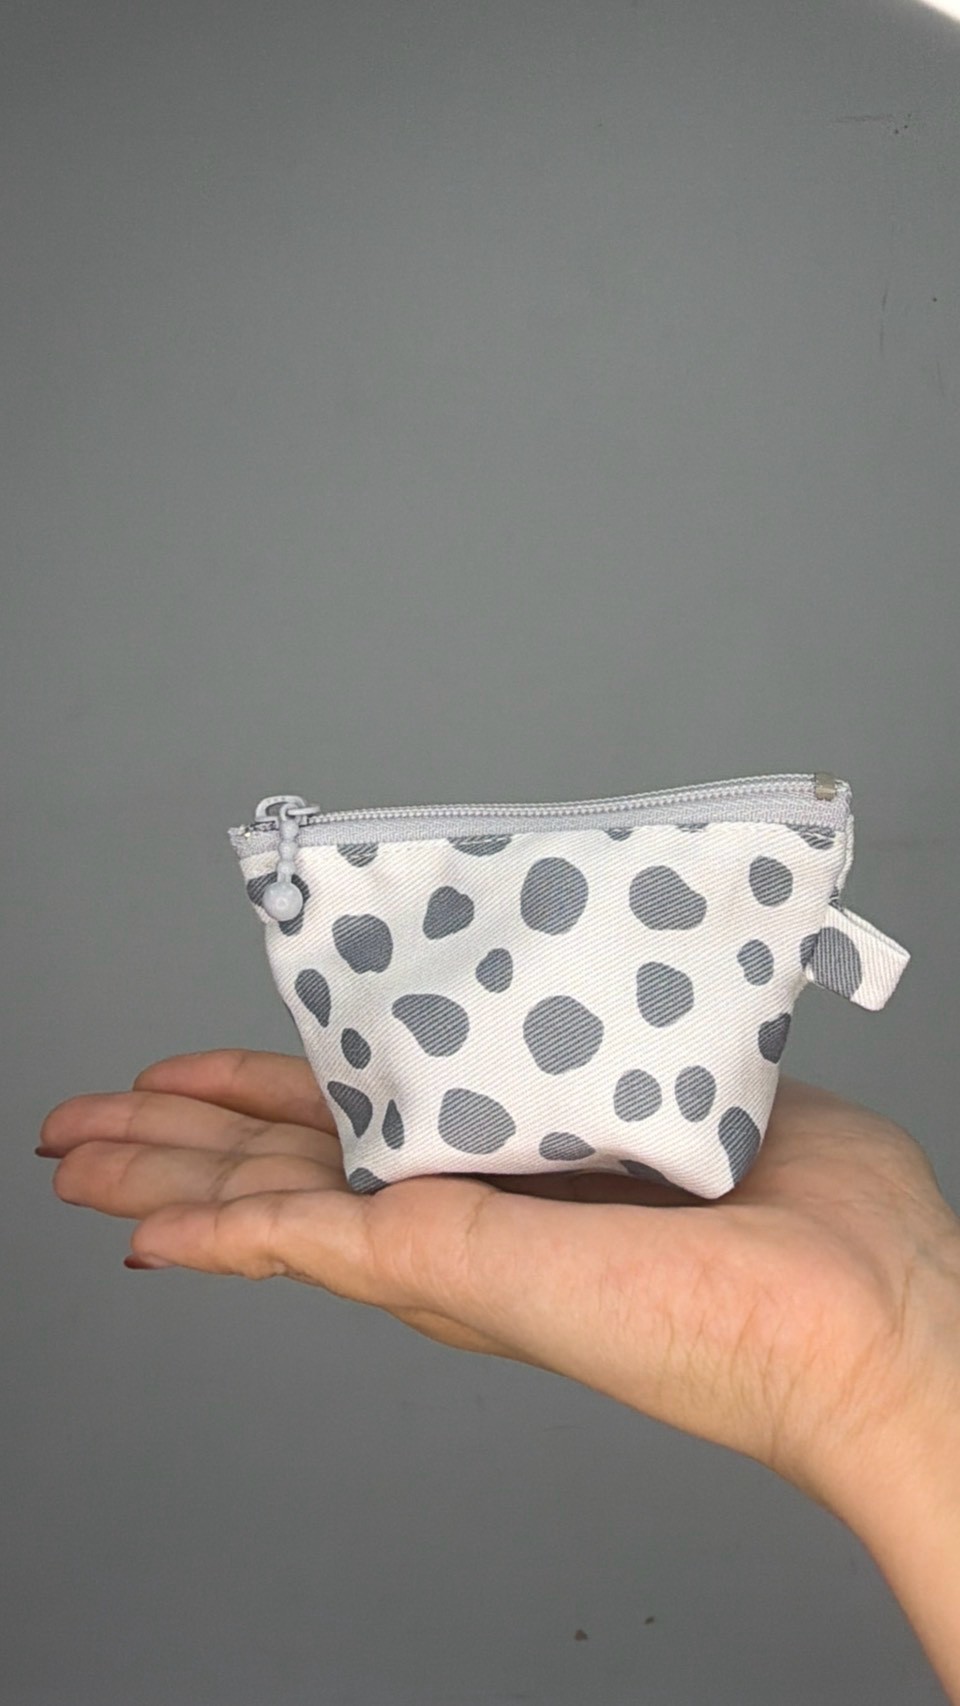
This time, we made a mini pouch that is perfect for keeping small items organized!
We tried an adapted version of “REC231 Mini Pouch with Colorful Zippers,” an original Chuko pattern that is popular in our online store.
The original pattern uses PVC fabric, but we used twill fabric instead this time. Why not try making your own with your favorite fabric?
Now, let’s go through the steps with photos!📸
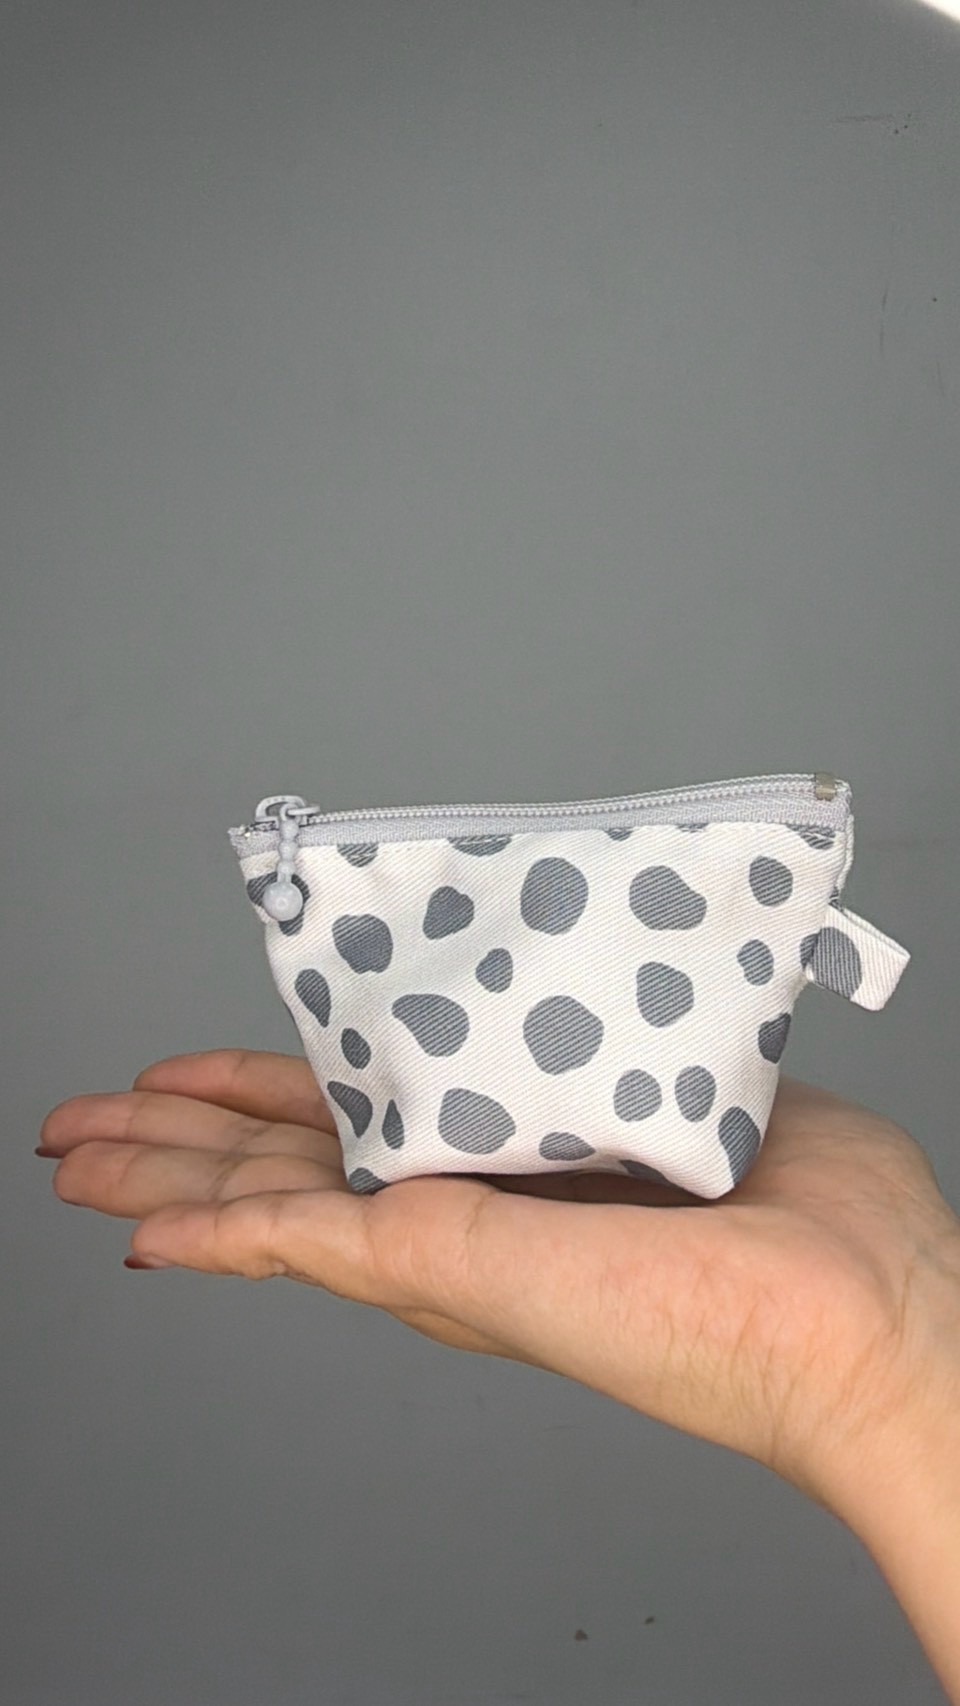
Finished Size
Approx. 7 cm wide × 10 cm high
※Uses a 10 cm zipper
目次
Materials
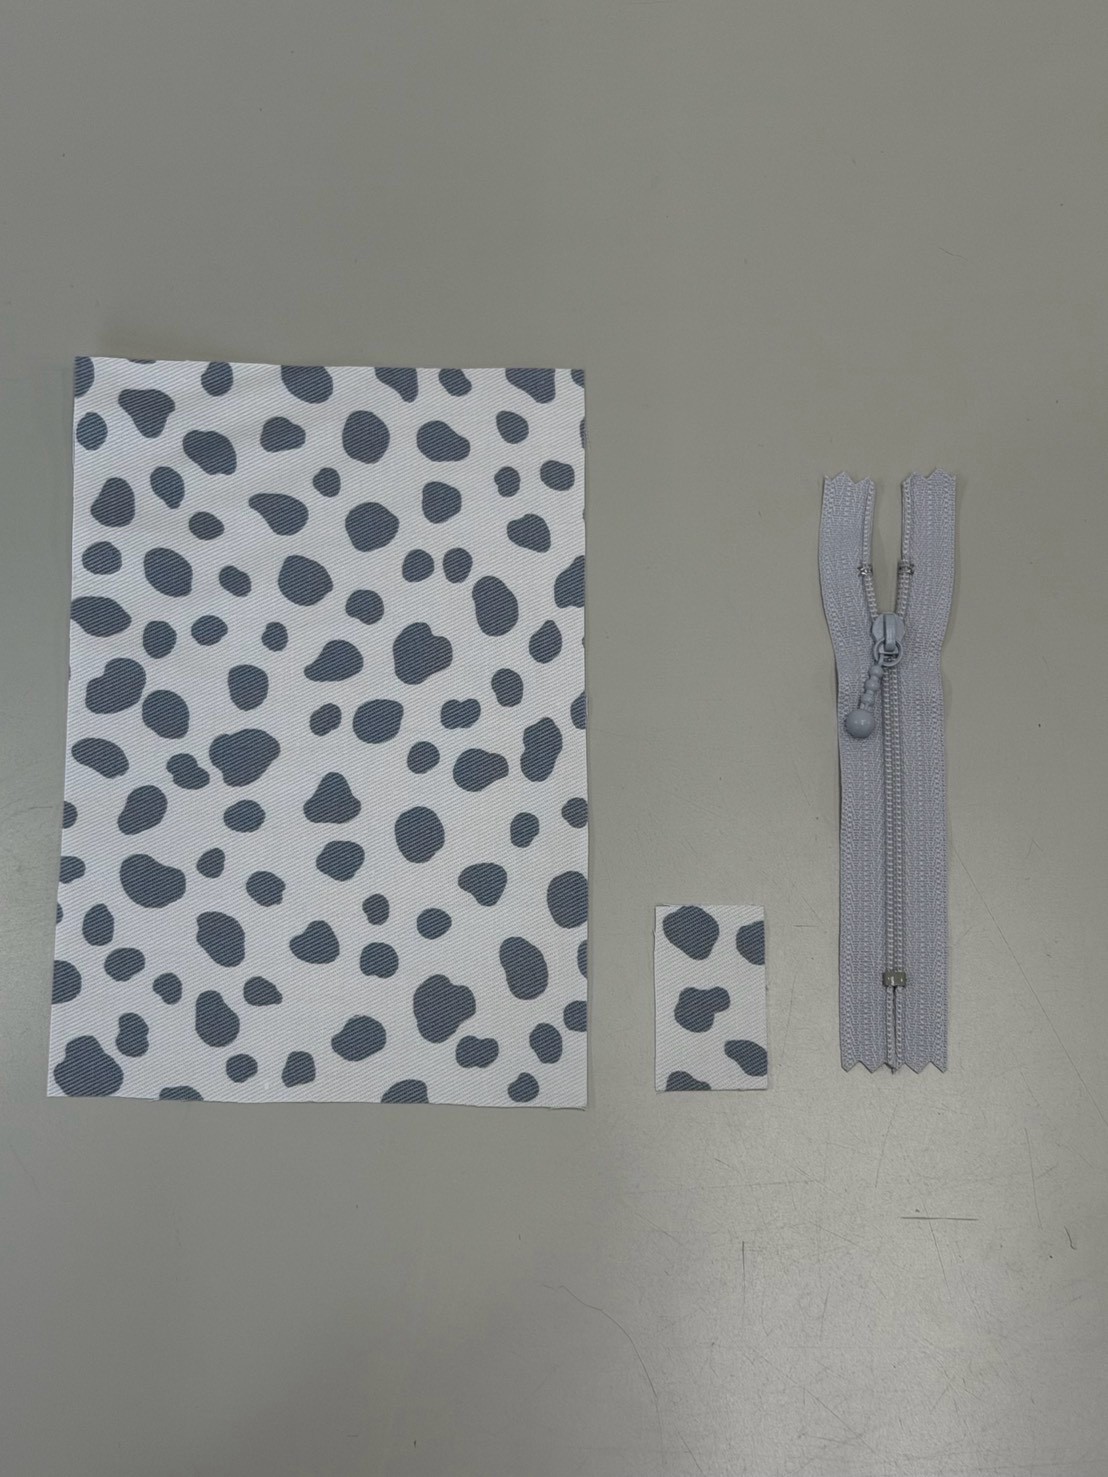
Here are the materials we used!
| Material | Size | Quantity |
|---|---|---|
| Twill fabric (for the pouch body) | 12 × 17 cm | 1 piece |
| Twill fabric (for the tab) | 4 × 1 cm | 1 piece |
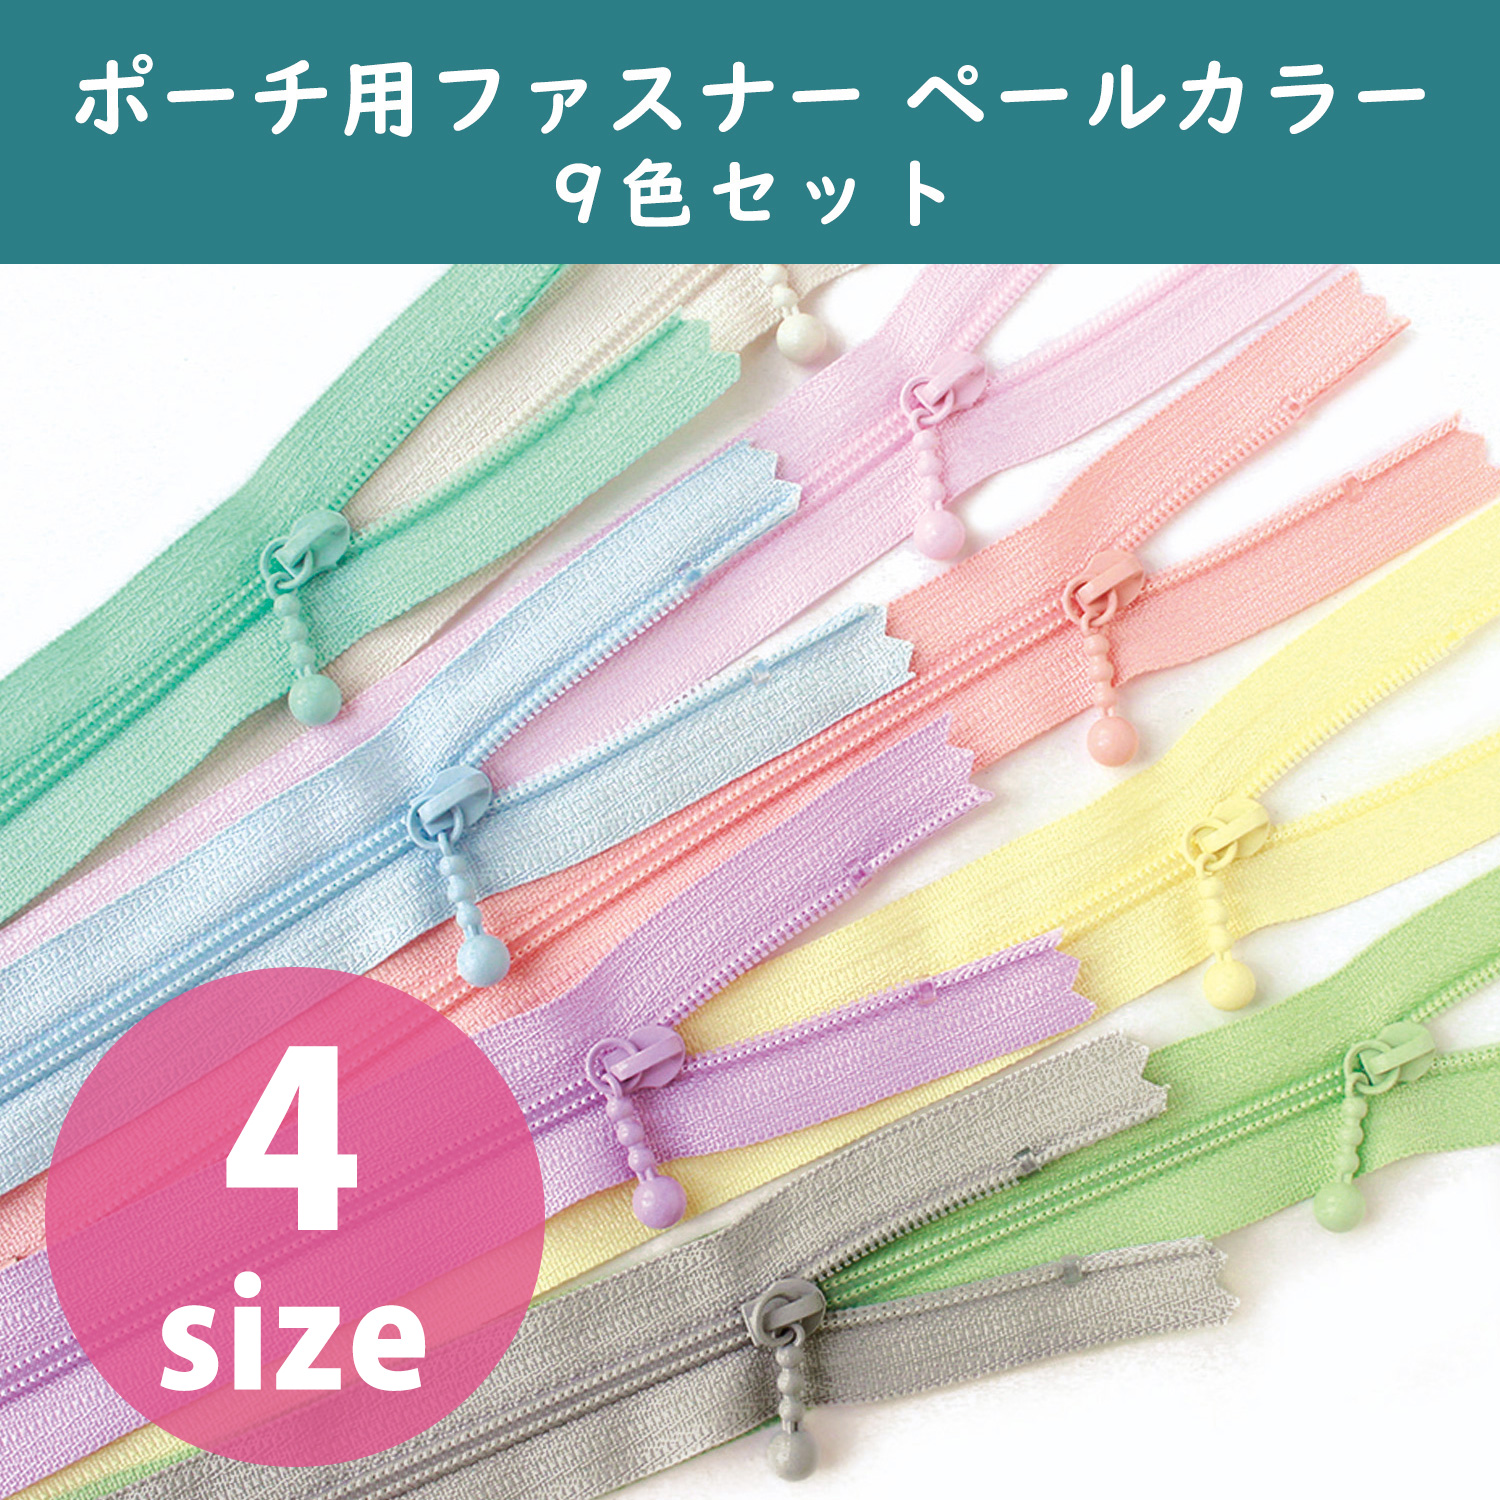
| Zipper (10cm) | 1 piece | |
| Sewing thread (No. 60) | As needed |


Preparing the Fabric (Cutting)
First, let’s cut the fabric to get everything ready!
Pouch Body
・12 cm wide × 17 cm high — 1 piece
Tab
・4 cm wide × 1 cm high — 1 piece
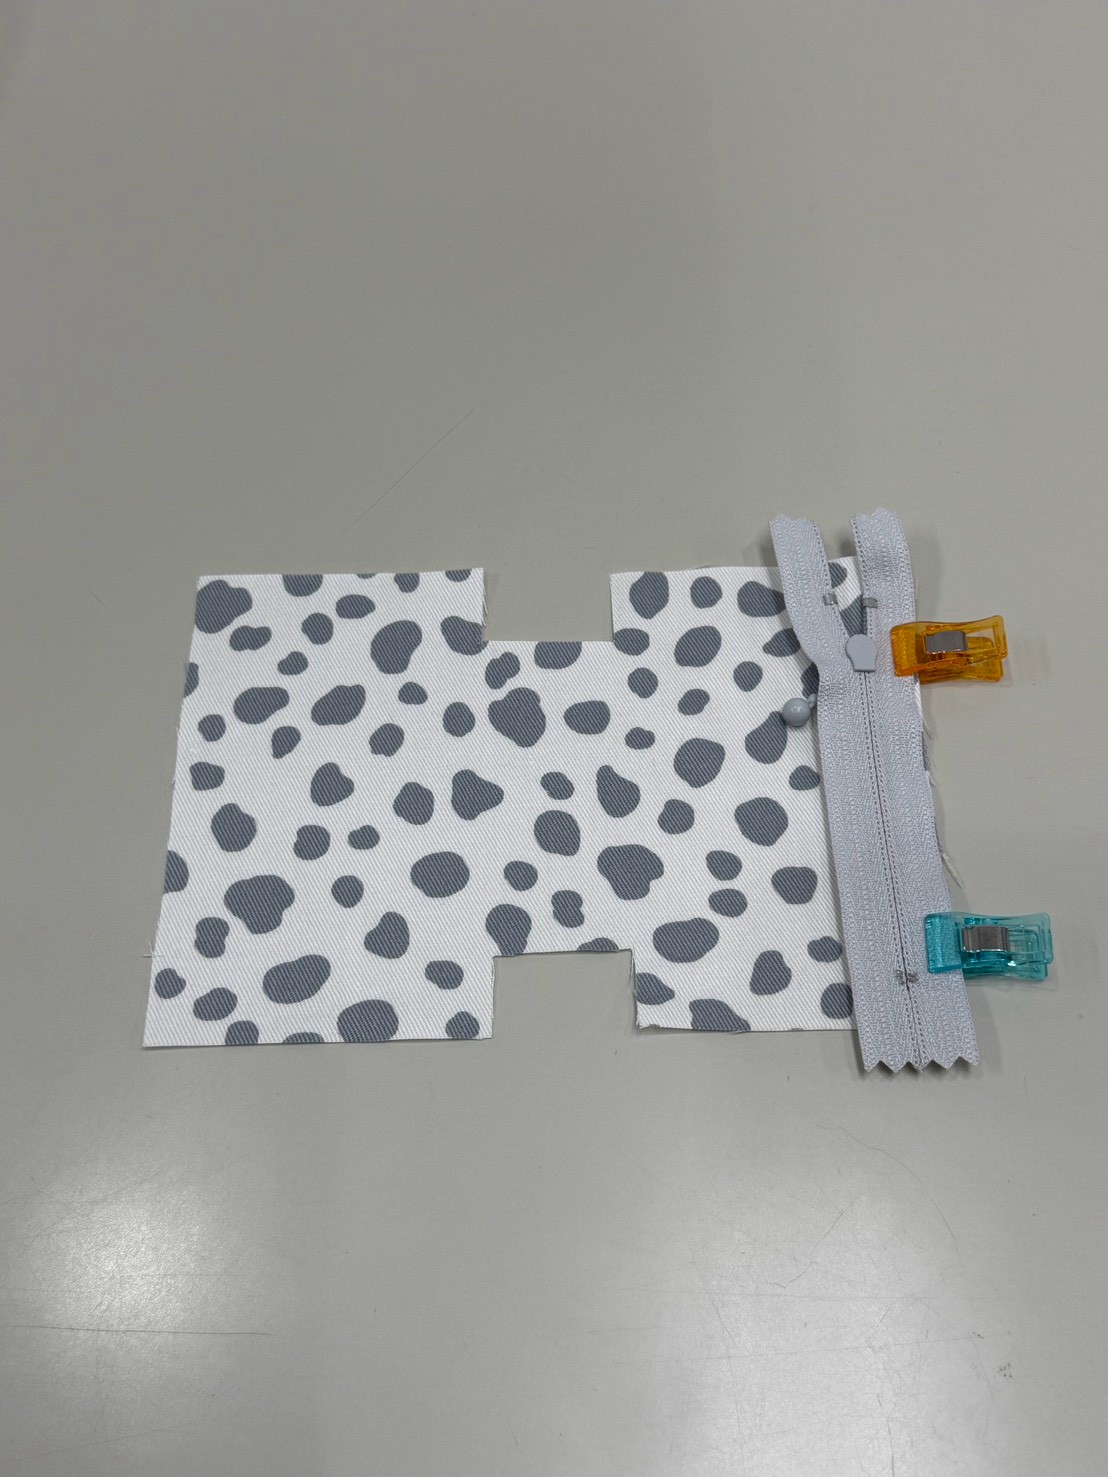
① Sew the Fabric and Zipper Together
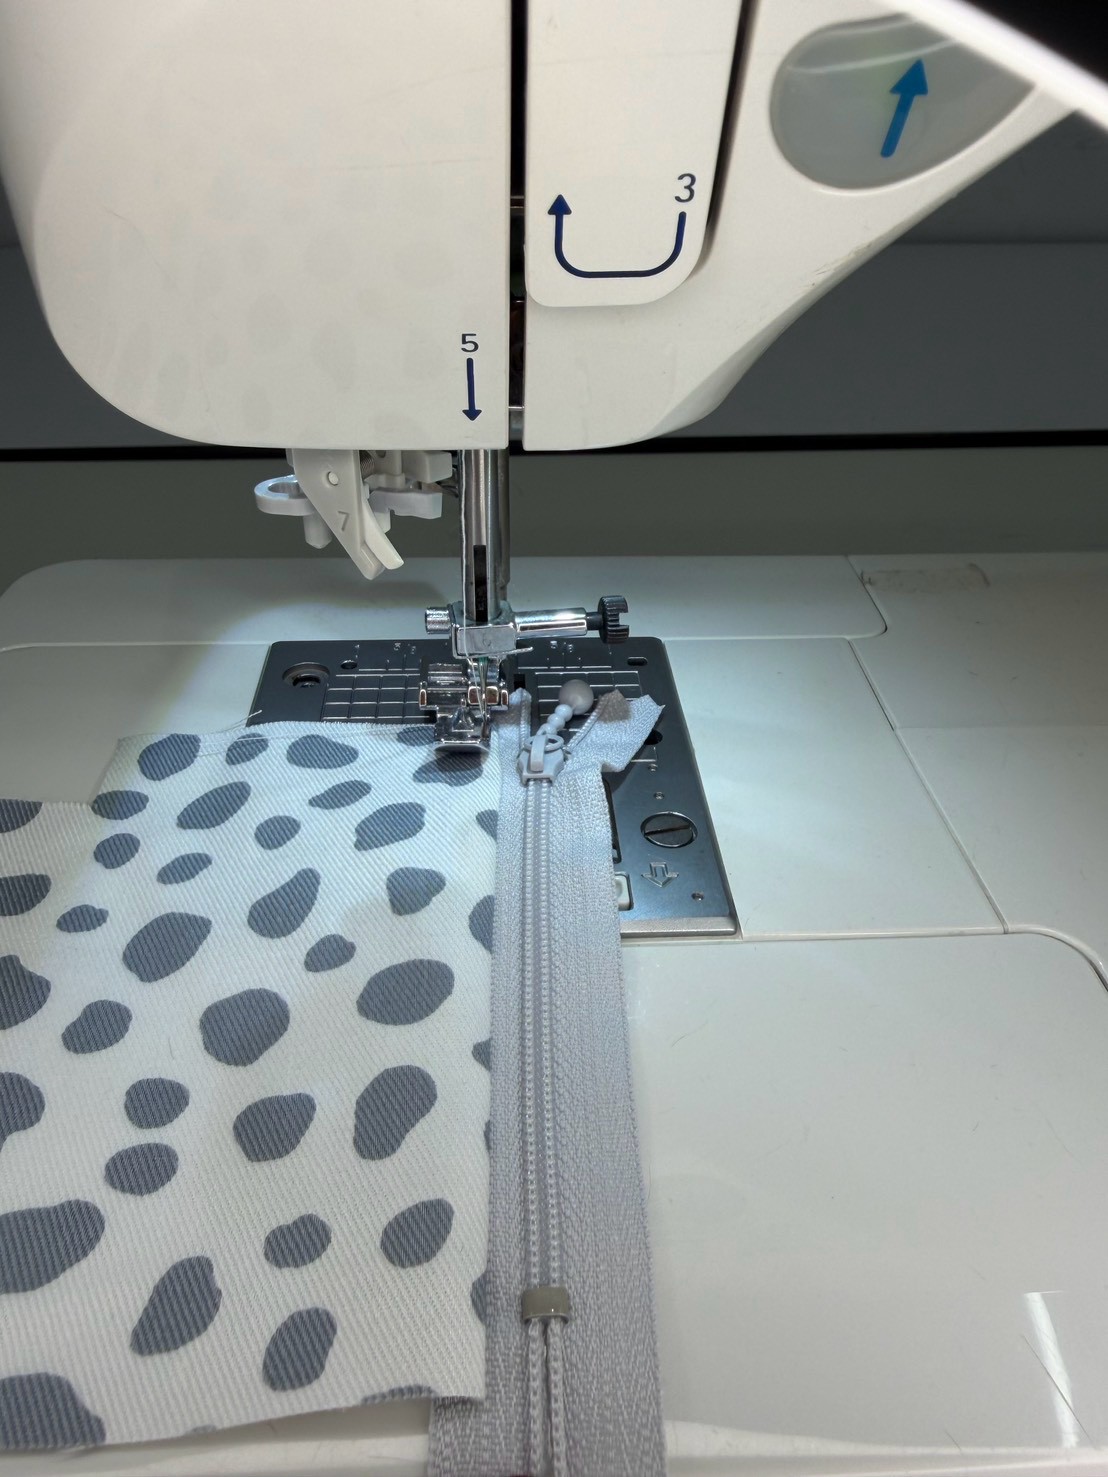
First, sew the zipper onto the fabric at the “Zipper Attachment Position” marked on the pattern.
Place the fabric and zipper right sides together, and sew them together one side at a time!
Sew about 5–7 mm away from the zipper teeth. This makes the zipper easier to open and close and gives you a neat finish. ✨
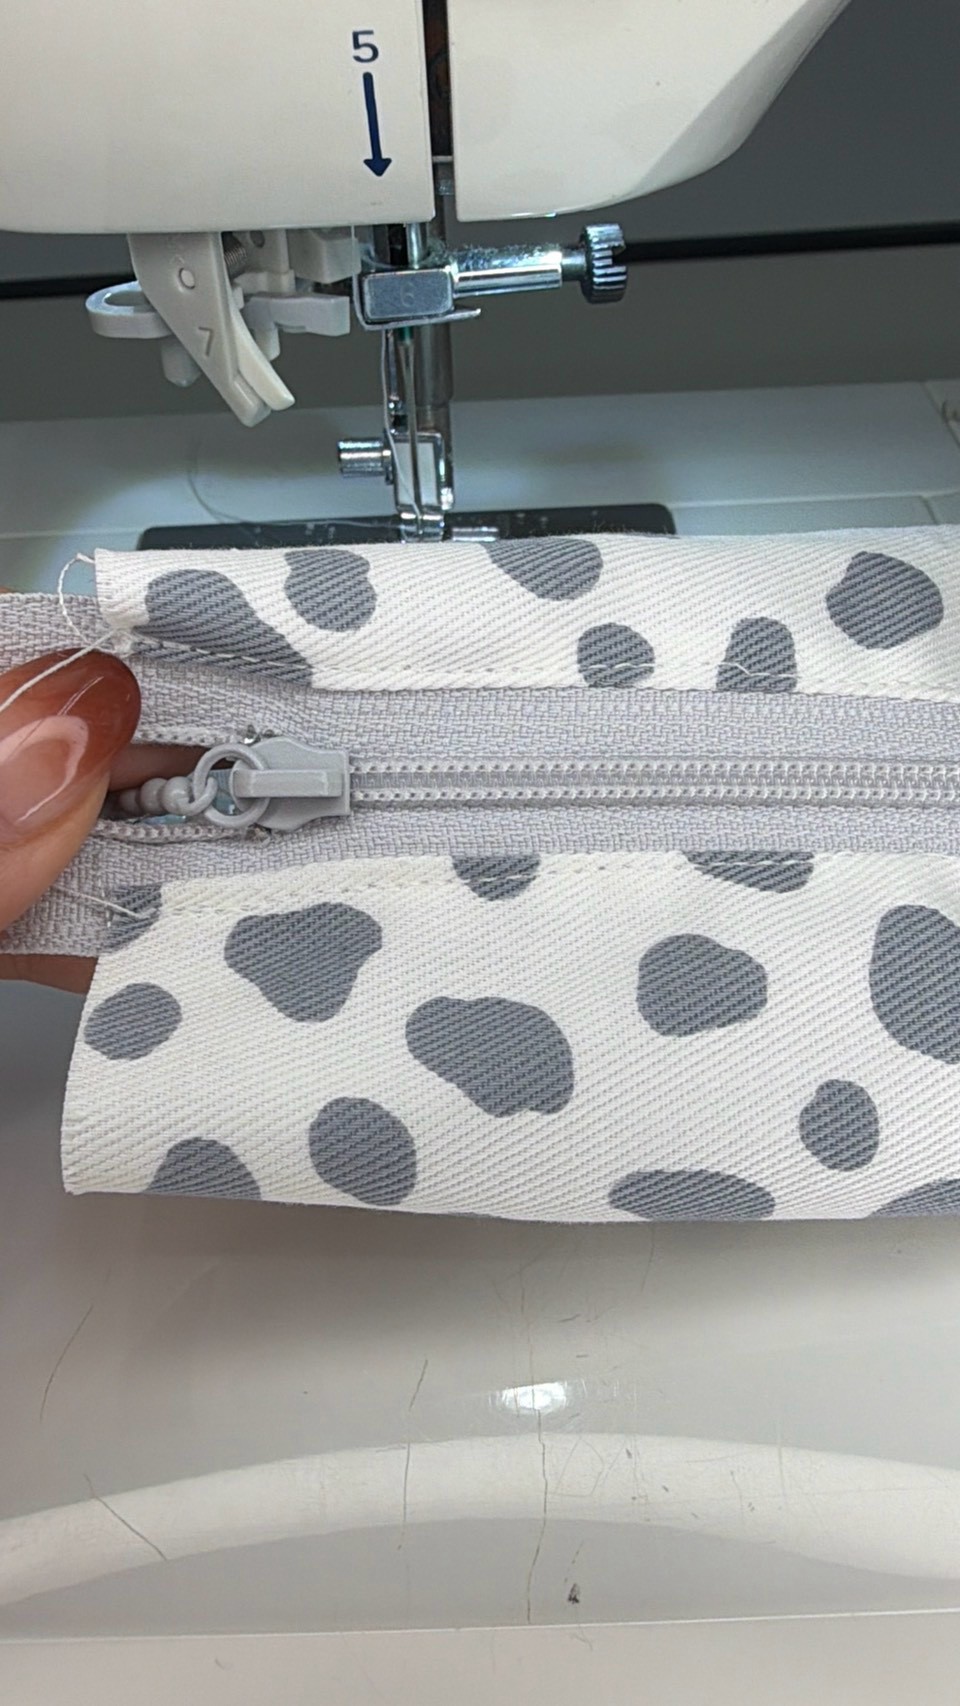
Once both sides are sewn, turn the fabric right side out and topstitch along the fabric on both sides of the zipper.
② Make the Tab
For this project, we’ll make a fabric tab too!
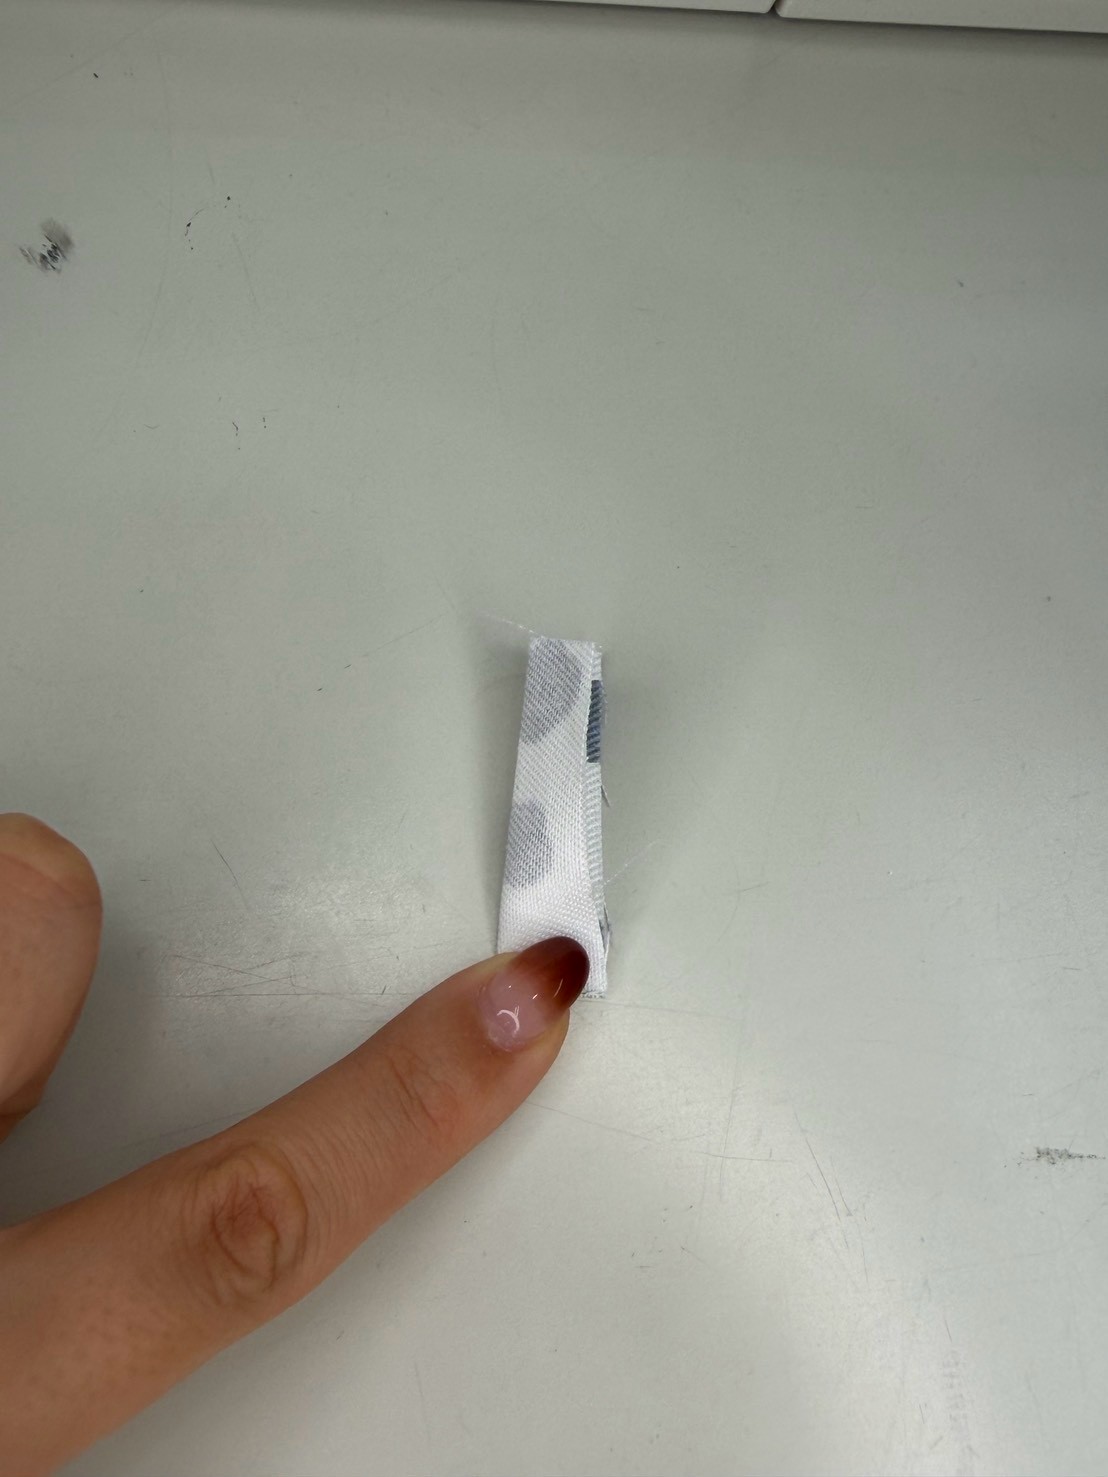
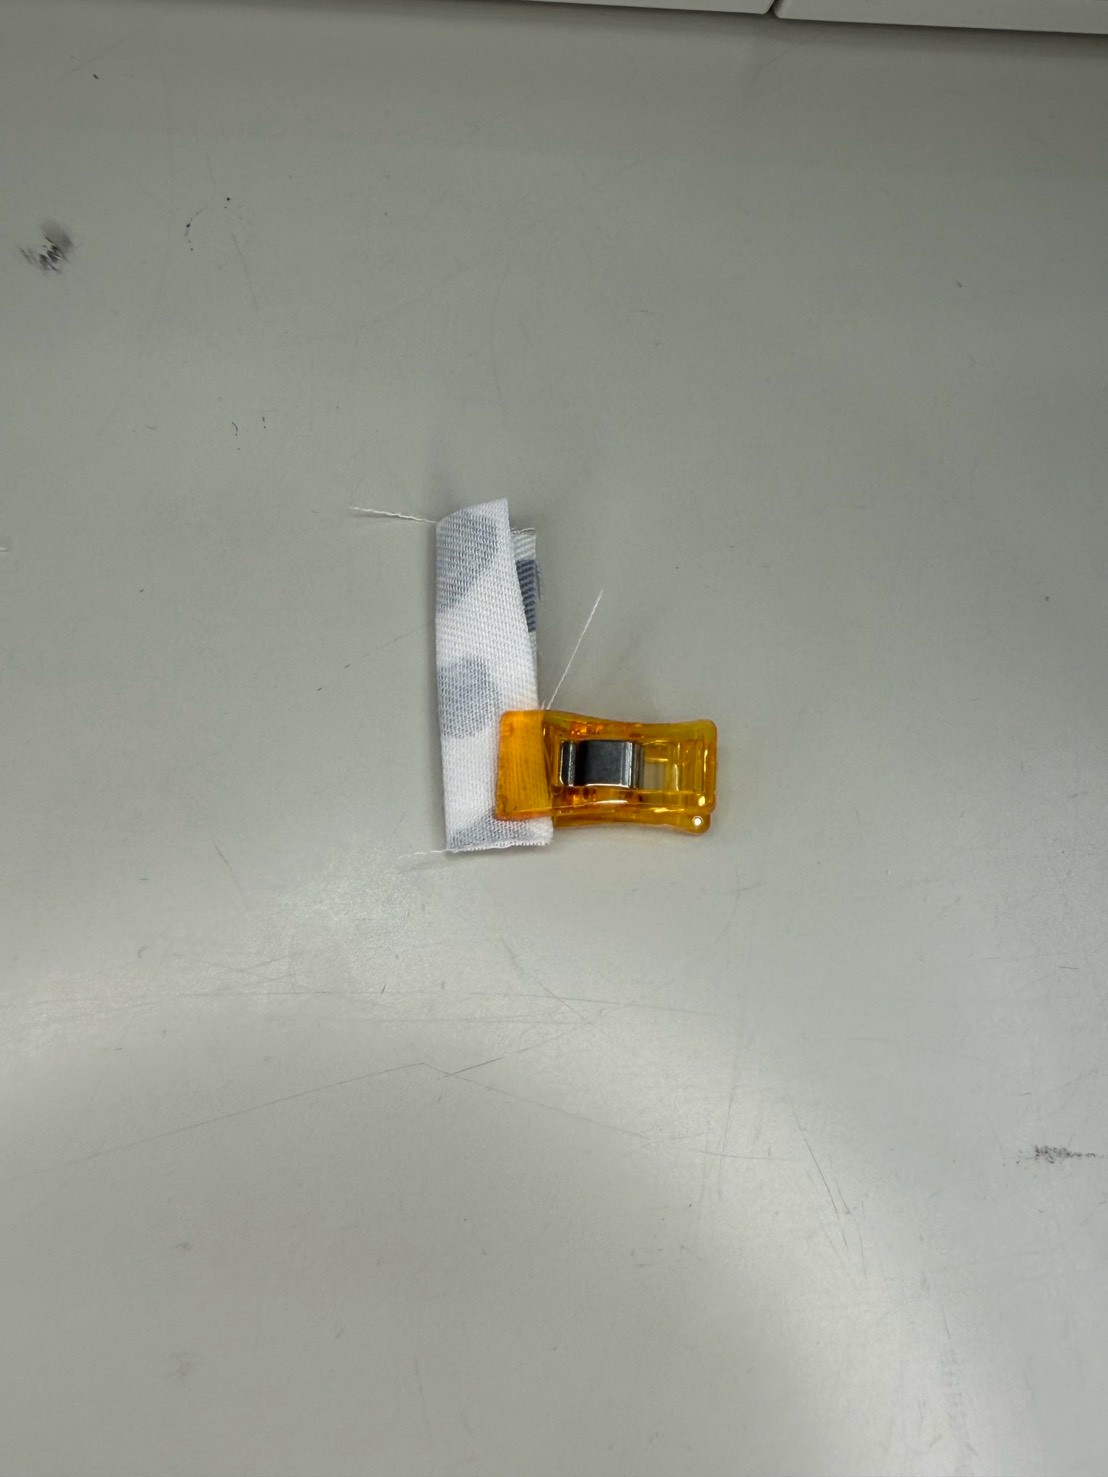
Fold the tab fabric in half along the short edge, then sew along the long edge with a sewing machine.
Once sewn, turn the fabric right side out.
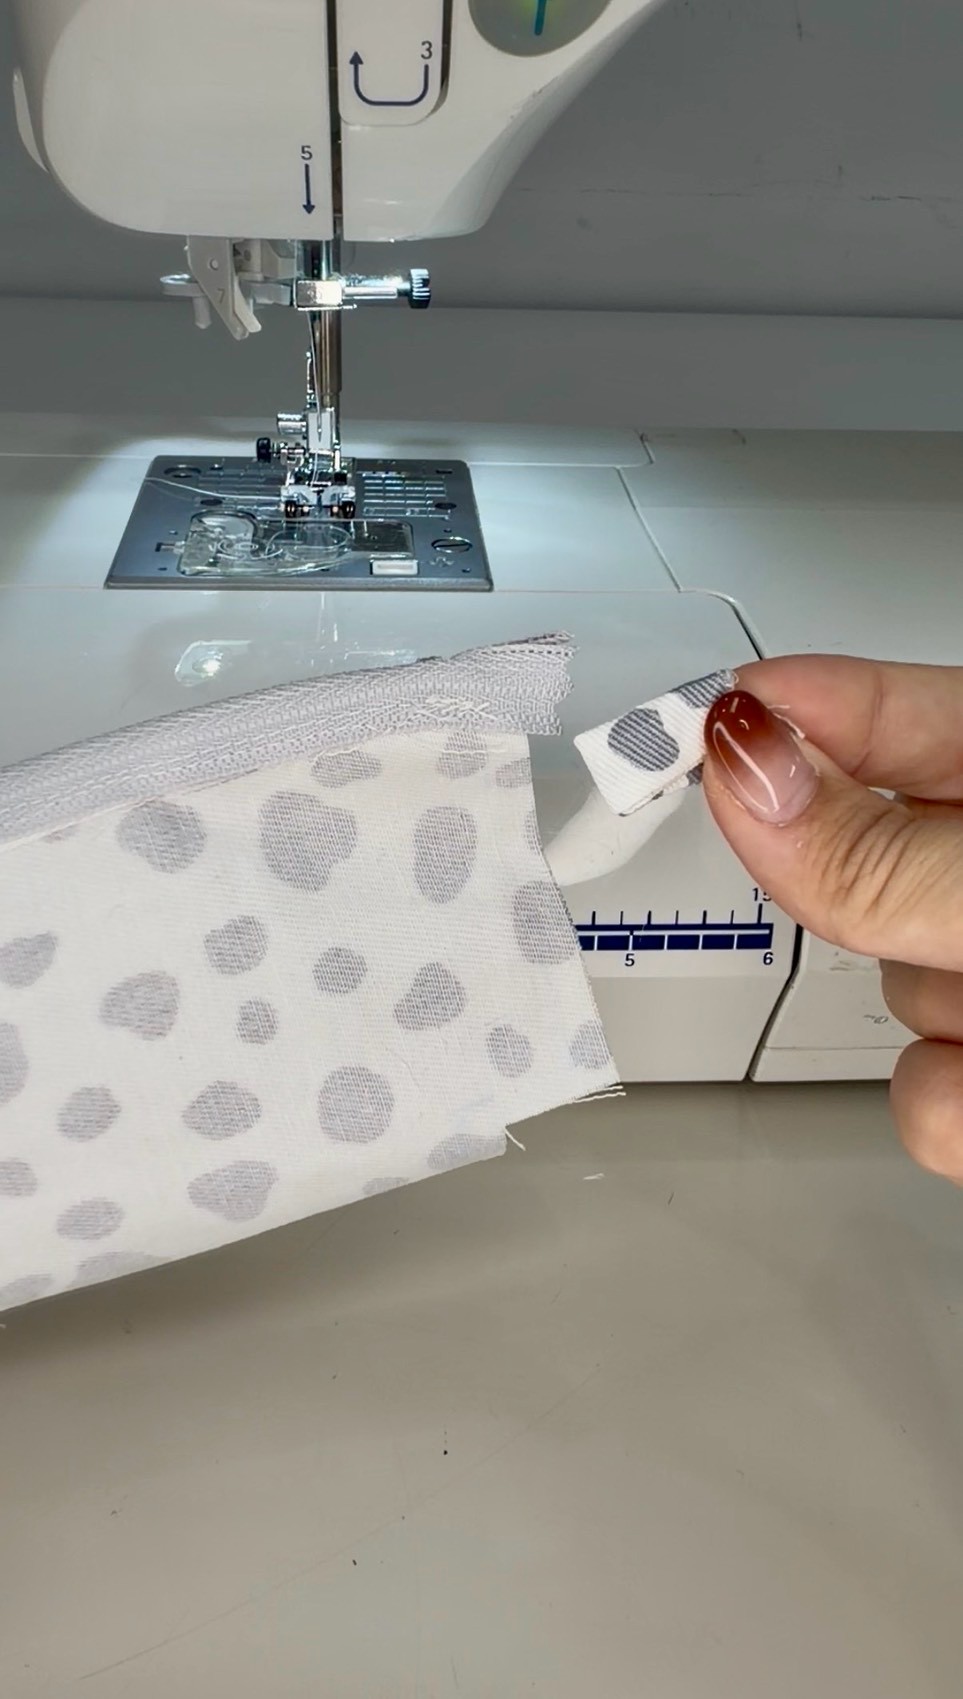
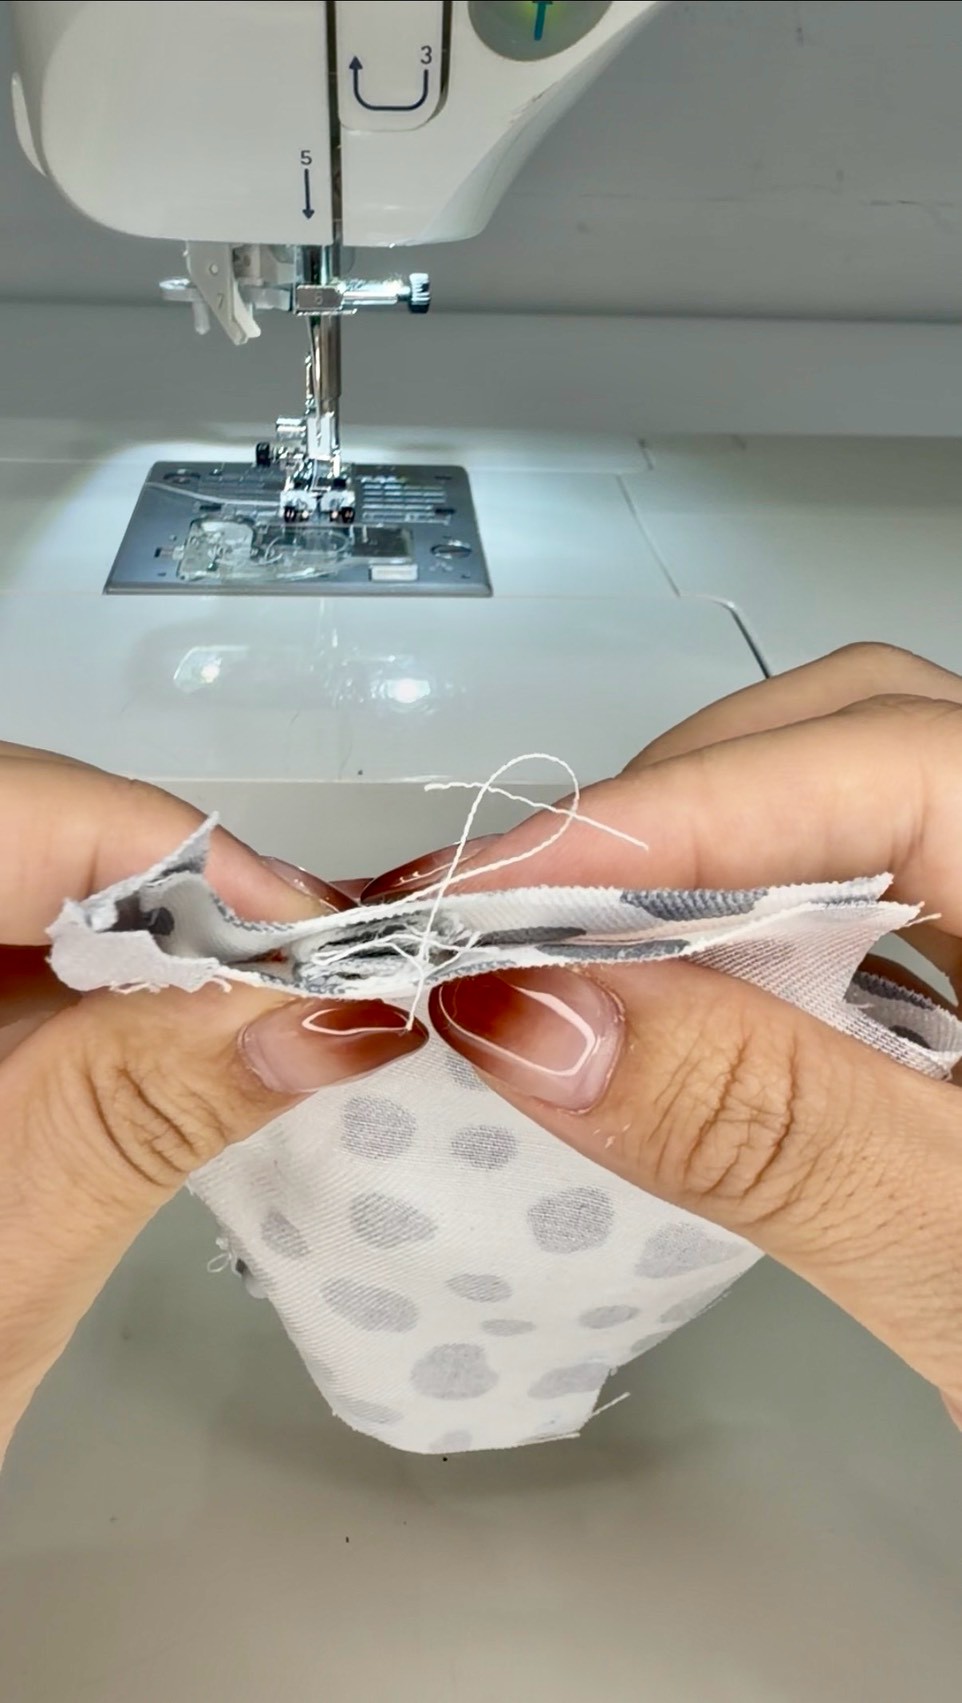
③ Sew the Tab onto the Pouch Body
Next, sew the tab onto the side of the pouch body!
First, turn the pouch body right sides together again.
Insert the tab between the two layers of fabric, on the inside of the pouch body. Secure it temporarily with pins or sewing clips.
Sew the tab in place just outside the seam allowance of the pouch body.
④ Sew the Side Seams
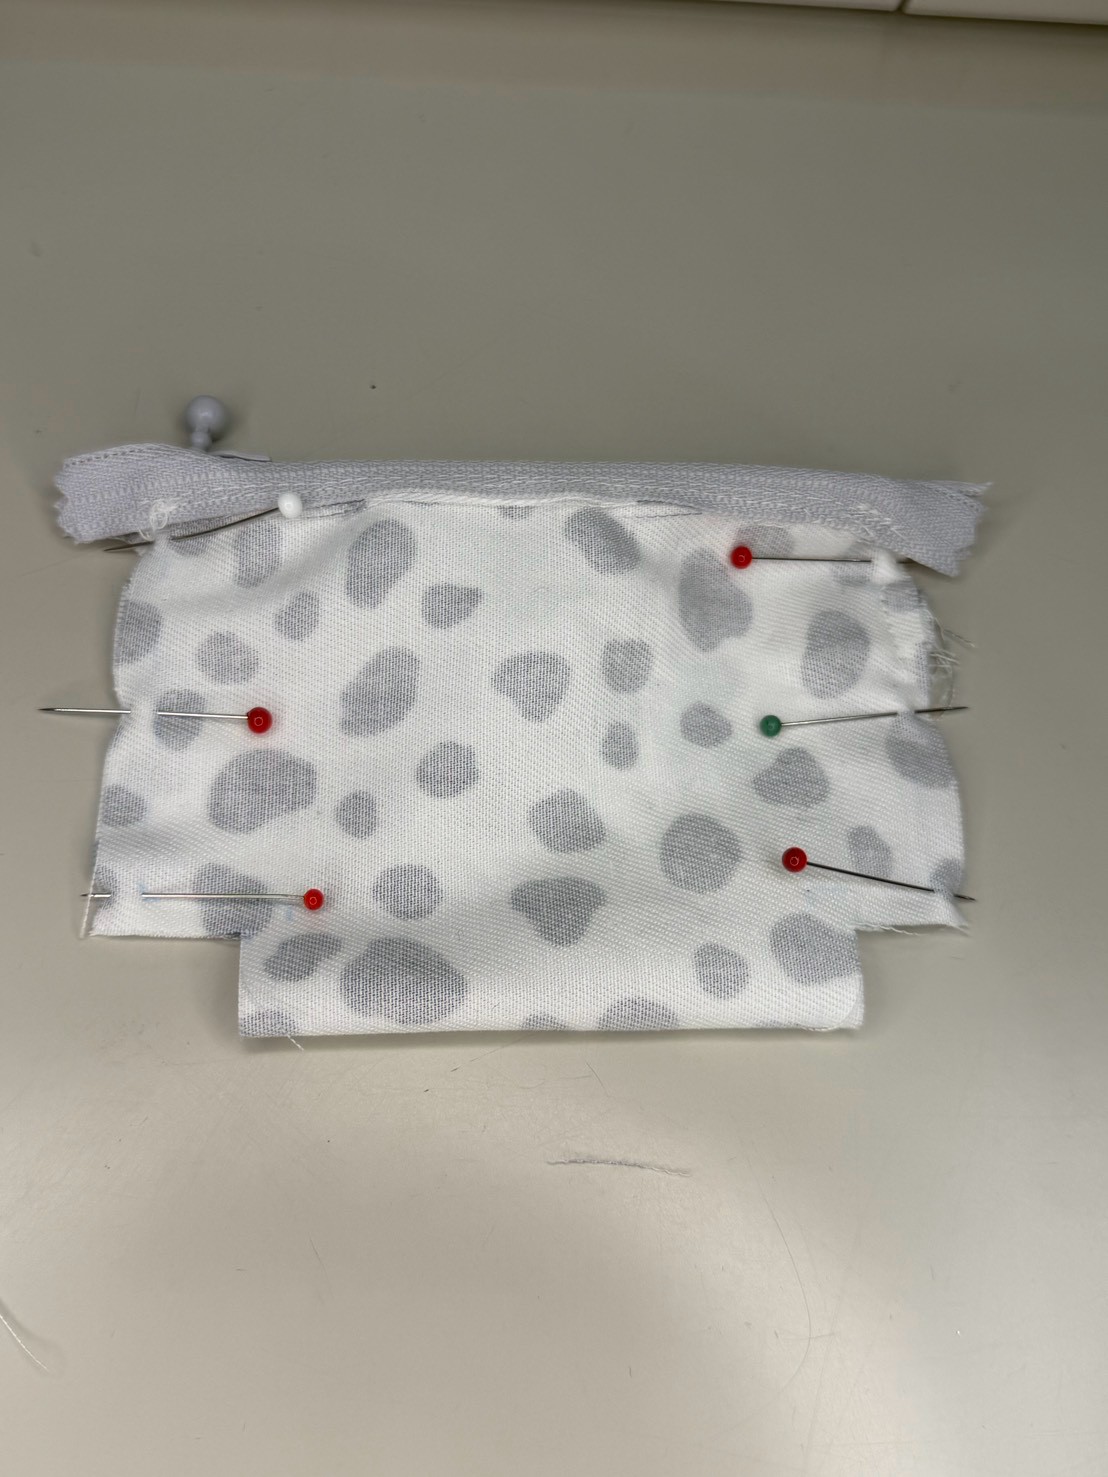
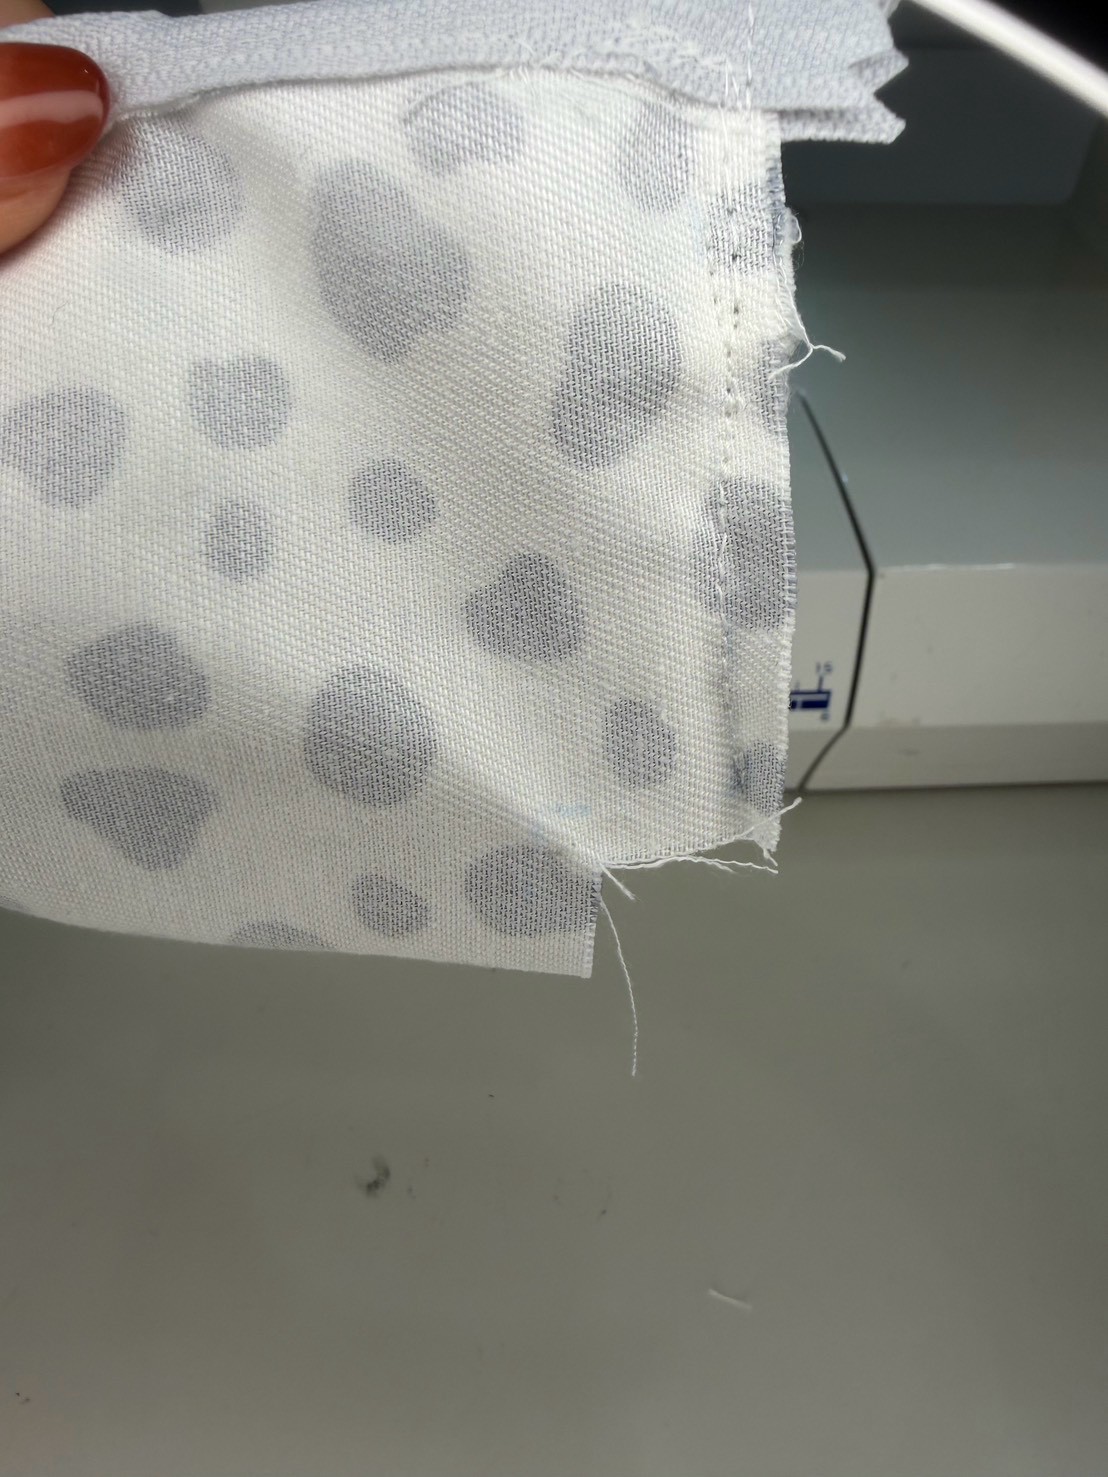
Once the tab is attached to the pouch body, it’s time to sew the two side seams.
Keep the pouch body right sides together. Secure both sides with pins or sewing clips, then sew along both side edges.
The areas around the zipper and tab may be a little thicker, which can make them harder to sew. If you’re using a sewing machine, slow down and sew carefully. This will help you sew straight and get a neat finish!
⑤ Sew the Bottom Corners
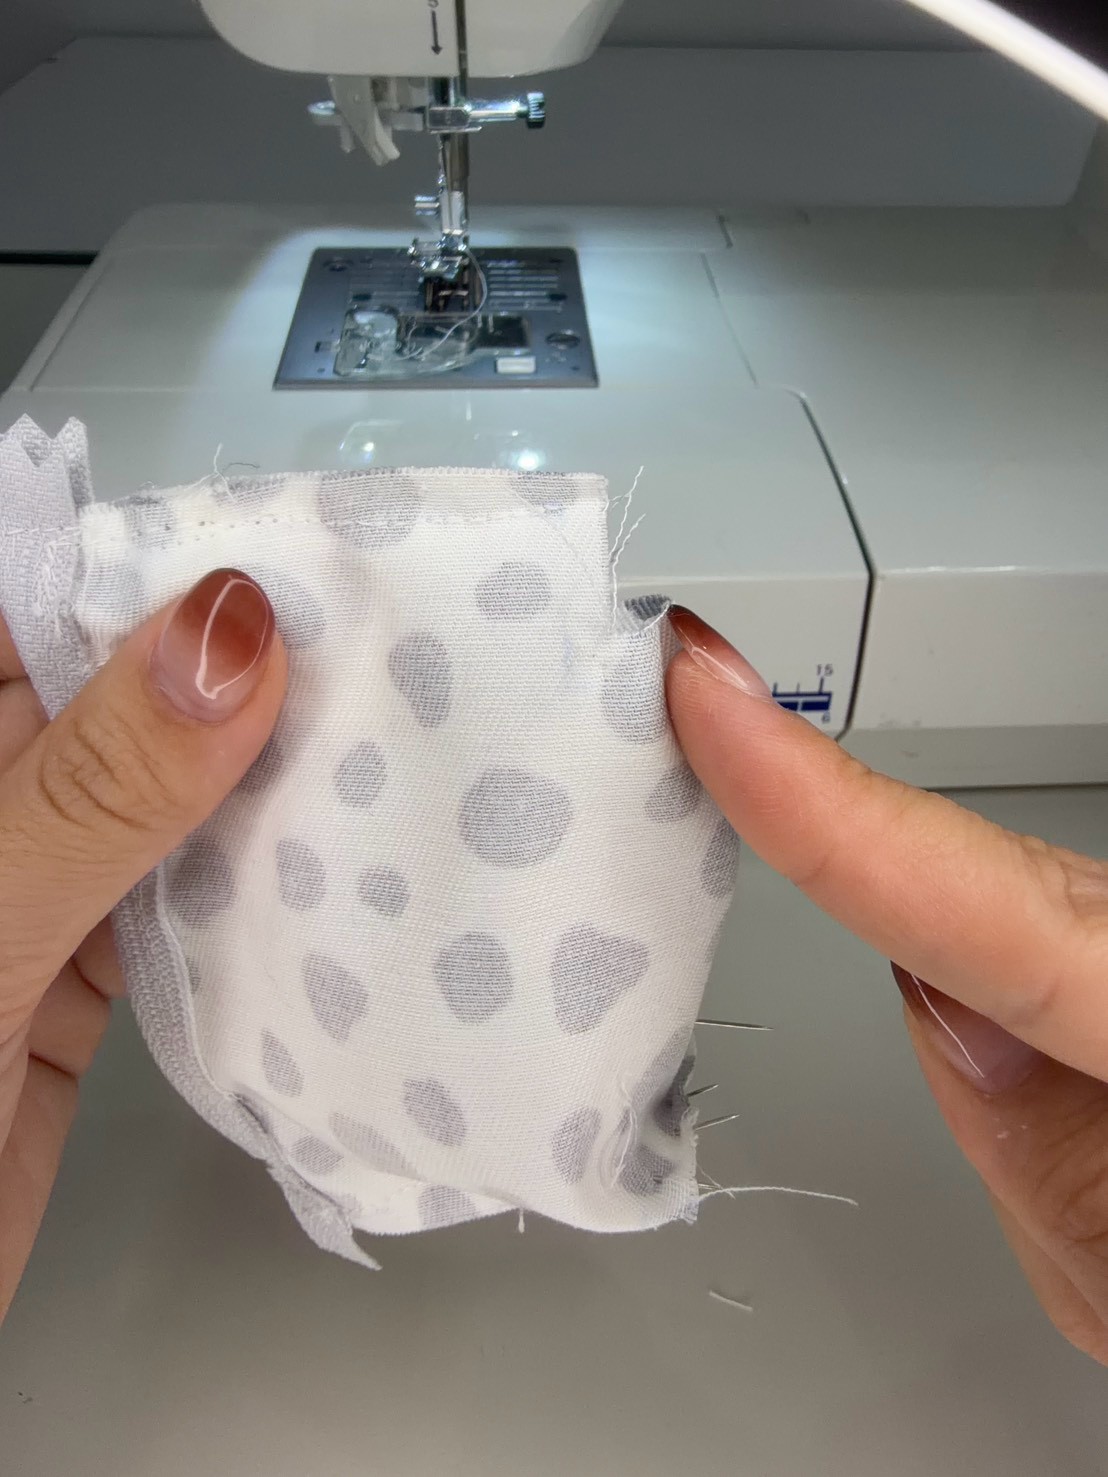
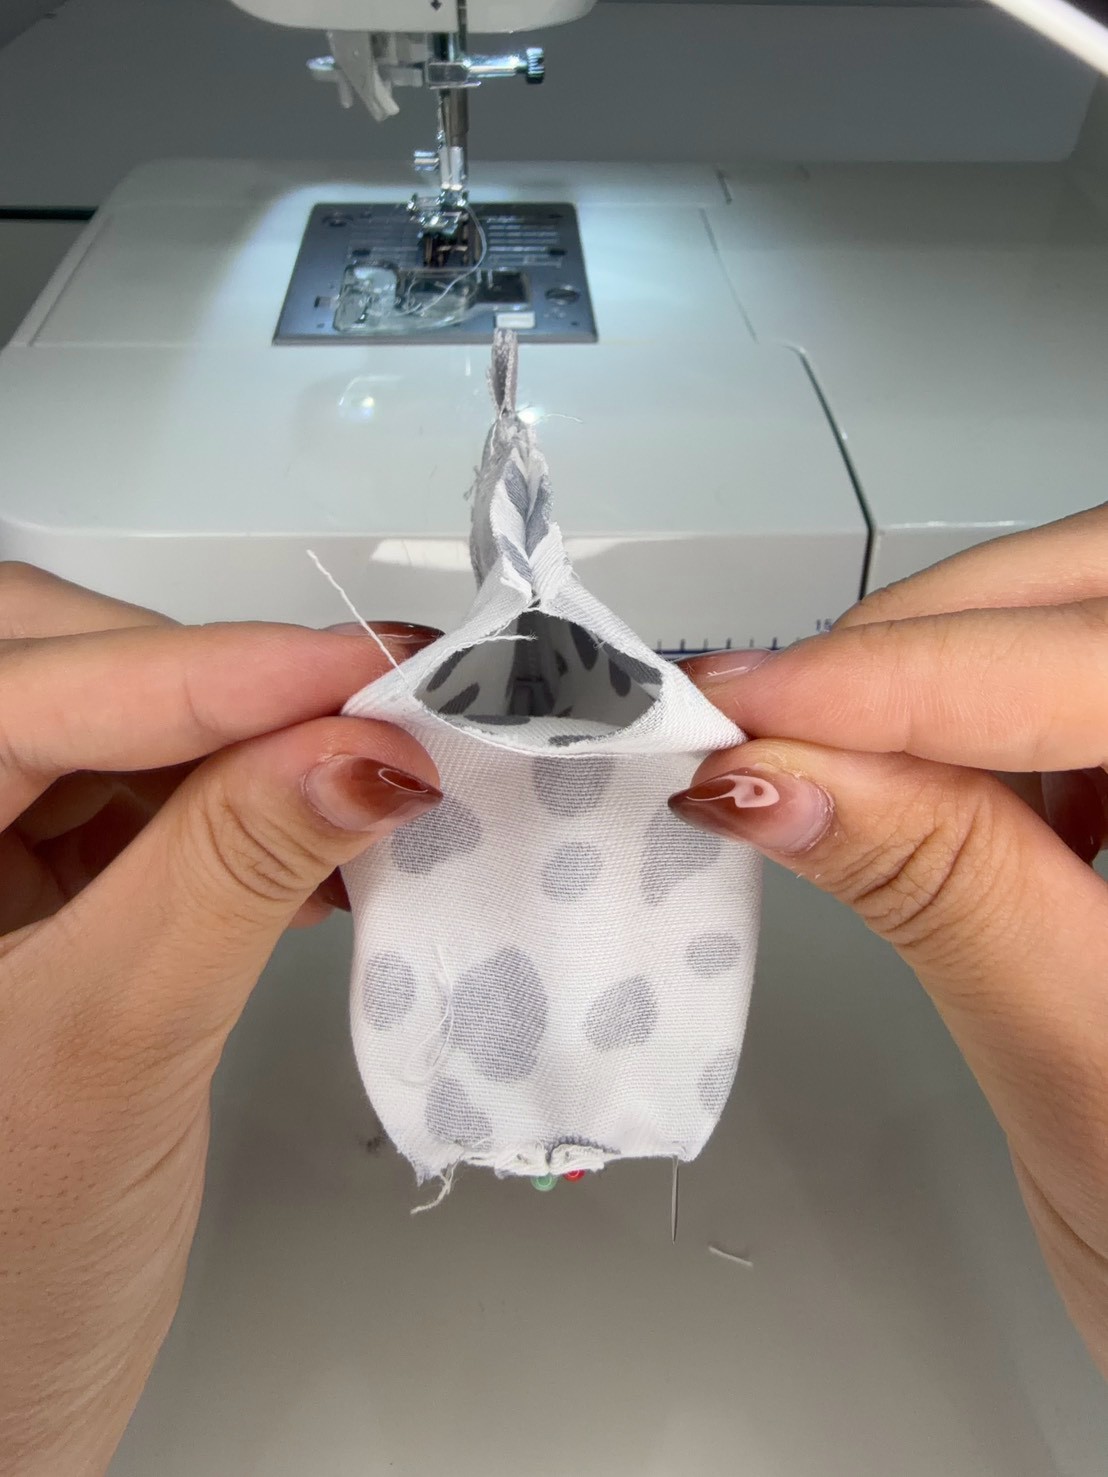
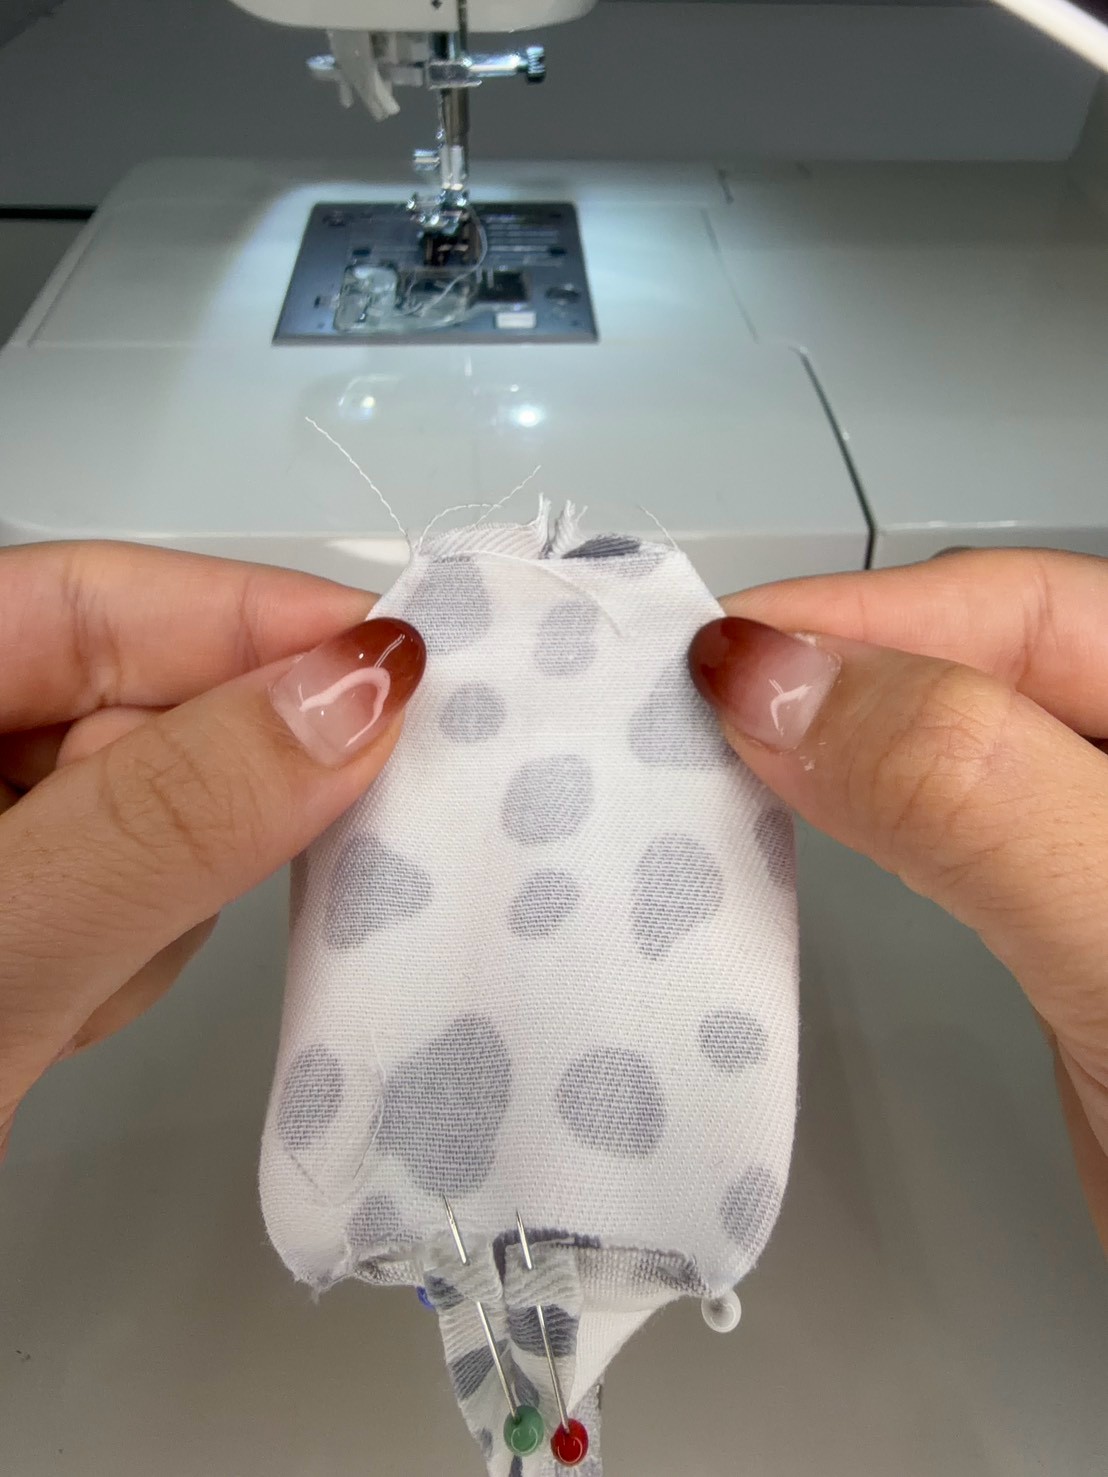
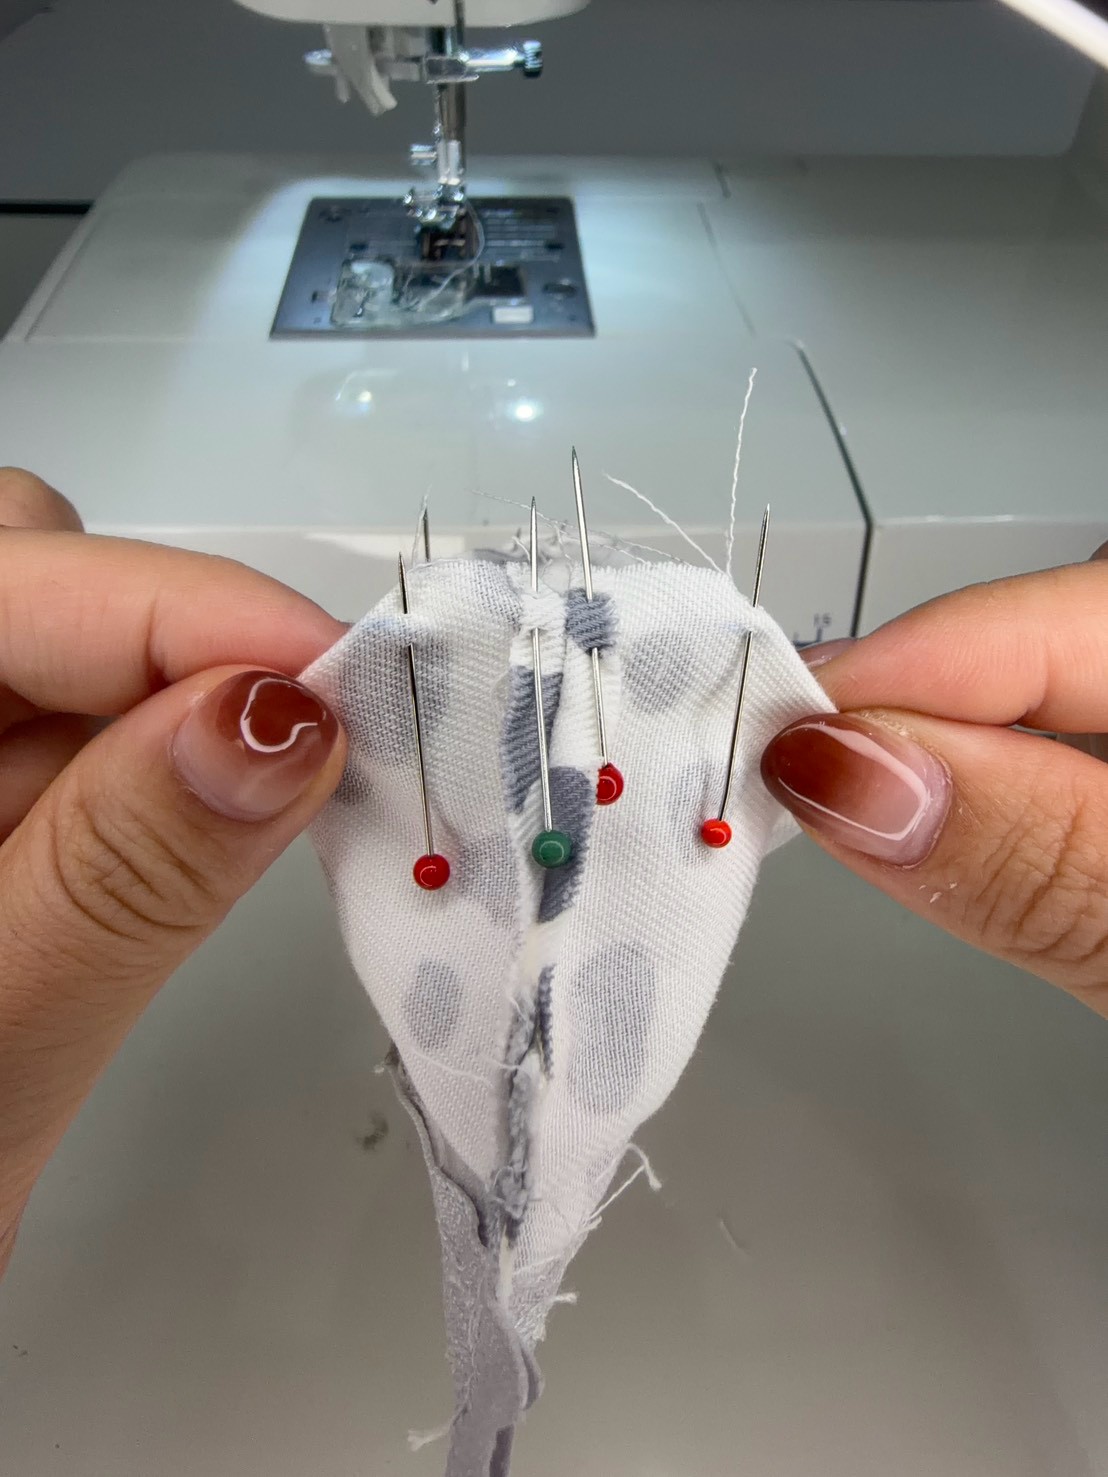
Next, let’s sew the bottom corners of the pouch.
Following the photos below, overlap the fabric so that the side seams line up with the bottom seam.
Mark the fabric to keep it from shifting, then sew with a 1 cm seam allowance!
⑥ Shape the Pouch and Finish!
Turn the pouch right side out and shape it neatly. Your mini pouch is finished! ✨👏
Tips for a Neat Finish
We asked the staff member who made this pouch to share some tips they found helpful, and we’ve put them together here!
We hope you’ll find these tips helpful as you make your own!♪
・We recommend using a regular needle for medium-weight fabrics, size 11–14. (We also used No. 60 sewing thread.)
・Do not pull the fabric. Sew slowly and let the sewing machine move the fabric through.
Finally
This time, we showed you how to make a mini pouch with a 10 cm zipper!
The pattern we used is available in our online store and at our physical stores. Why not combine your favorite fabrics and zippers and enjoy making your own original pouch?♪

We’re Also Sharing the Tutorial on Instagram📷
We’ve also shared a behind-the-scenes look at making the mini pouch in an Instagram Reel!
Some steps can be difficult to explain with photos alone, so be sure to check out the video too!♪
We also share products and special offers on Instagram.
Please follow our Instagram account here!
Our Official Websites
Chuko Online: https://www.nippon-chuko.co.jp/shop
Facebook: https://www.facebook.com/nipponchuko



Chuko Onlineではみなさまに日々の手芸用品の仕入れを便利にしていただけるように、お得なセール情報などを更新しております! ▽Chuko Onlineのサイトはこちらから! https://www.nippon-chuko.co.jp/shop/ みなさまからのご注文をお待ちしております。