


Must-see for embroidery beginners! Complete Guide to Transferring Designs: Tips to Avoid Mistakes and Useful Tools
Hello everyone. I’m Y from the 3rd floor.
Today, I’ll introduce “design transferring,” which we often get asked about in-store.
For people who enjoy embroidery, transferring designs can feel like a never-ending challenge. Not many people actually like this step, right…?
Even me whose hobby is embroidery, can’t get it right every time. In the end, I often finish by looking at the original design and going with my feeling.
But that doesn’t work for detailed designs, and I’ve often felt frustrated when the result didn’t look quite right.
So this time, I looked into helpful items and tips to solve these design transferring problems.
目次
Let’s learn the tips for transferring designs
The most common way to transfer a design is to use a chalk pen and a tracer.
It sounds simple, but in reality, you need to draw twice—once when transferring the design onto tracing paper, and again when transferring it onto the fabric. At this stage, problems like the design shifting often happen.
To help avoid these mistakes, I’ve put together some methods and tips.

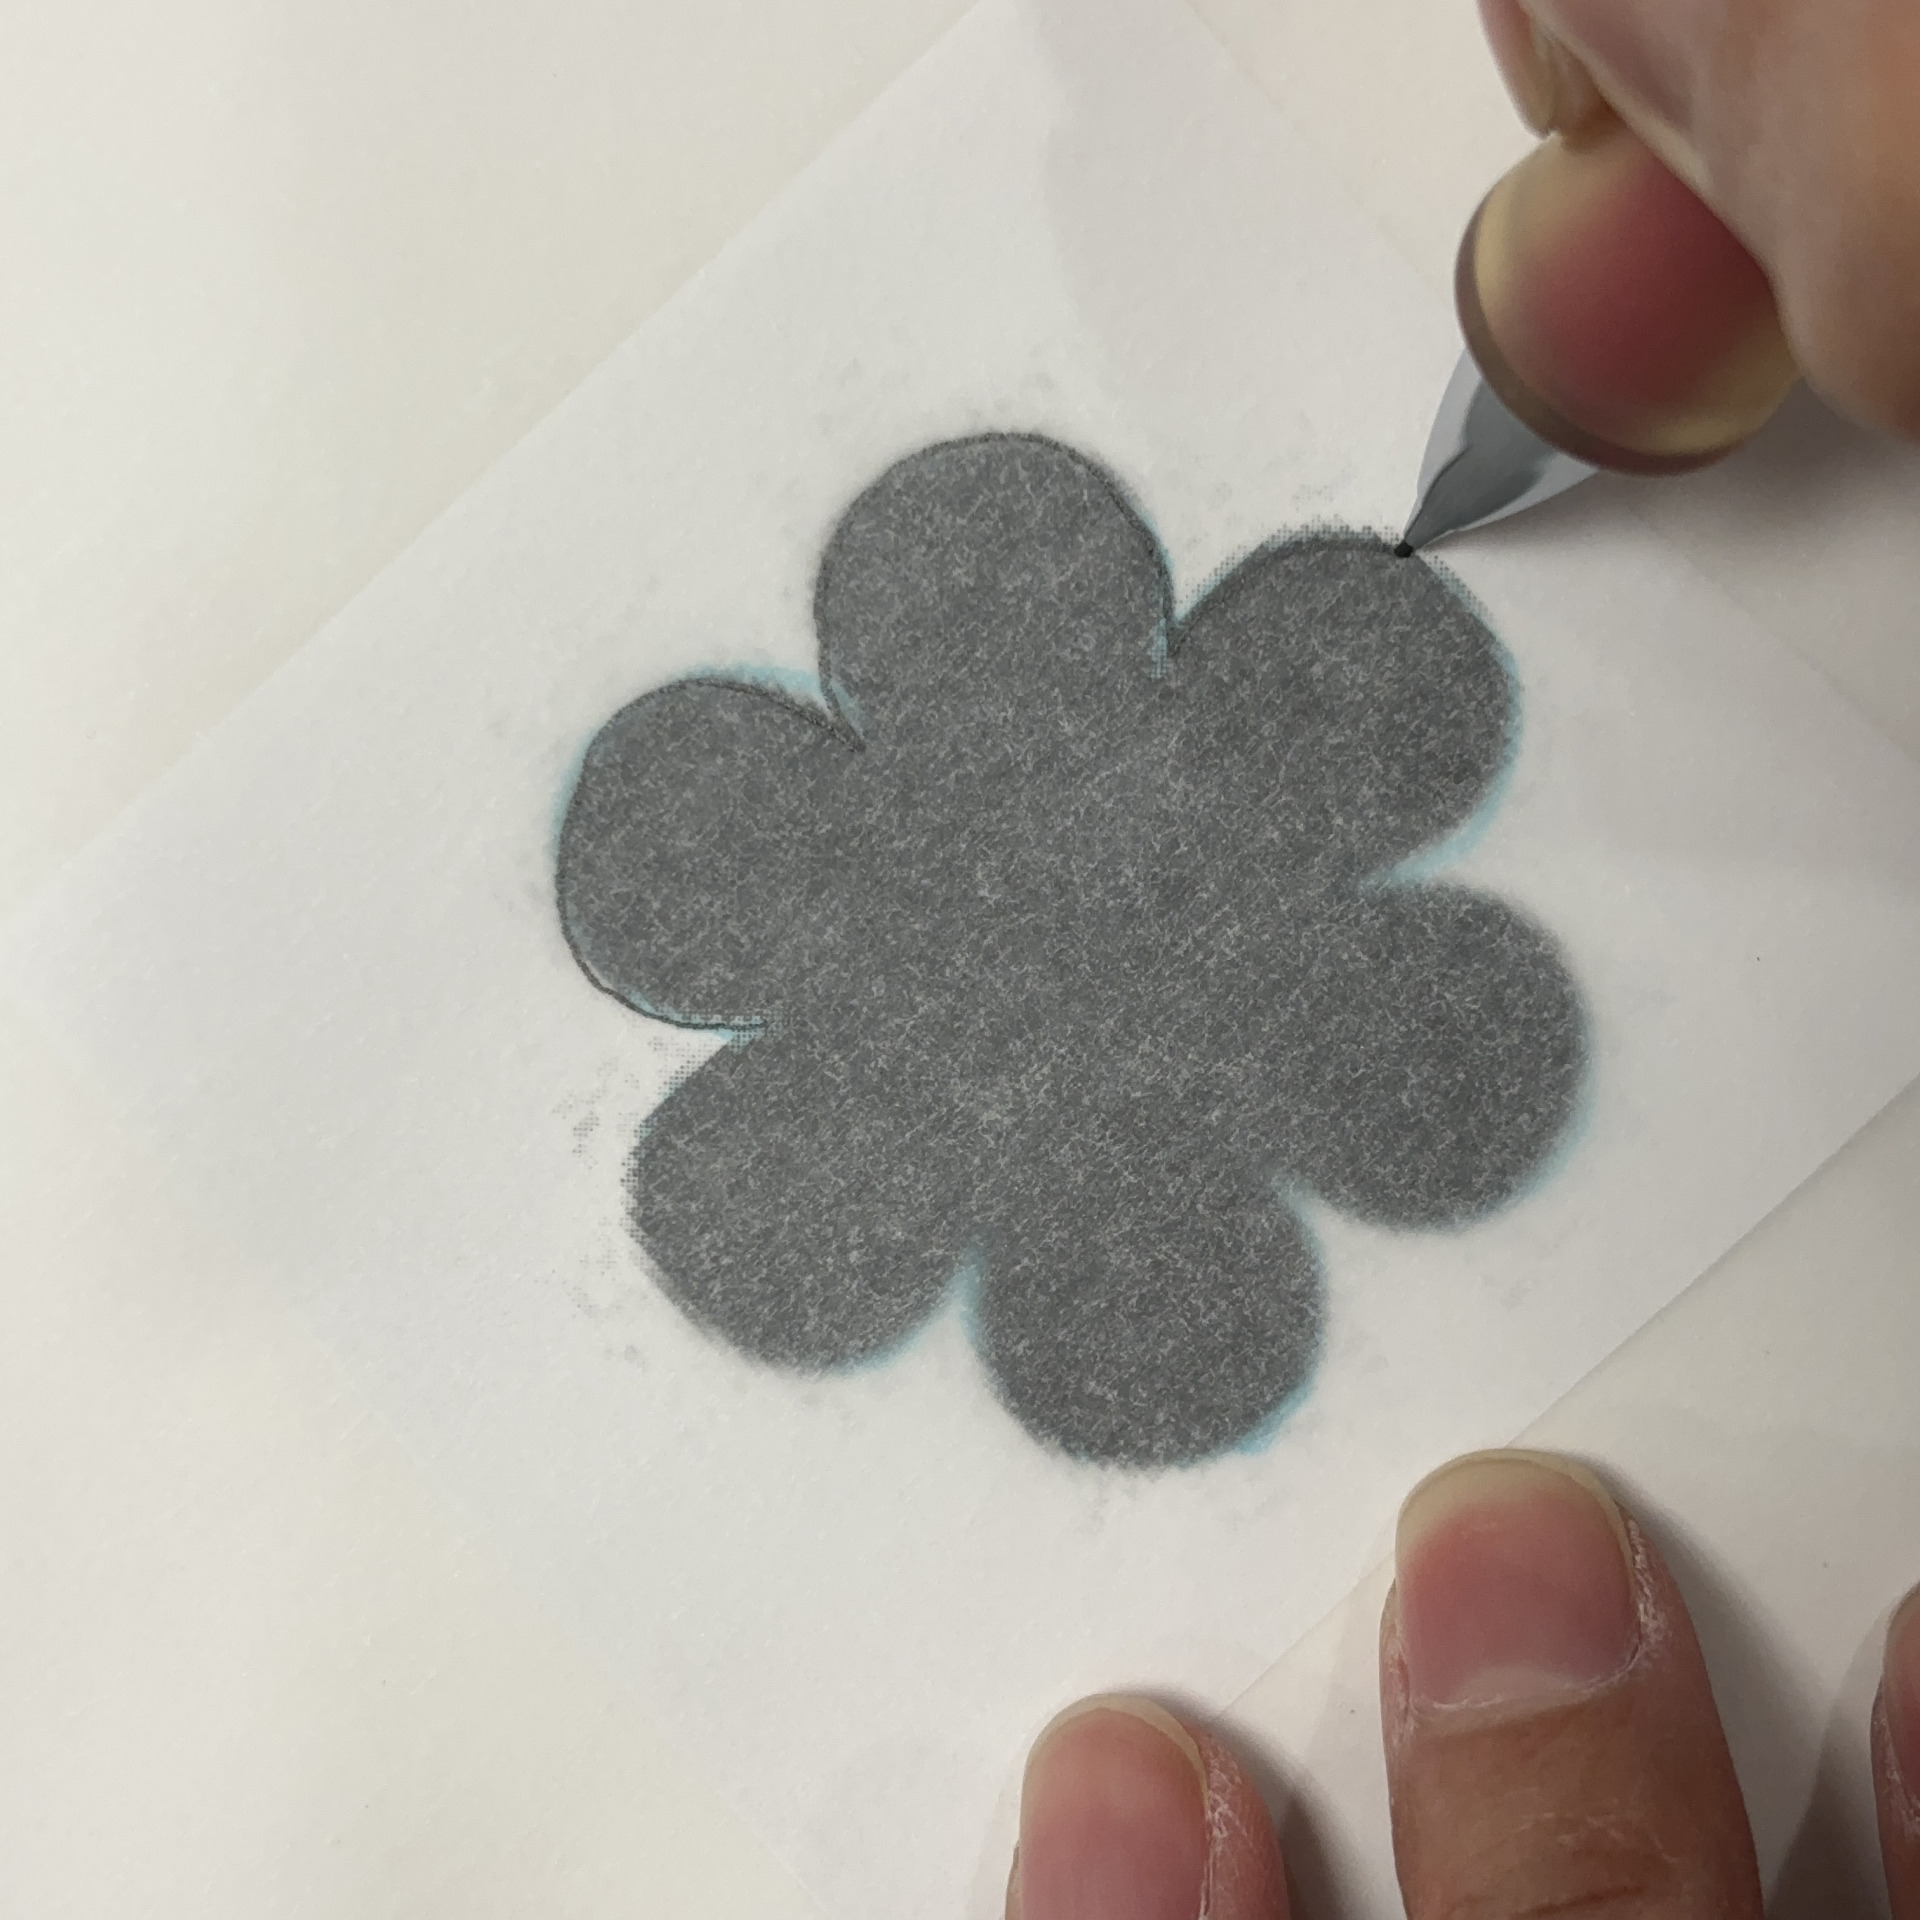
Step 1: Transfer the design onto tracing paper
First, use tracing paper to copy the original design. At this stage, you can work while looking at the design underneath, so mistakes are less likely and it’s fairly easy.
Staff Y uses a mechanical pencil, especially when copying detailed designs, because the line thickness stays consistent.
This depends on personal preference, so if you like thicker lines, you can use a pencil or pen too.
Step 2: Transfer the design from the tracing paper onto the fabric
Next, transfer the design onto the fabric. This is where mistakes are most likely to happen…
Here are some methods staff Y found, after many failures, to help reduce mistakes.
💡Don’t use old carbon paper
If you try to use carbon paper that’s been sitting at home for years, you might find it doesn’t transfer cleanly.
Over time, carbon paper dries out and loses its transfer ability. (Except unopened ones)
If it’s been a while, it’s best to just buy new carbon paper.
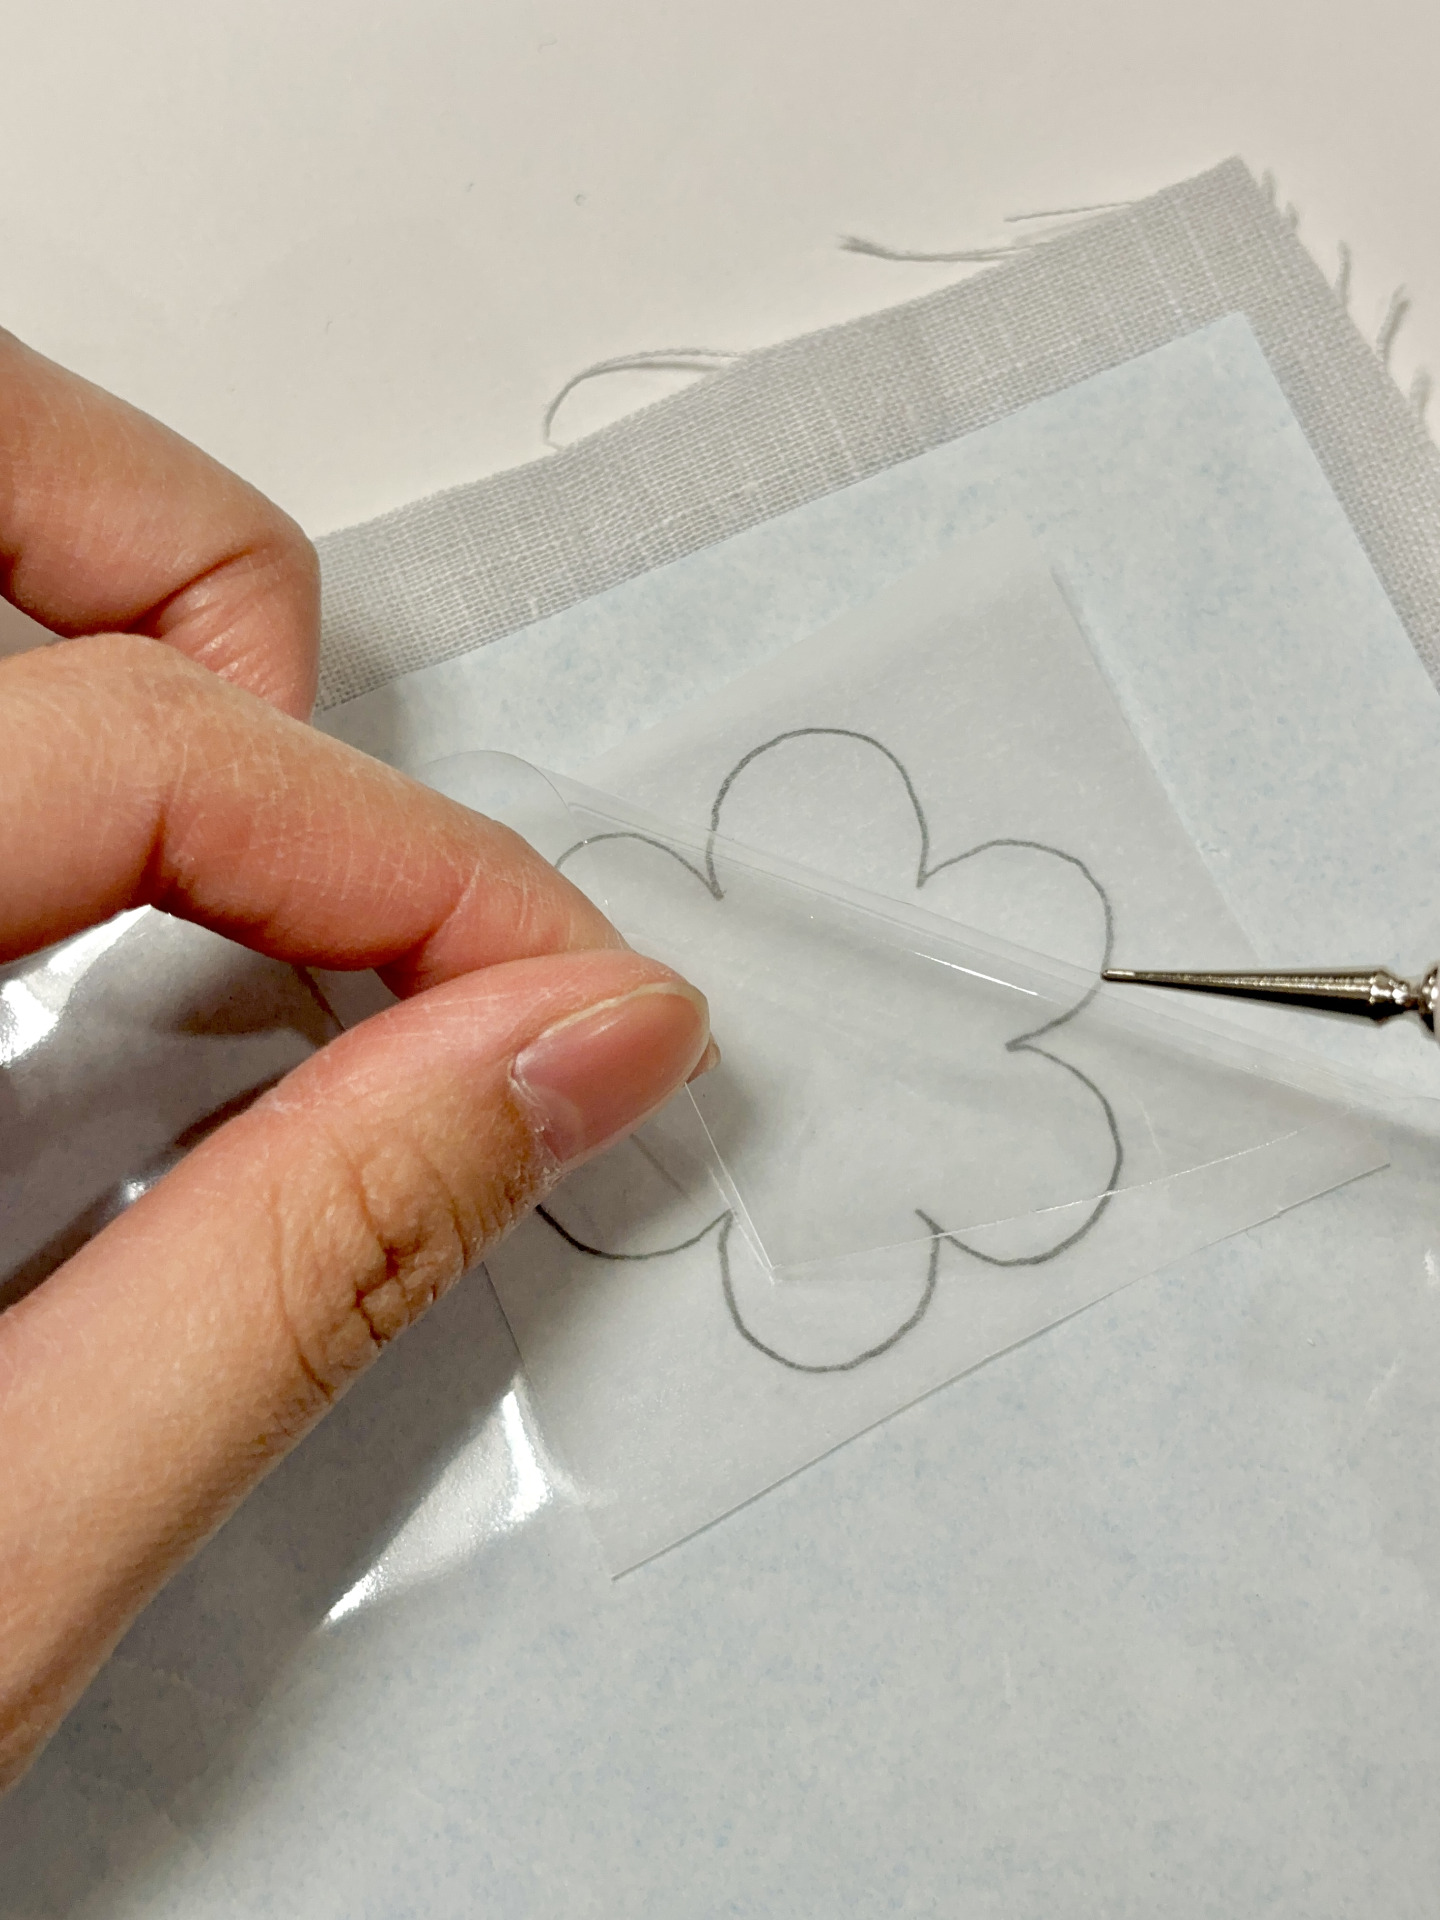
💡Place a clear film between the tracer and the tracing paper
A common mistake is that while tracing, the tip of the tracer catches on the paper, tearing it and causing the design to shift.
By placing a clear film in between, the tracer moves more smoothly, making the process easier.
The clear film can be anything, like product packaging.
Staff Y used a clear wrapping bag cut open with scissors.
💡Fix the design, carbon paper, and fabric in place
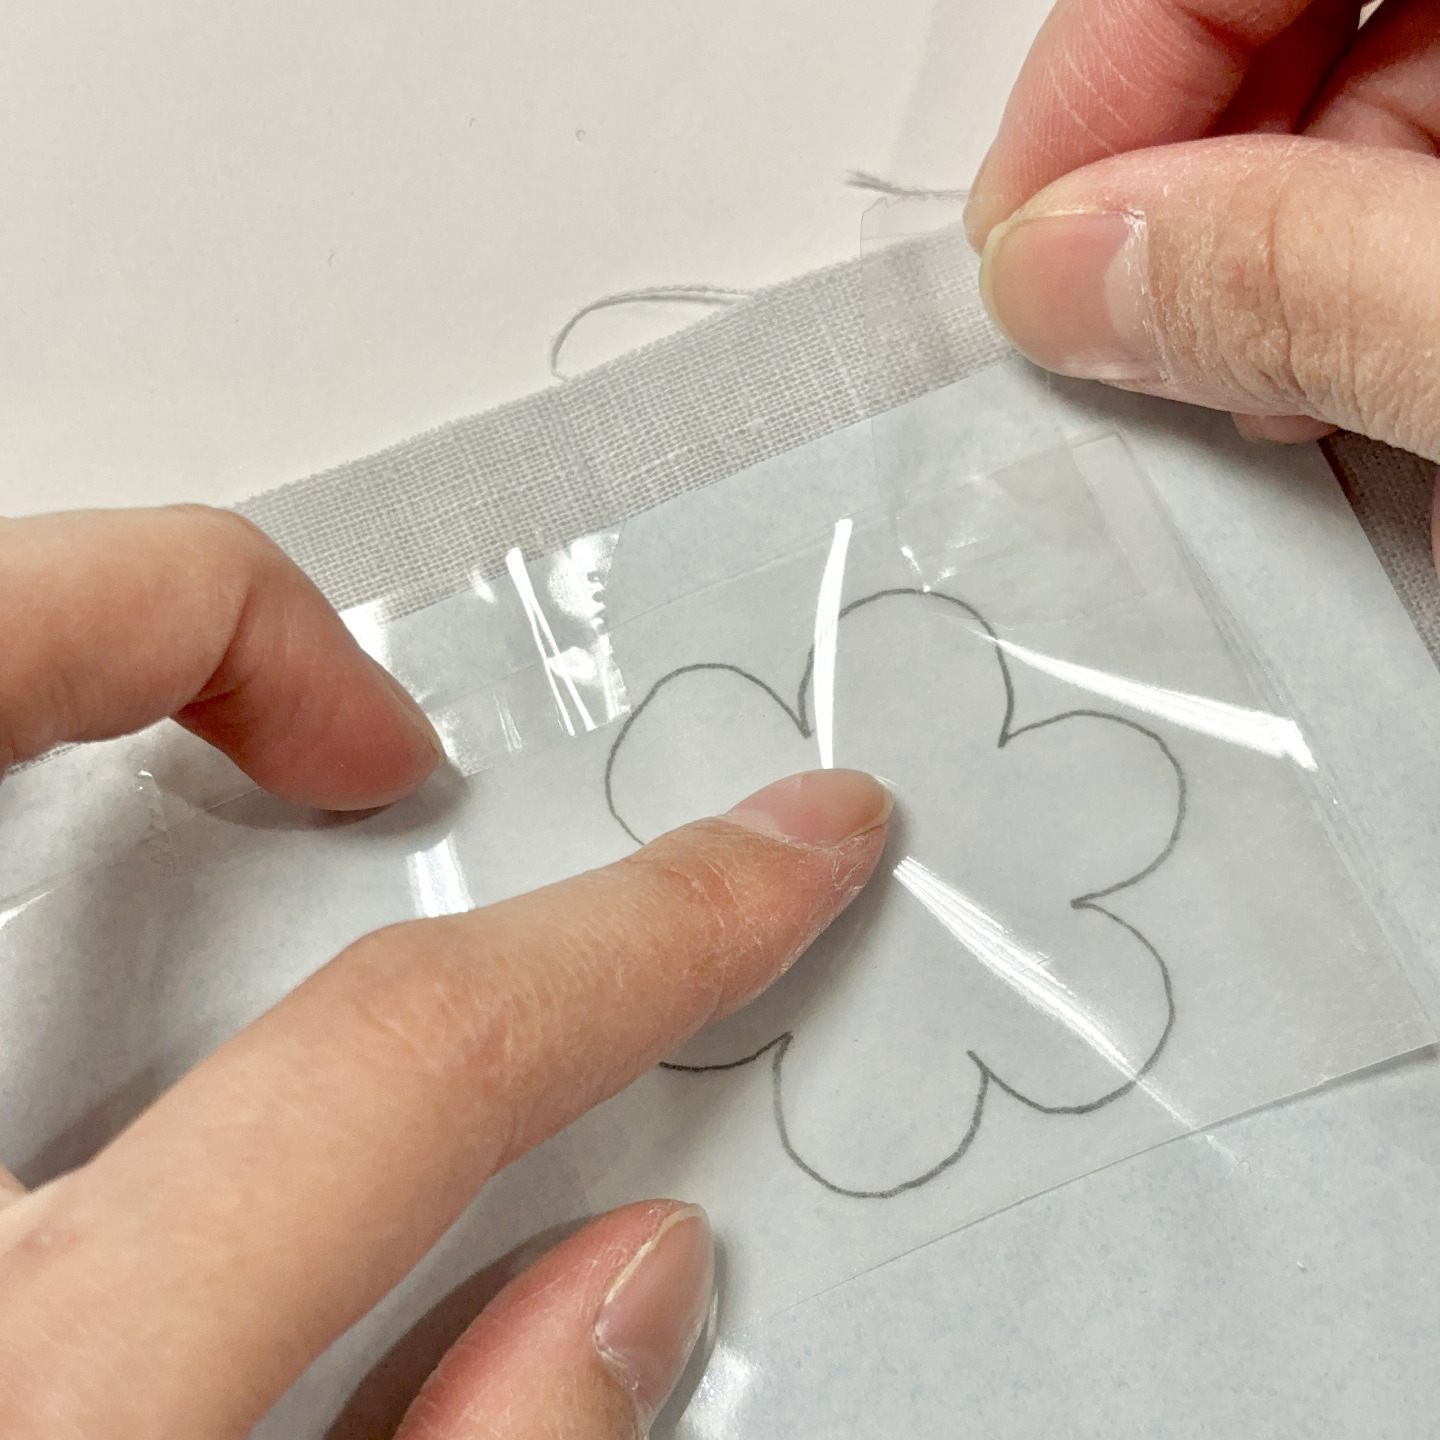
Even if it seems to be going well, it’s common to feel disappointed when the final result is slightly misaligned.
In that case, try fixing the design and carbon paper to the fabric with masking tape. This greatly reduces accidental shifting.
If you don’t want to tape the carbon paper, you can use sewing weights instead.
💡Don’t check too many times
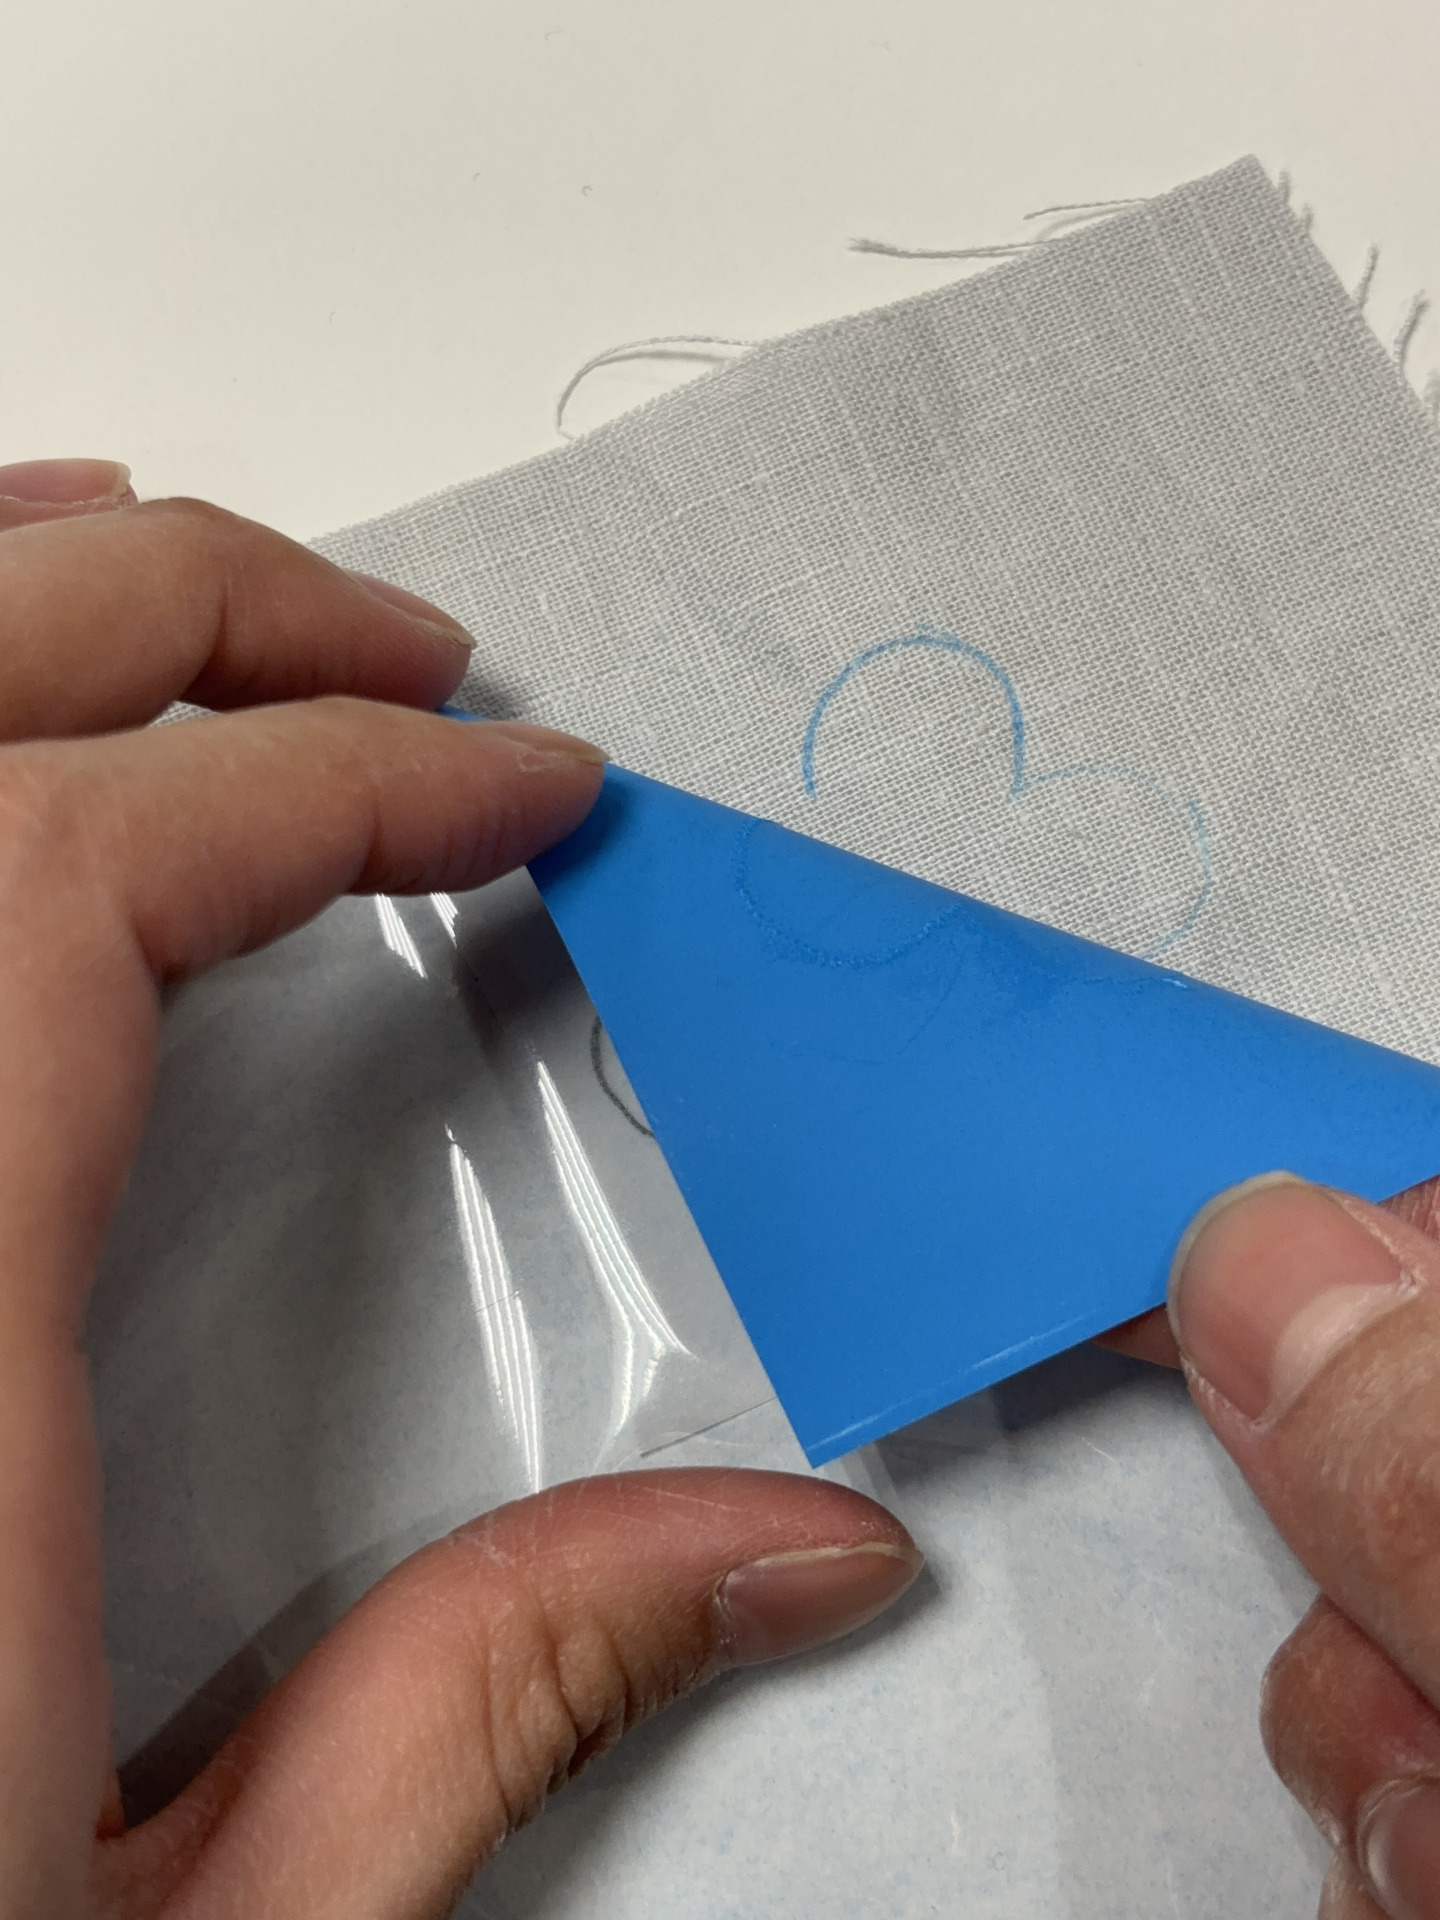
It’s easy to worry and keep lifting the carbon paper to check if the design is transferring well… but it might shift when you put it back. It’s best to avoid moving the carbon paper and finish transferring the design in one go.
💡Use slightly stronger pressure than you think
When using a tracer, applying a bit more pressure than you think helps the design transfer clearly.
However, it’s important to keep the pressure consistent.
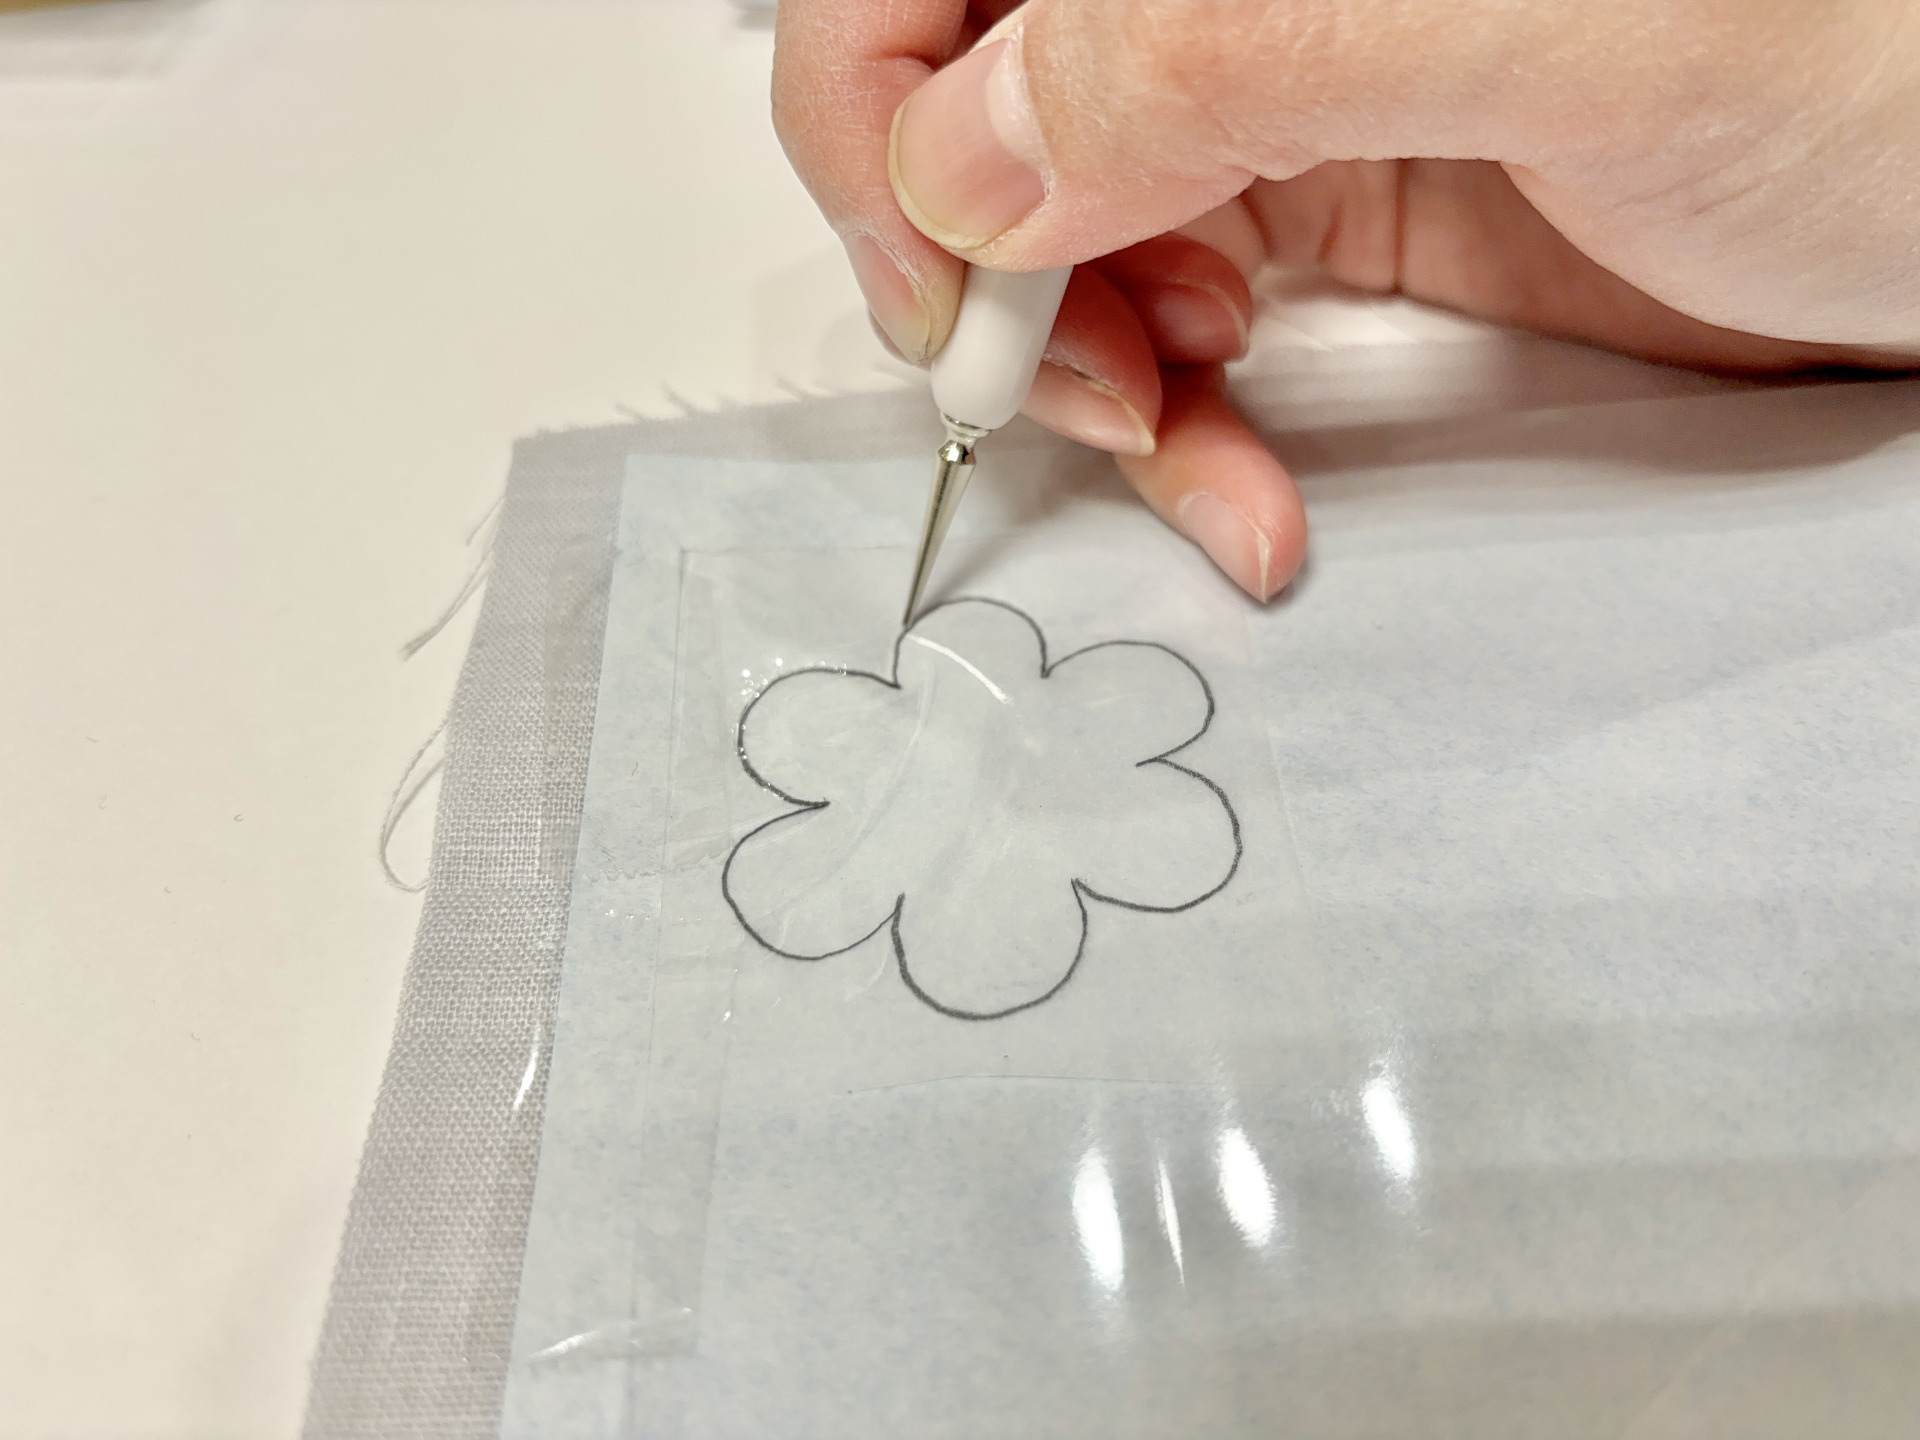
If you’re unsure, try it first on a scrap piece of the same fabric before doing the real one.
This is based on my experience, so if there are other methods you’re interested in, feel free to try them too.
Not good at using carbon paper? Helpful items for you
Even without using carbon paper, there are actually items that let you transfer designs neatly🌟
Here are some useful ones!
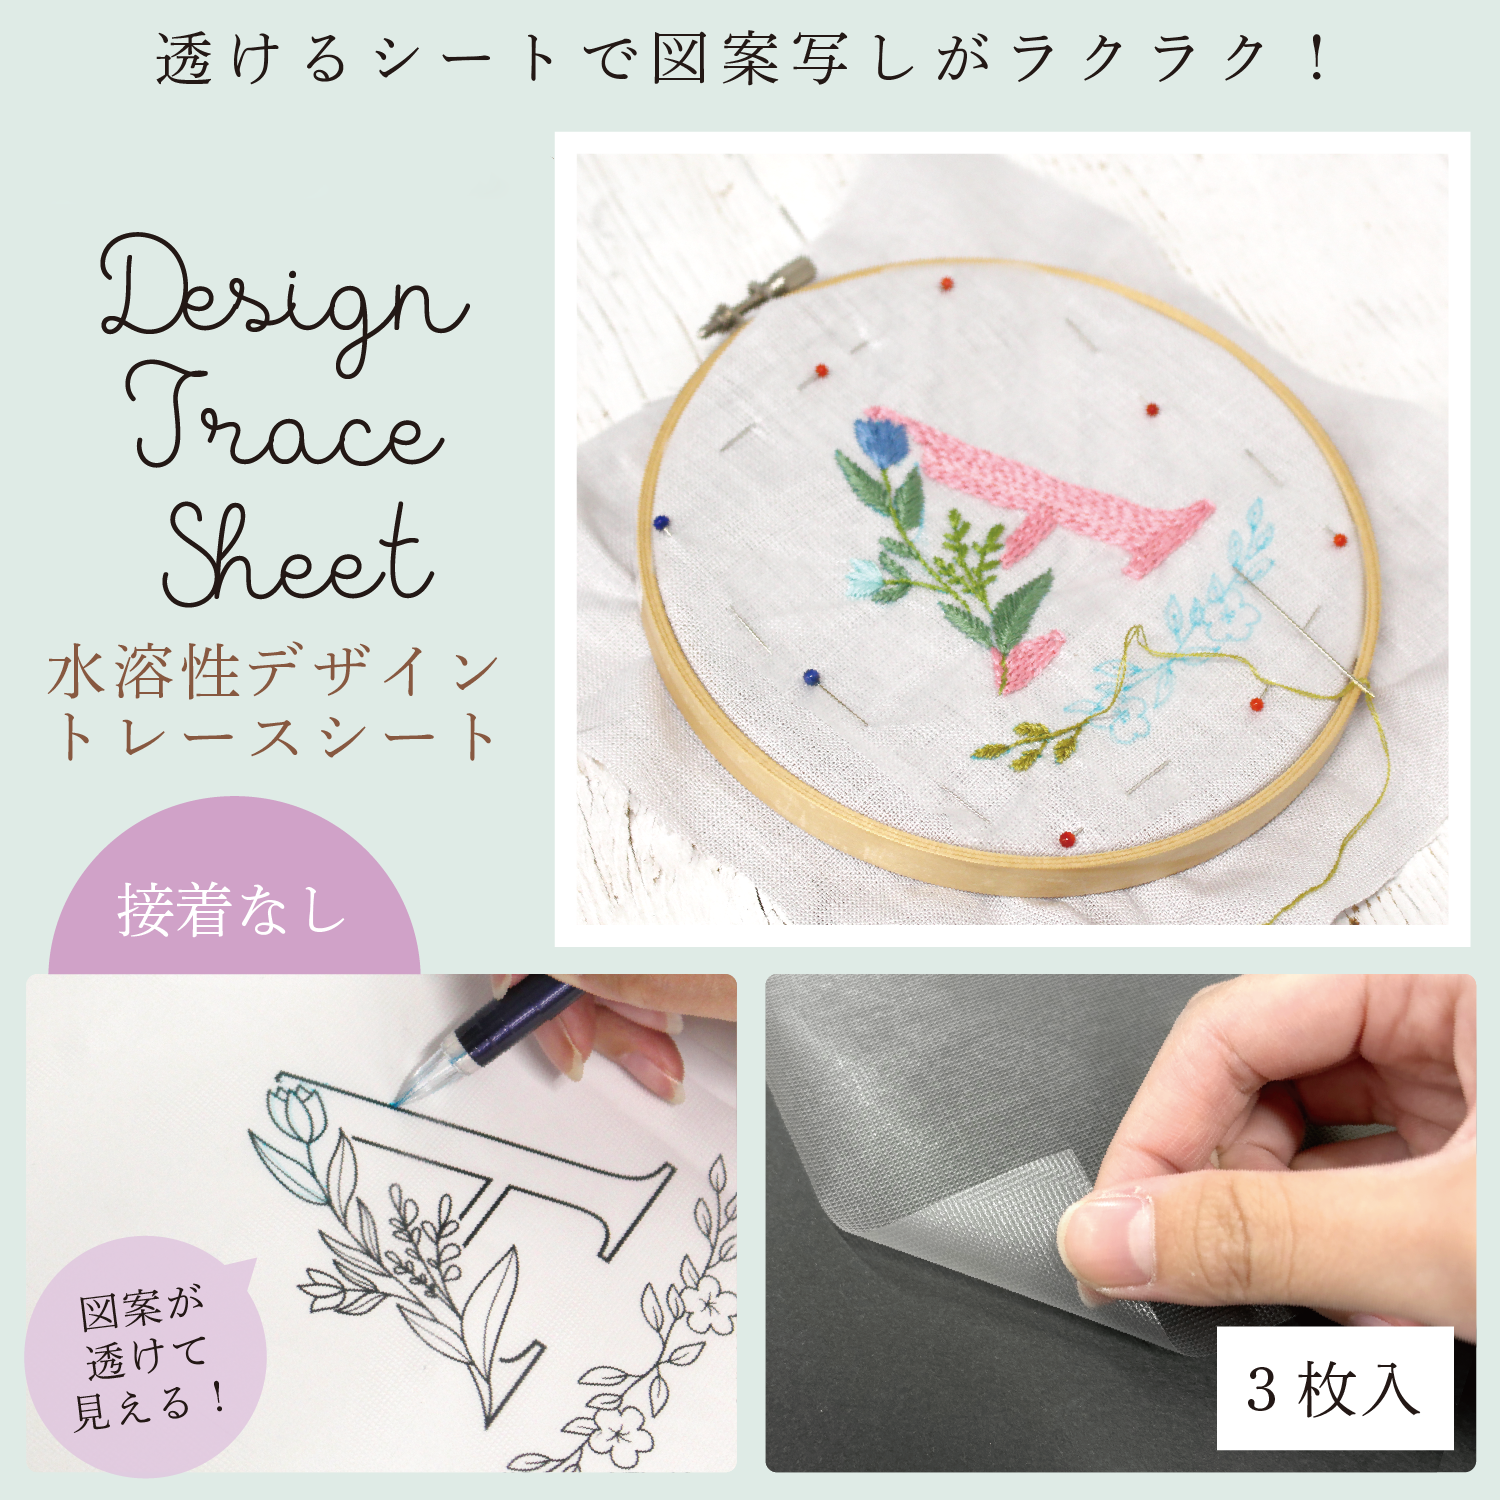
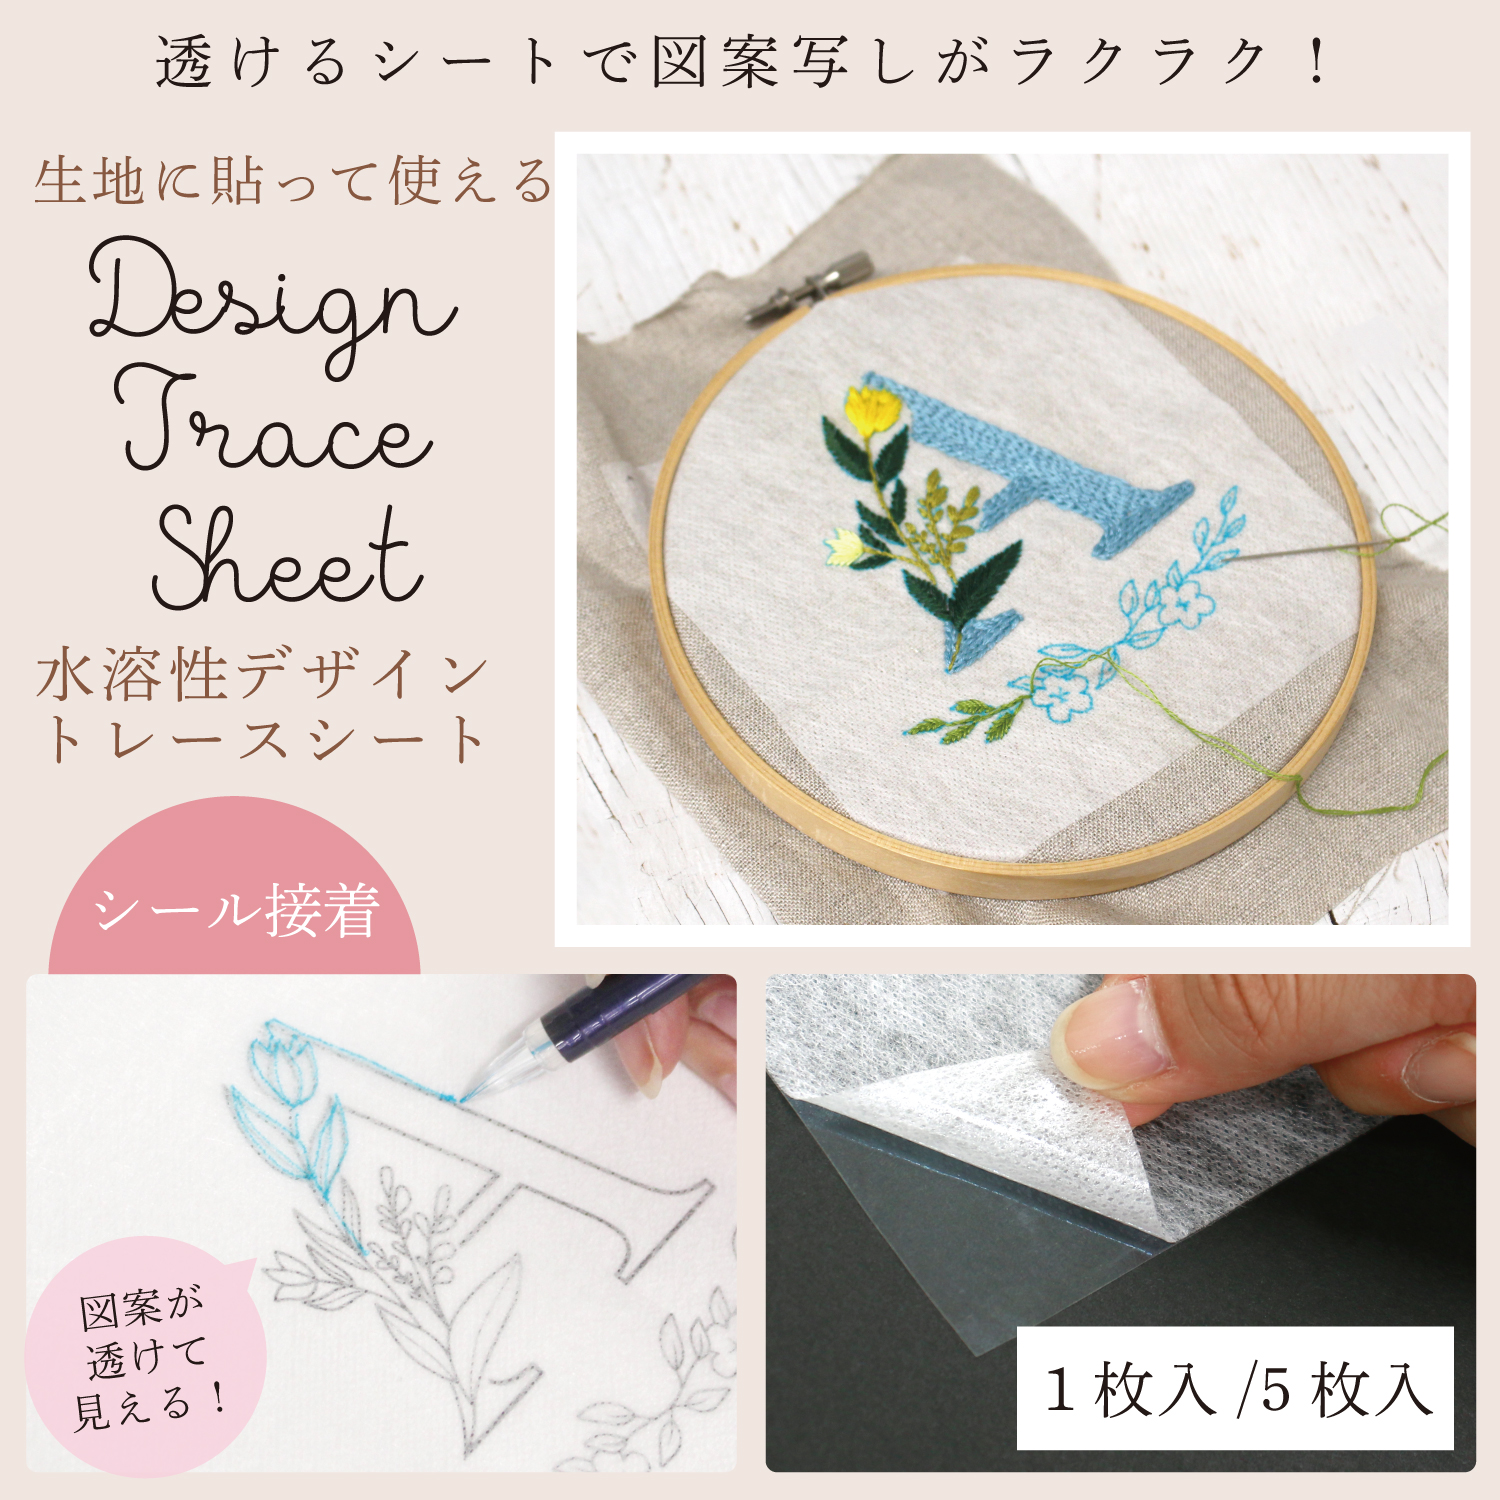
Design trace sheet (with adhesive / without adhesive)
This is the item I recommends the most.
It’s a semi-transparent sheet, so you can see the design through it and trace it neatly.
Once you trace the design, attach or fix the sheet onto the fabric as it is. You can embroider directly on top of the sheet!
You only need to trace once, so it saves time 🙂
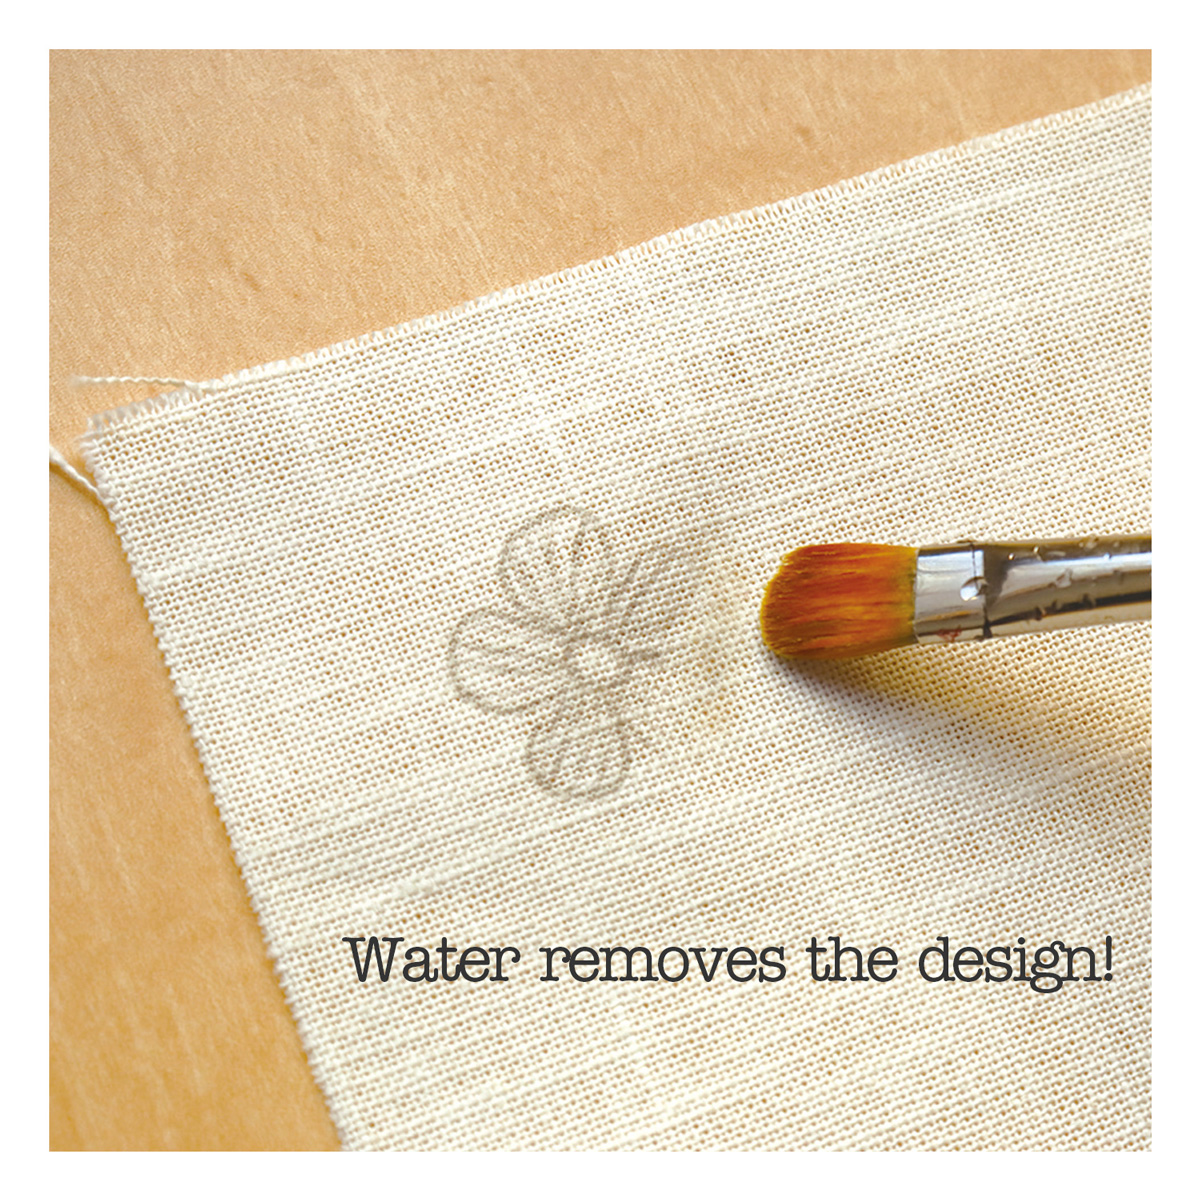
After finishing, soak the fabric in lukewarm water to dissolve the sheet.
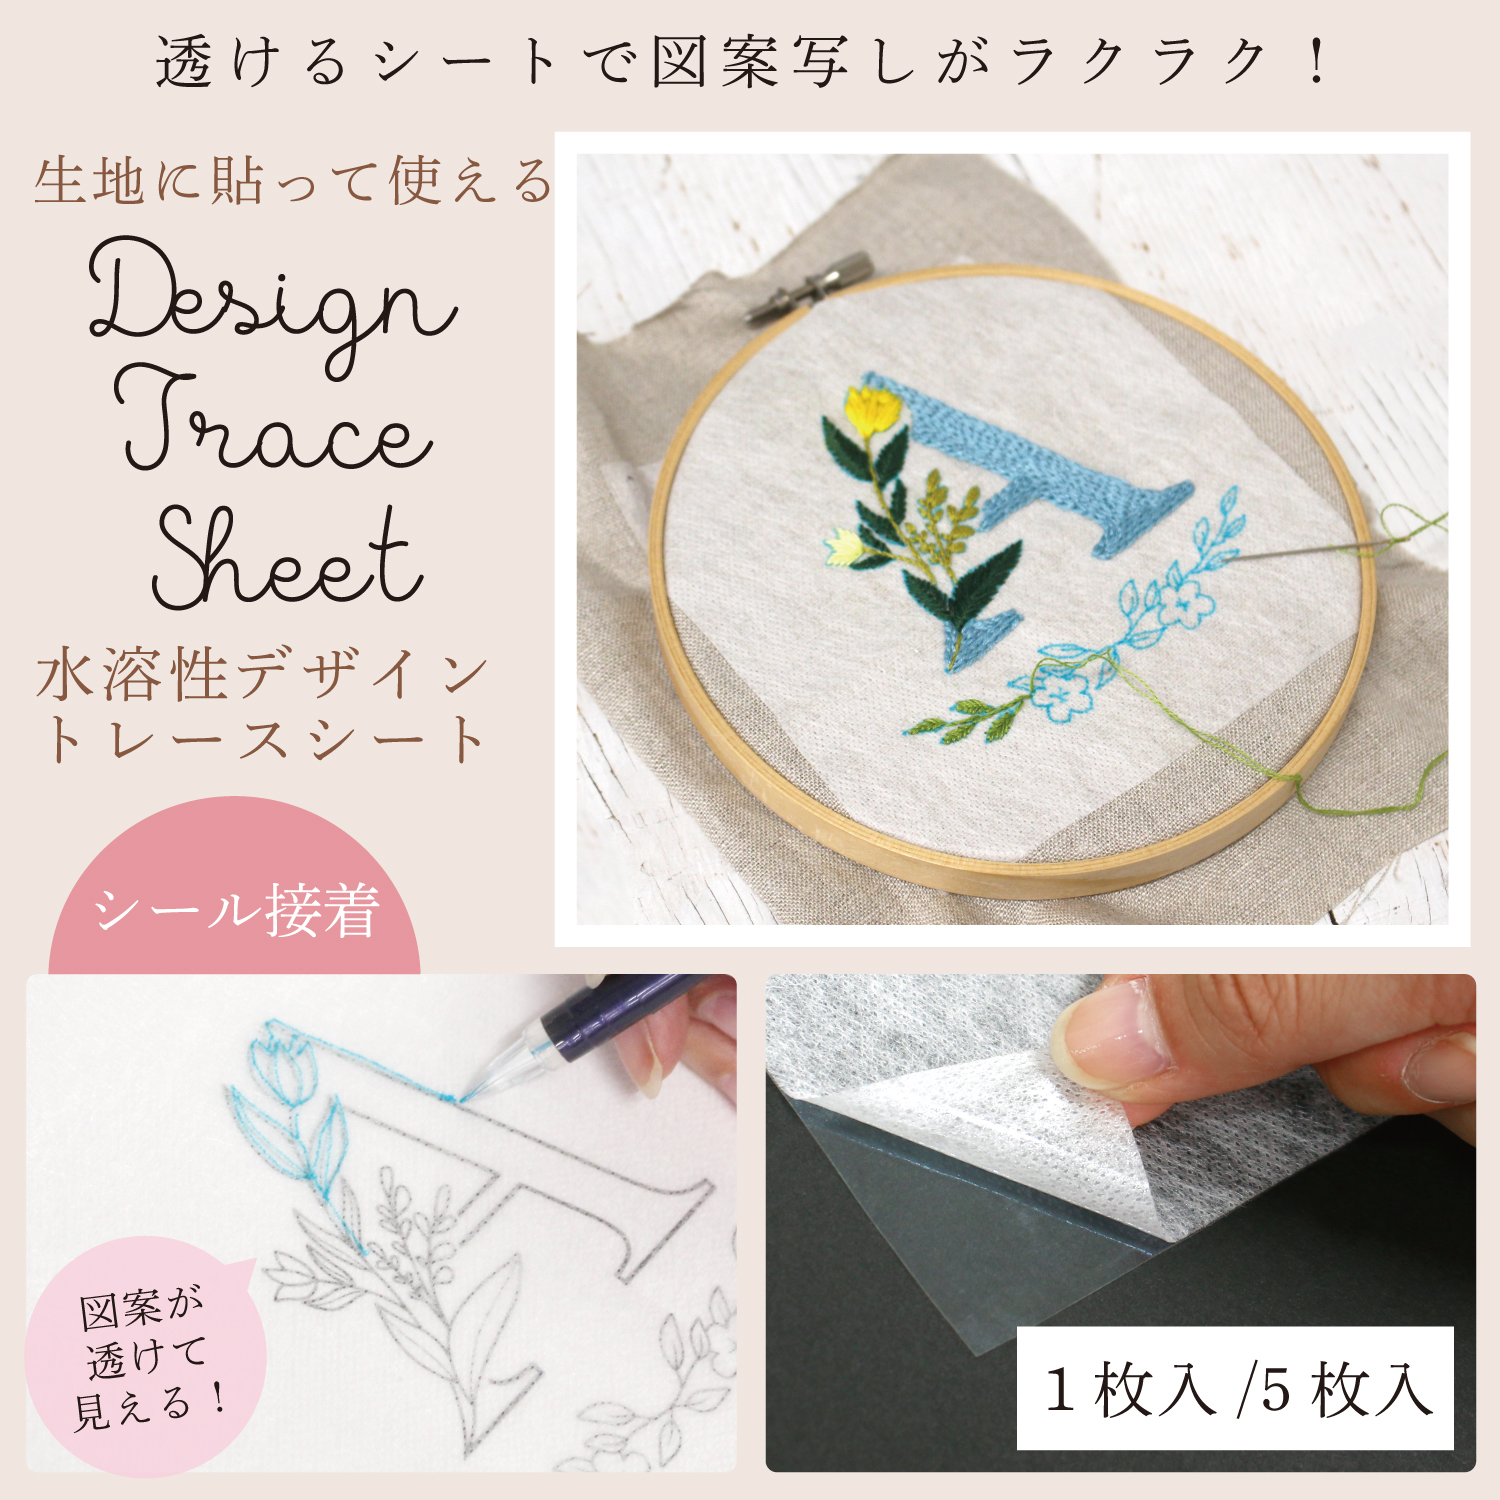
How to use (with adhesive type)
①Trace the design
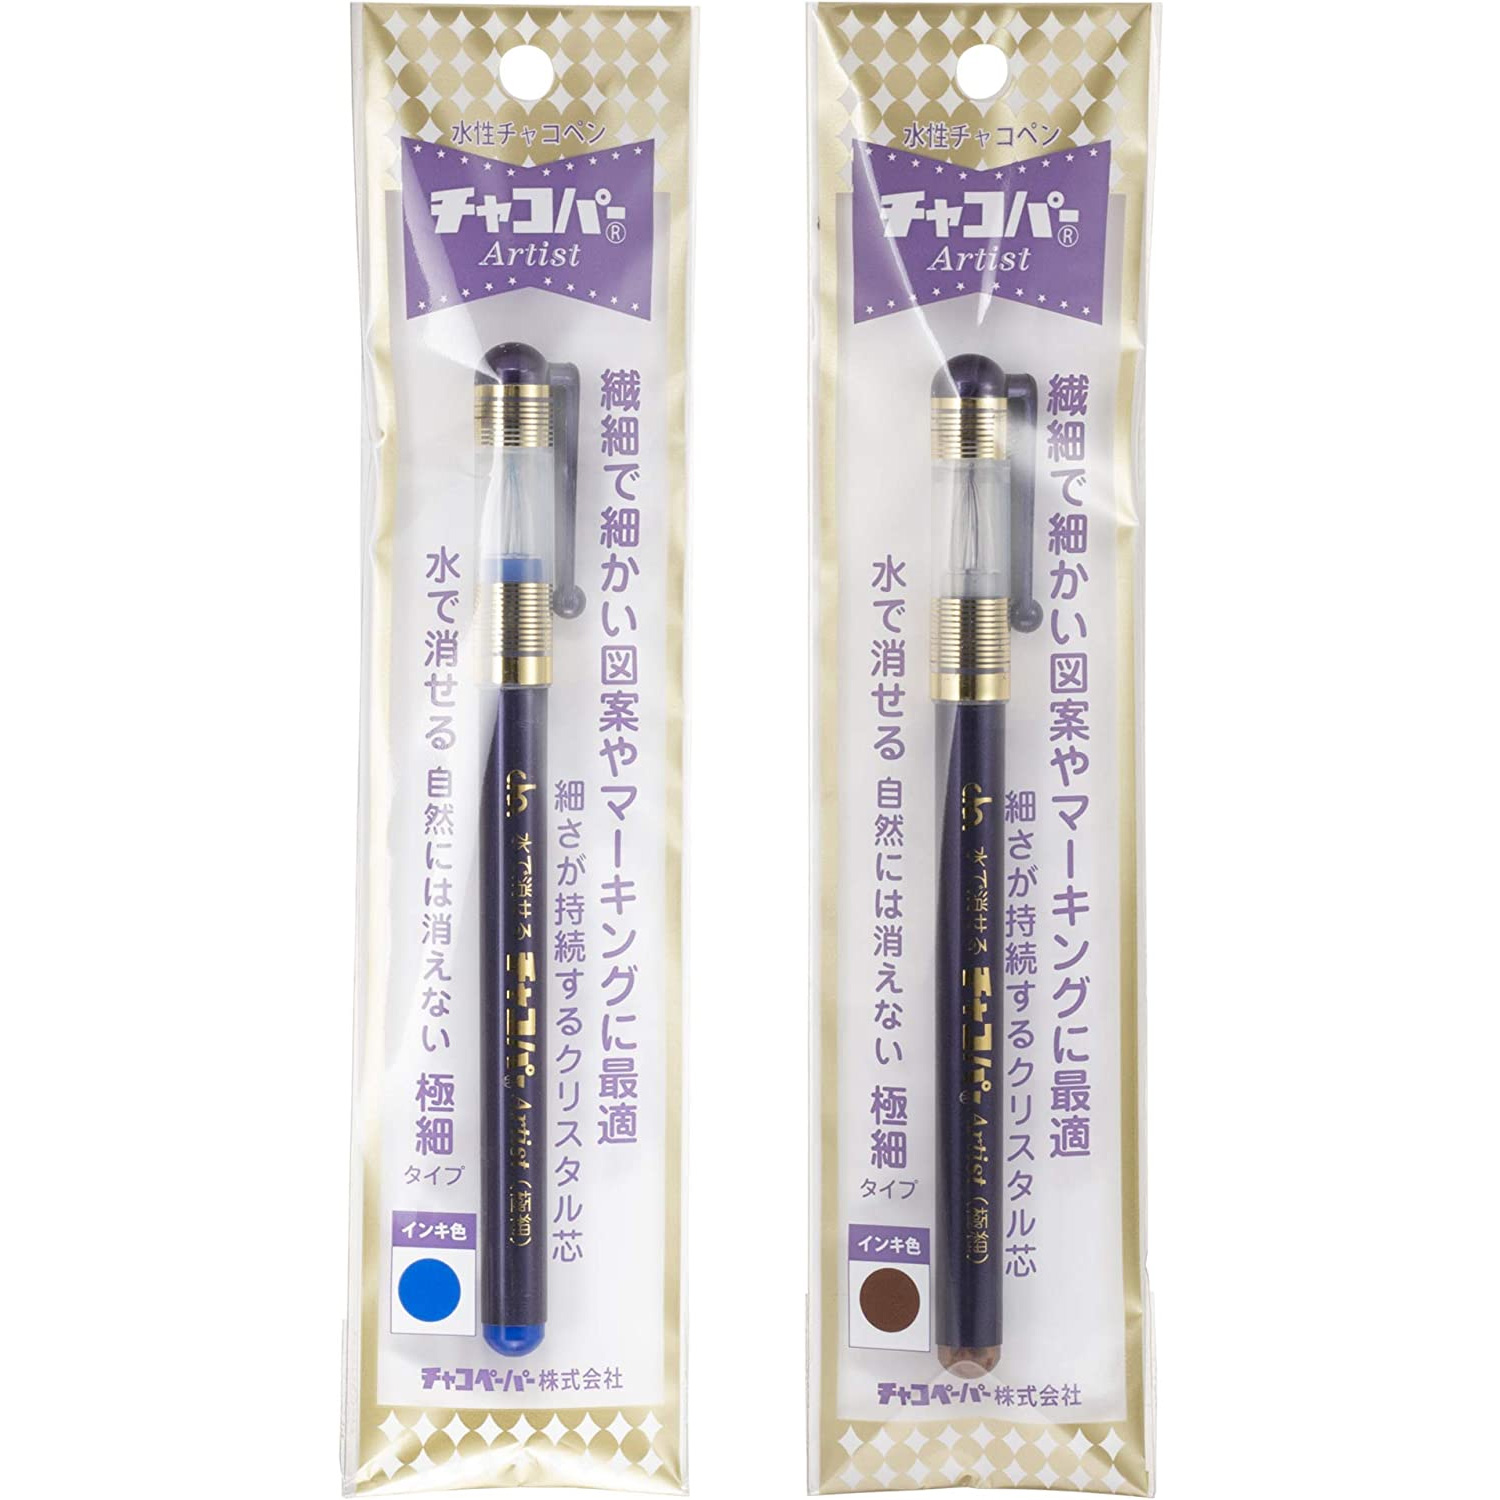
Place the sheet over the design and trace it with a pen. A fine-tip pen is recommended.
There is a film on the back of the sheet, so the ink won’t transfer to the design underneath. (The non-adhesive type is also safe since it’s a sheet type)
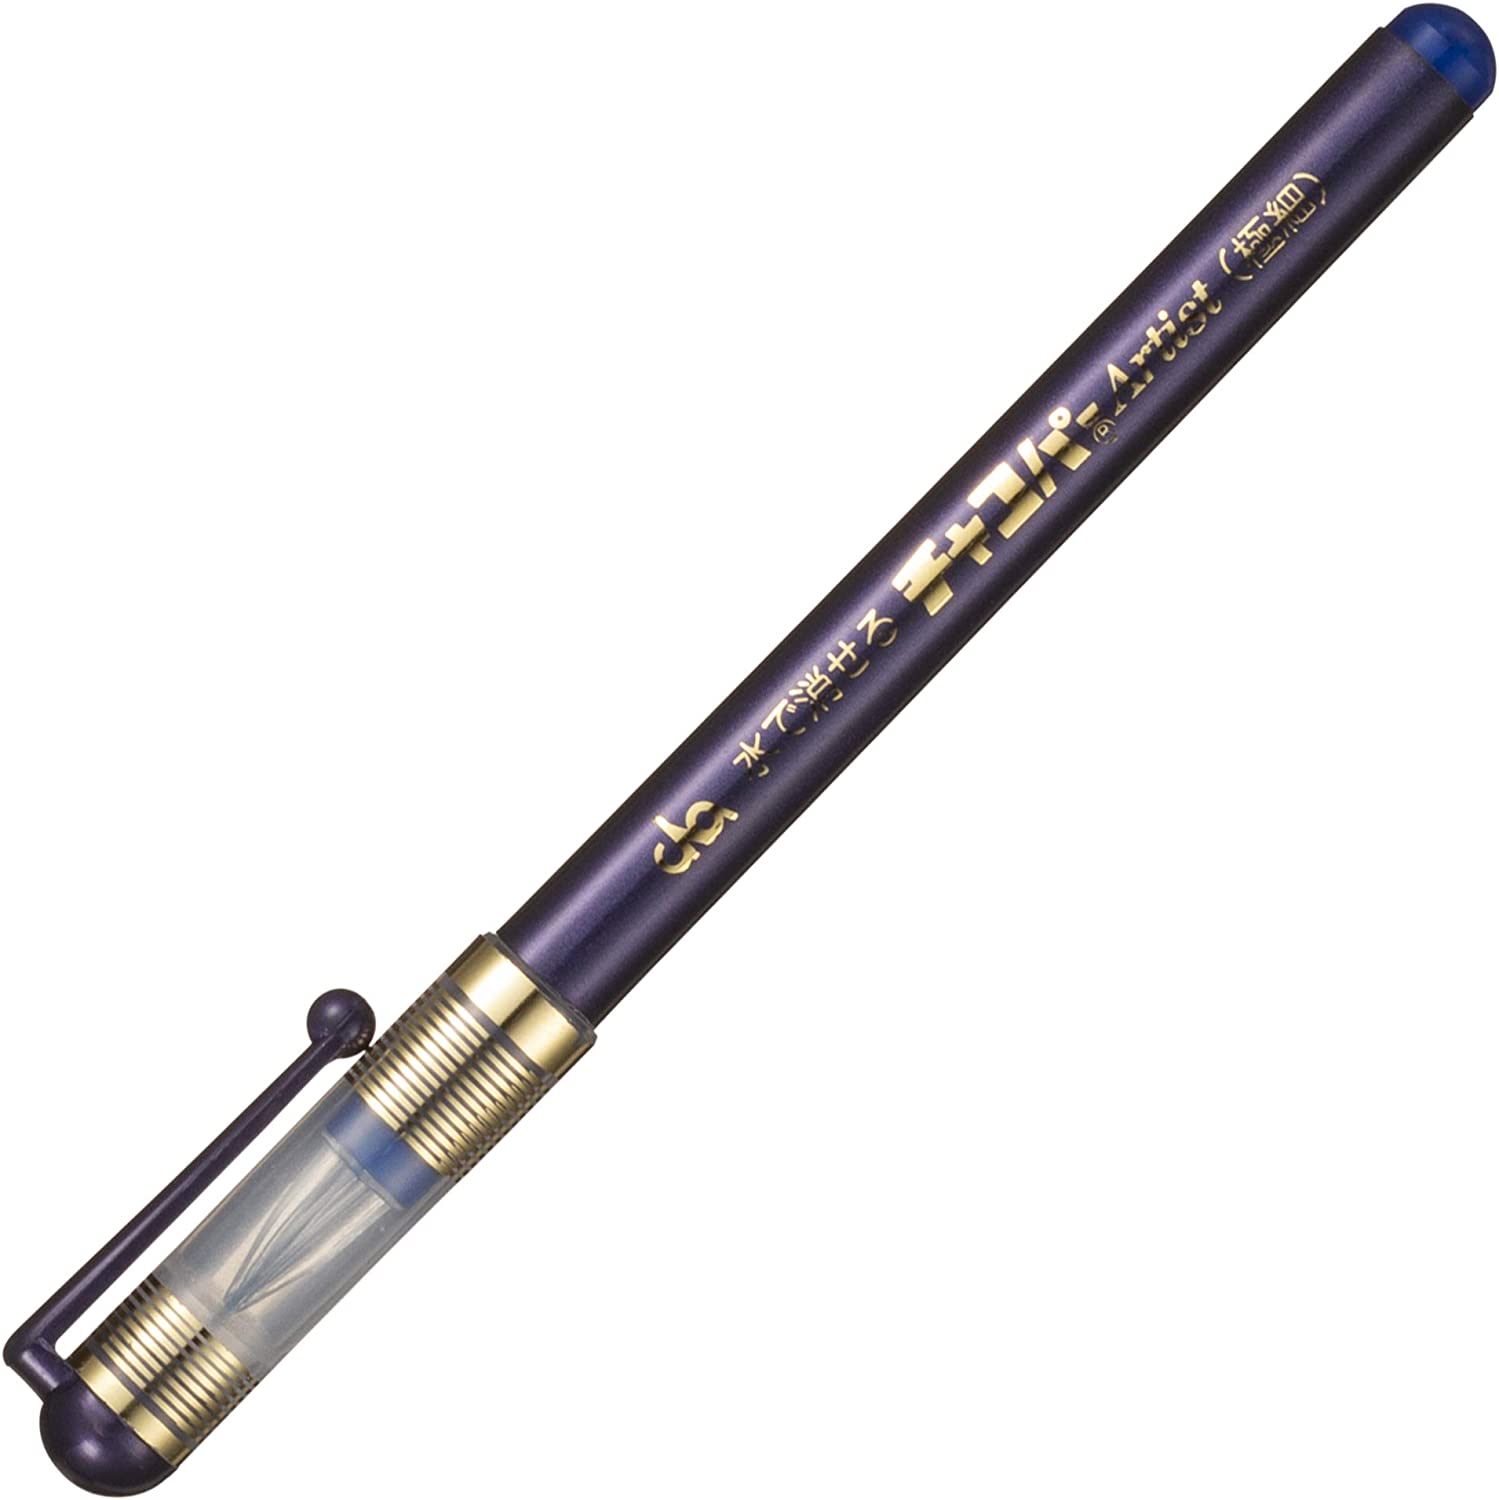
F10 Chacopa Artist / Super Thin Length
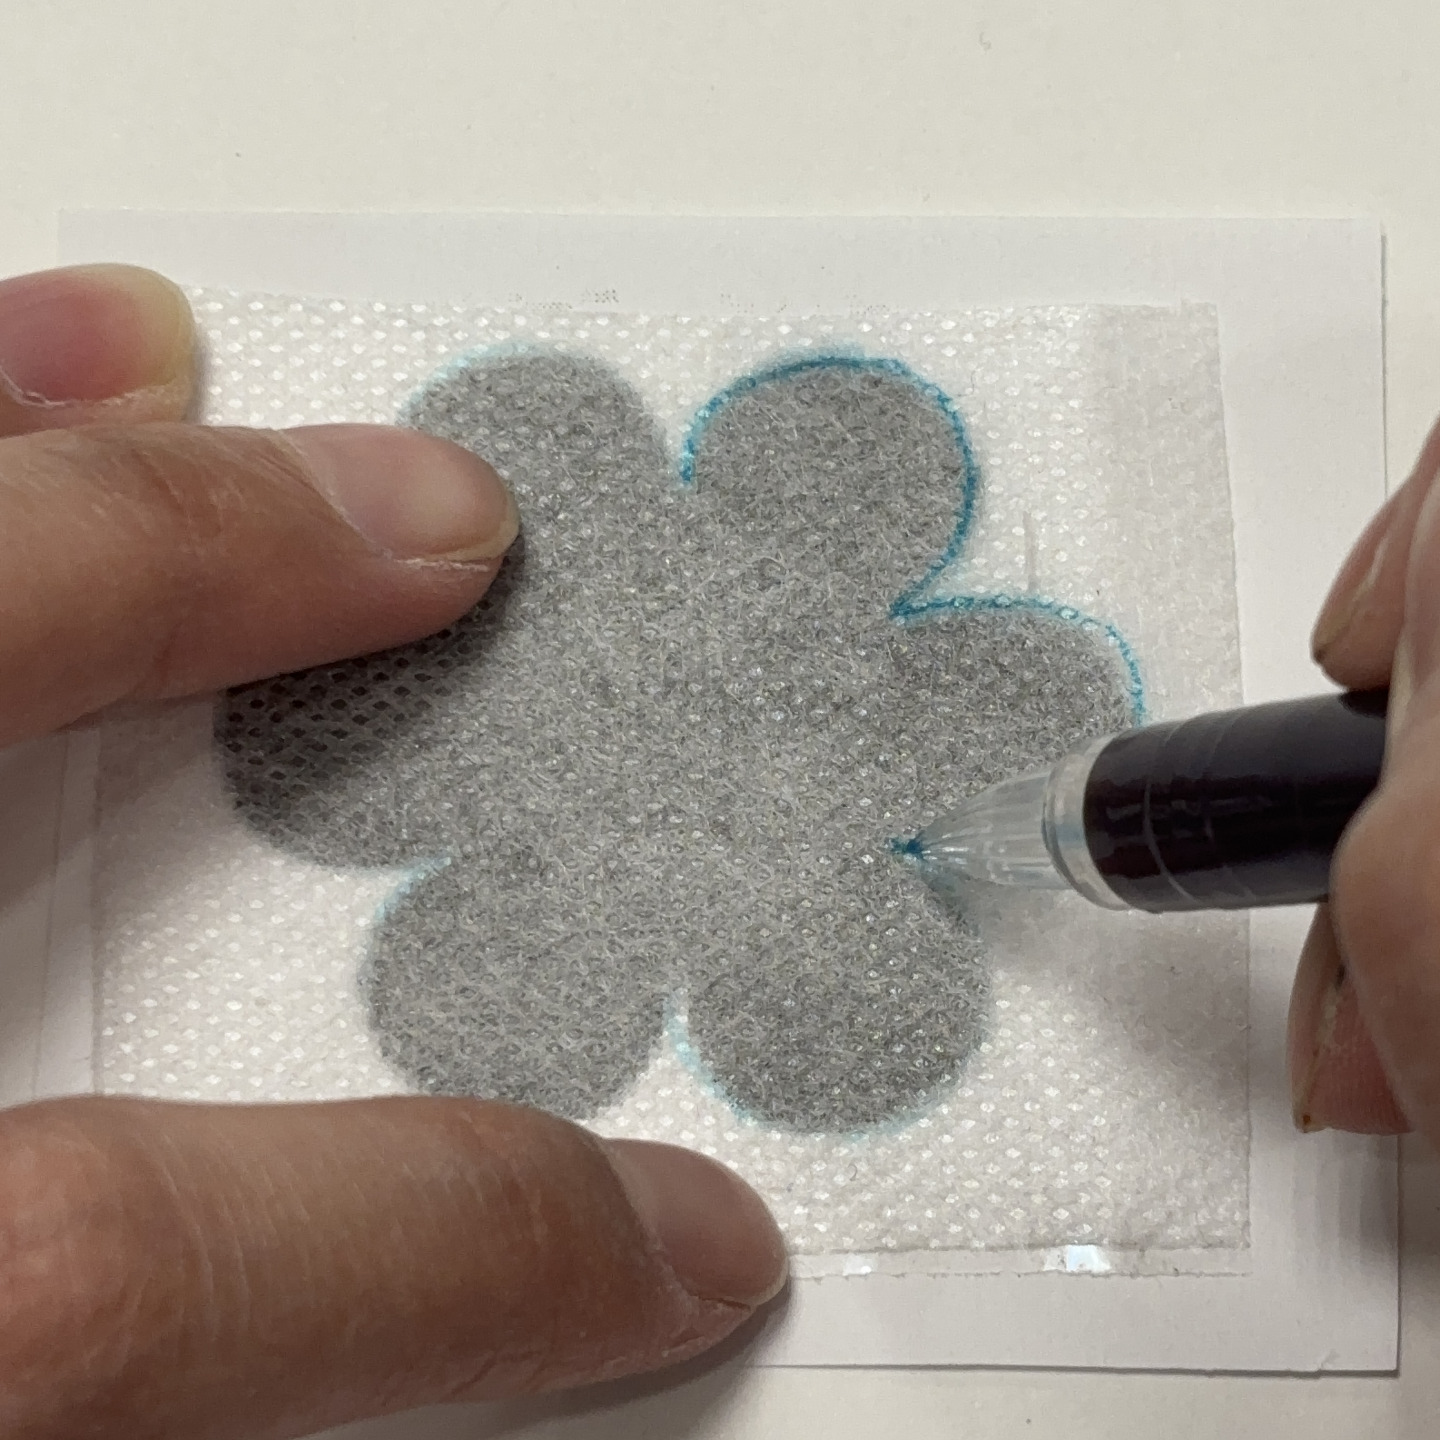
②Stick the design onto the fabric
Attach the traced sheet to the fabric. (For the non-adhesive type, fix it with pins or basting stitches)
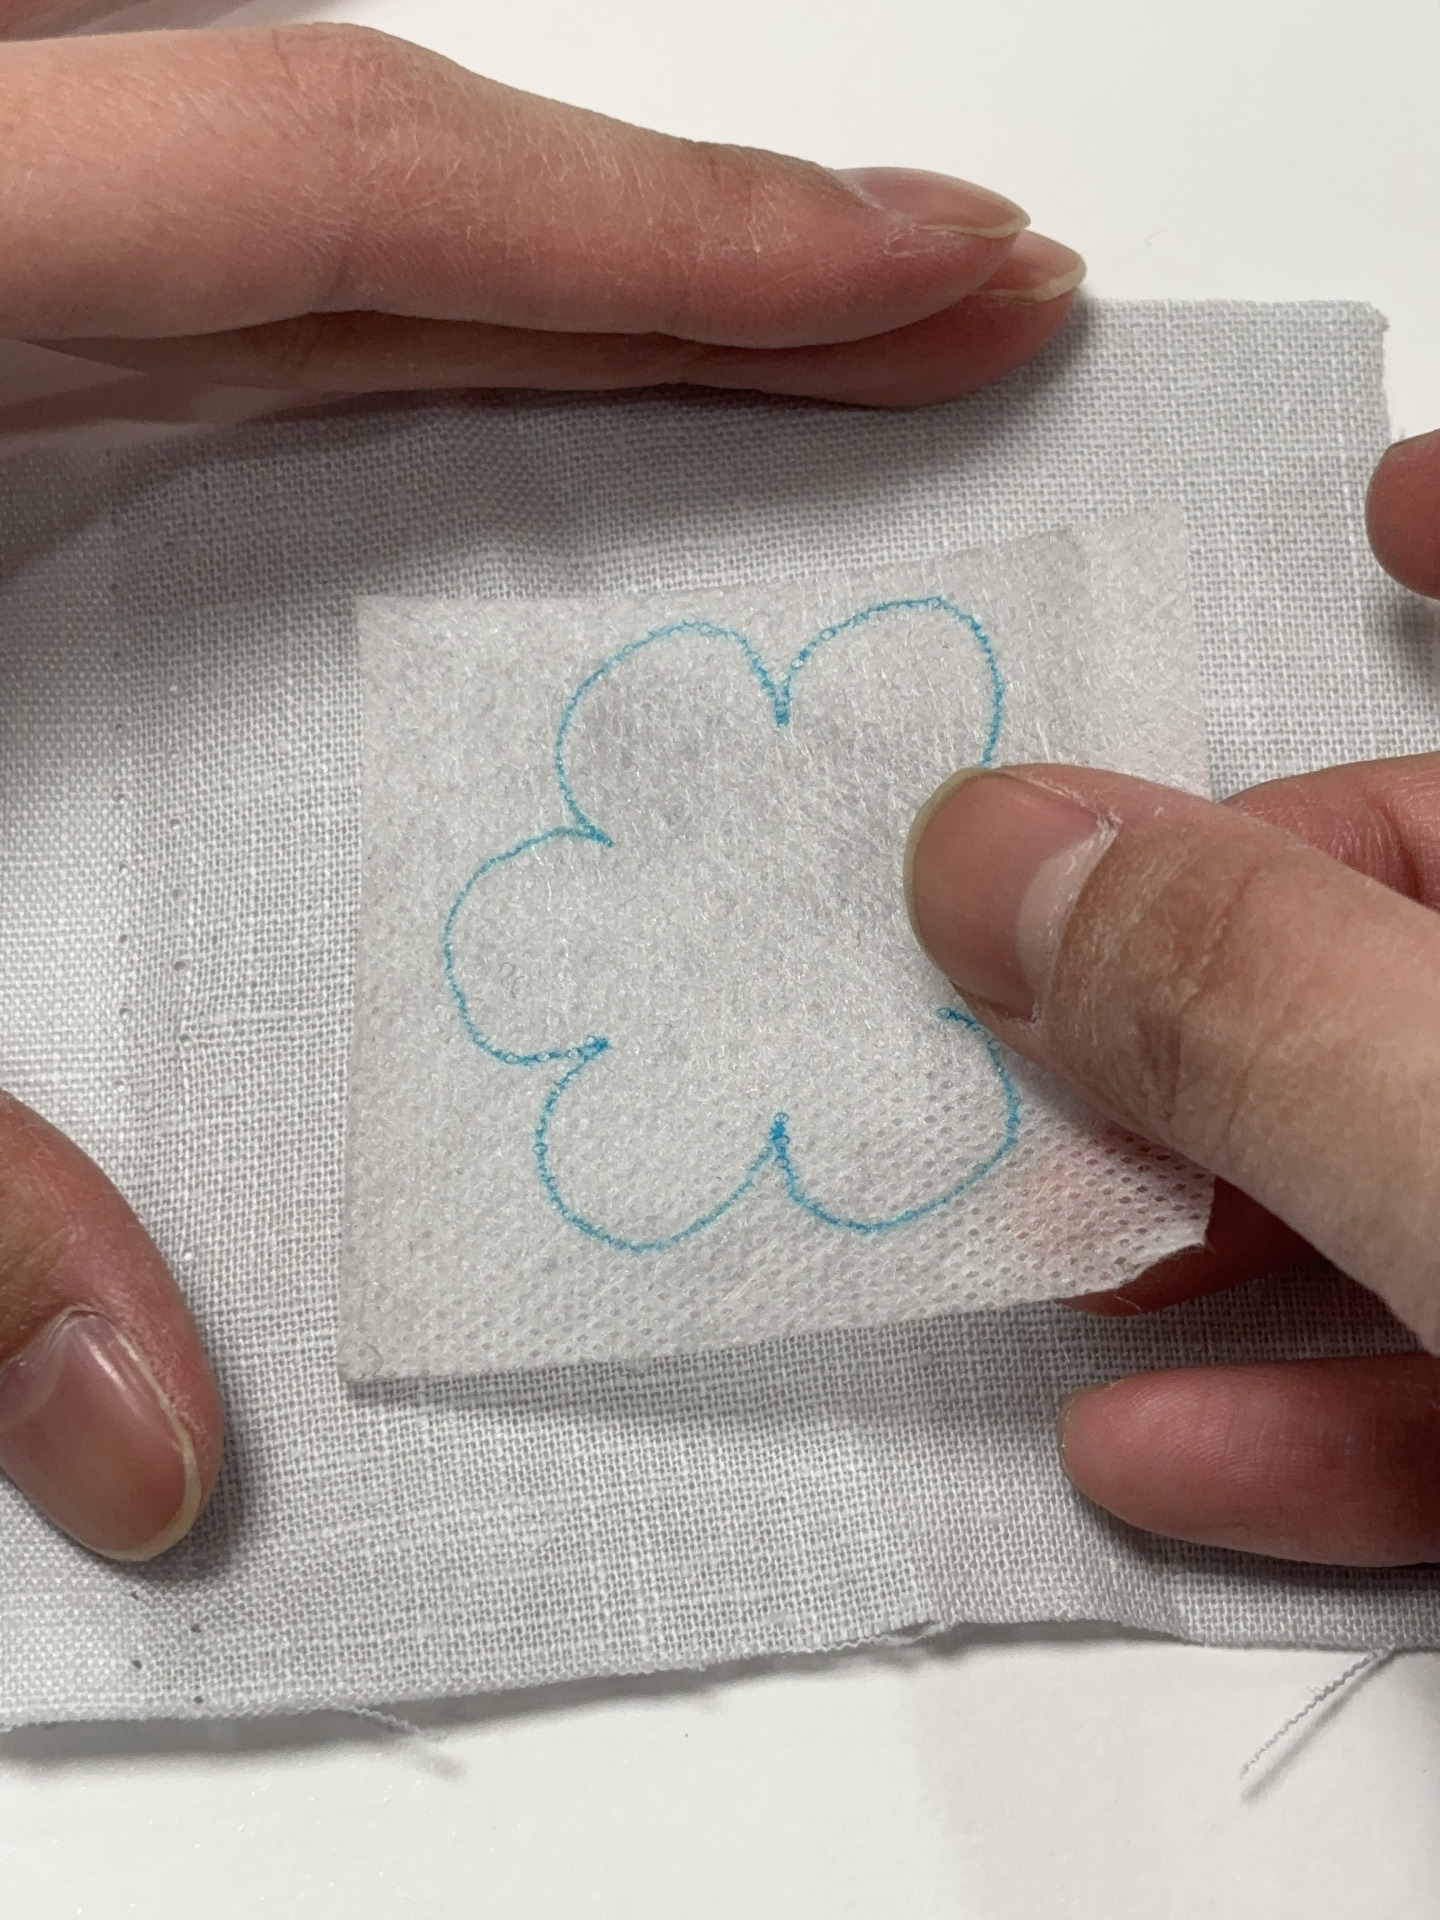
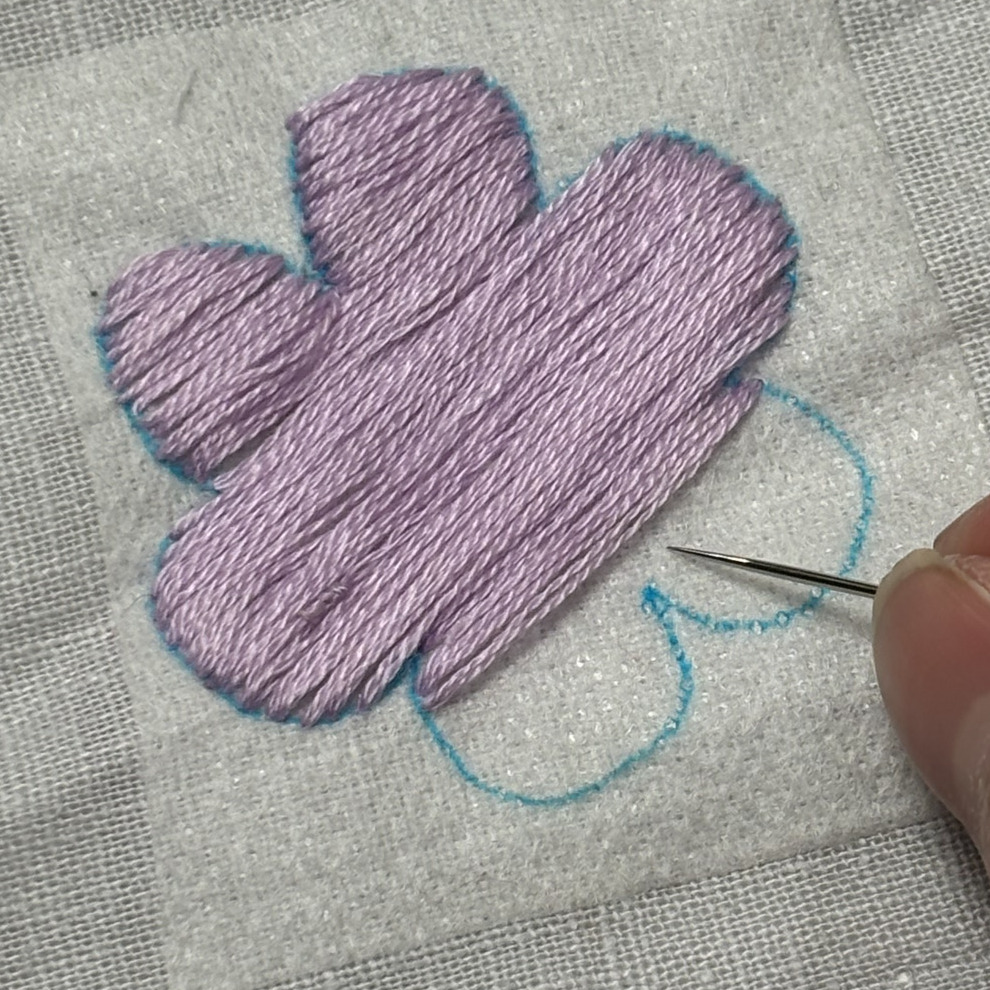
③Embroider
Stitch directly on top of the sheet. The needle is hardly sticky.
④Dissolve in lukewarm water
Soak the finished piece in lukewarm water for about 15 minutes to dissolve the sheet.
If you use cold water, the glue may remain, so be careful.
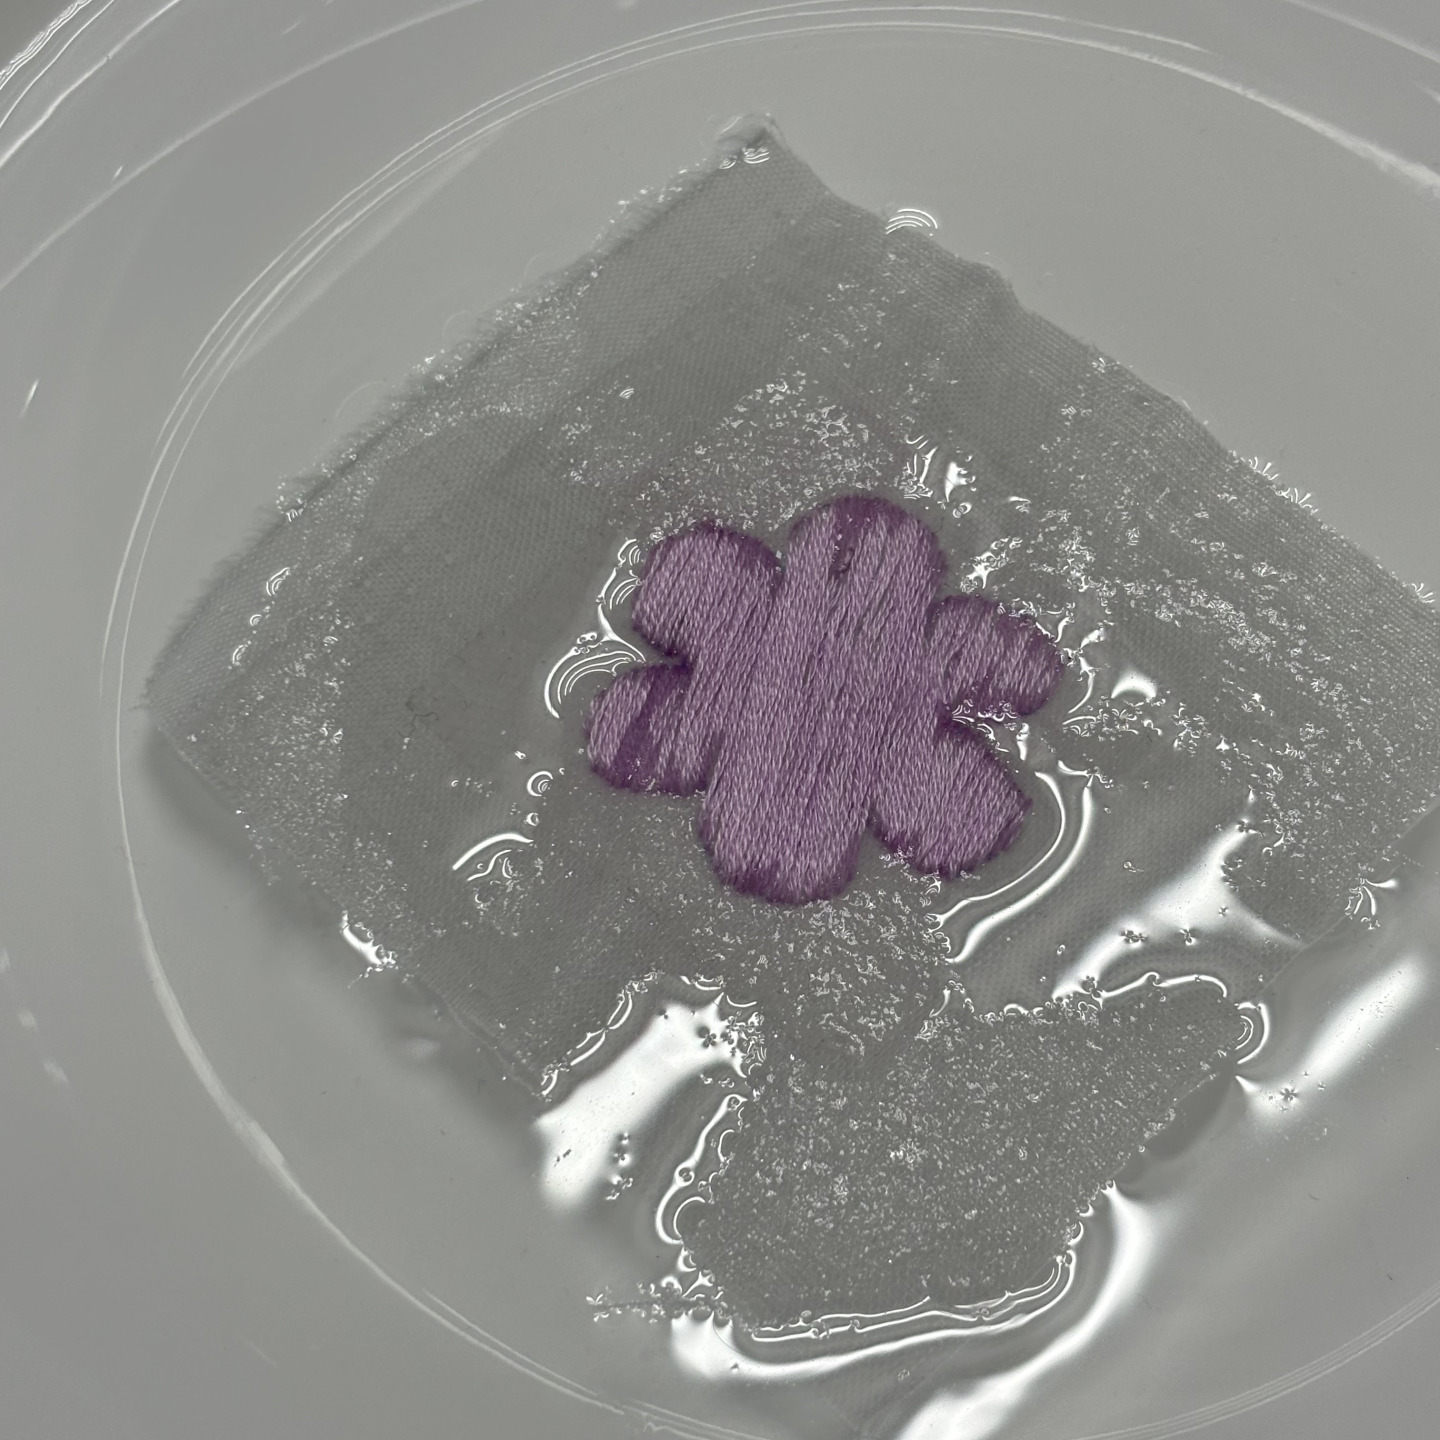
This item makes design transferring much easier.😊
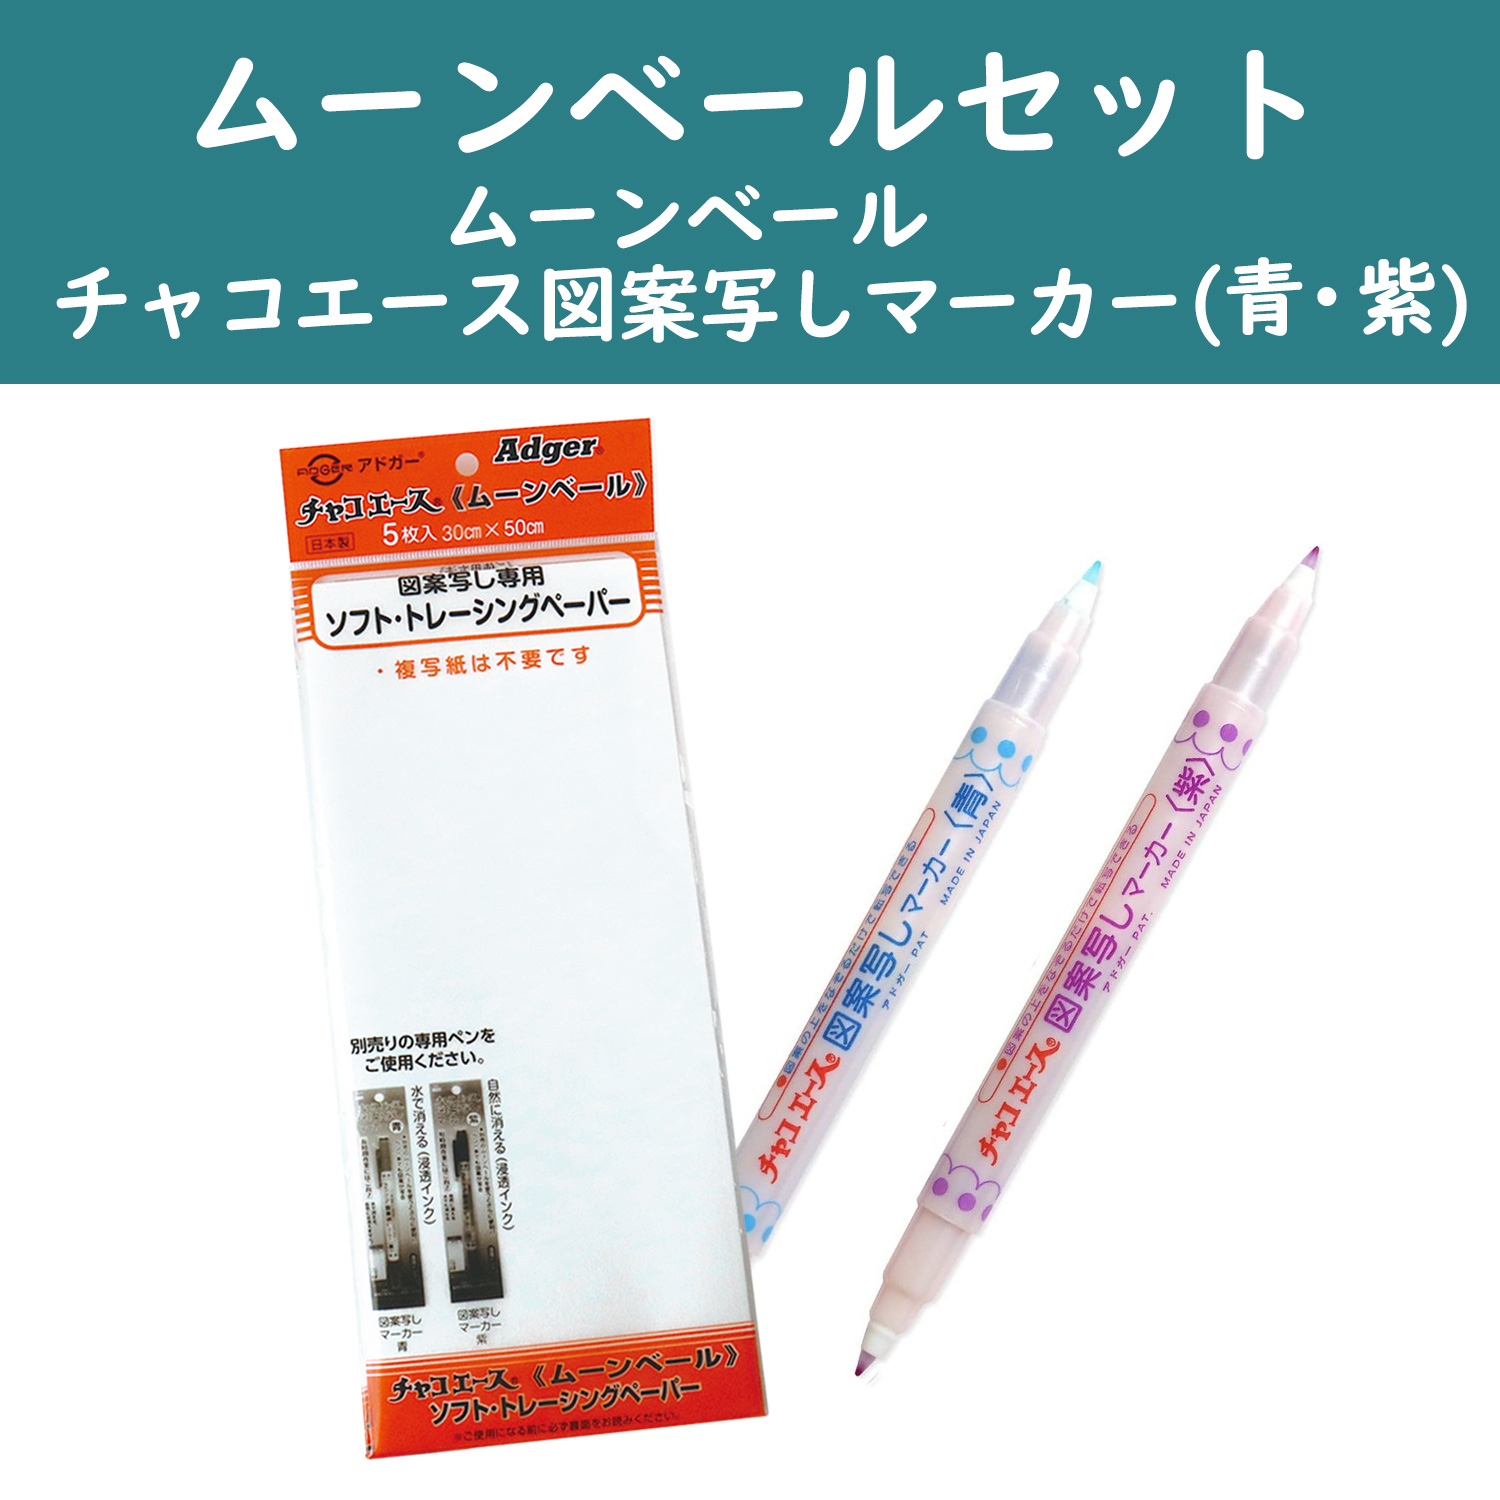
Moon Veil & transfer marker
This is a special sheet that lets you transfer designs onto fabric using a special pen.
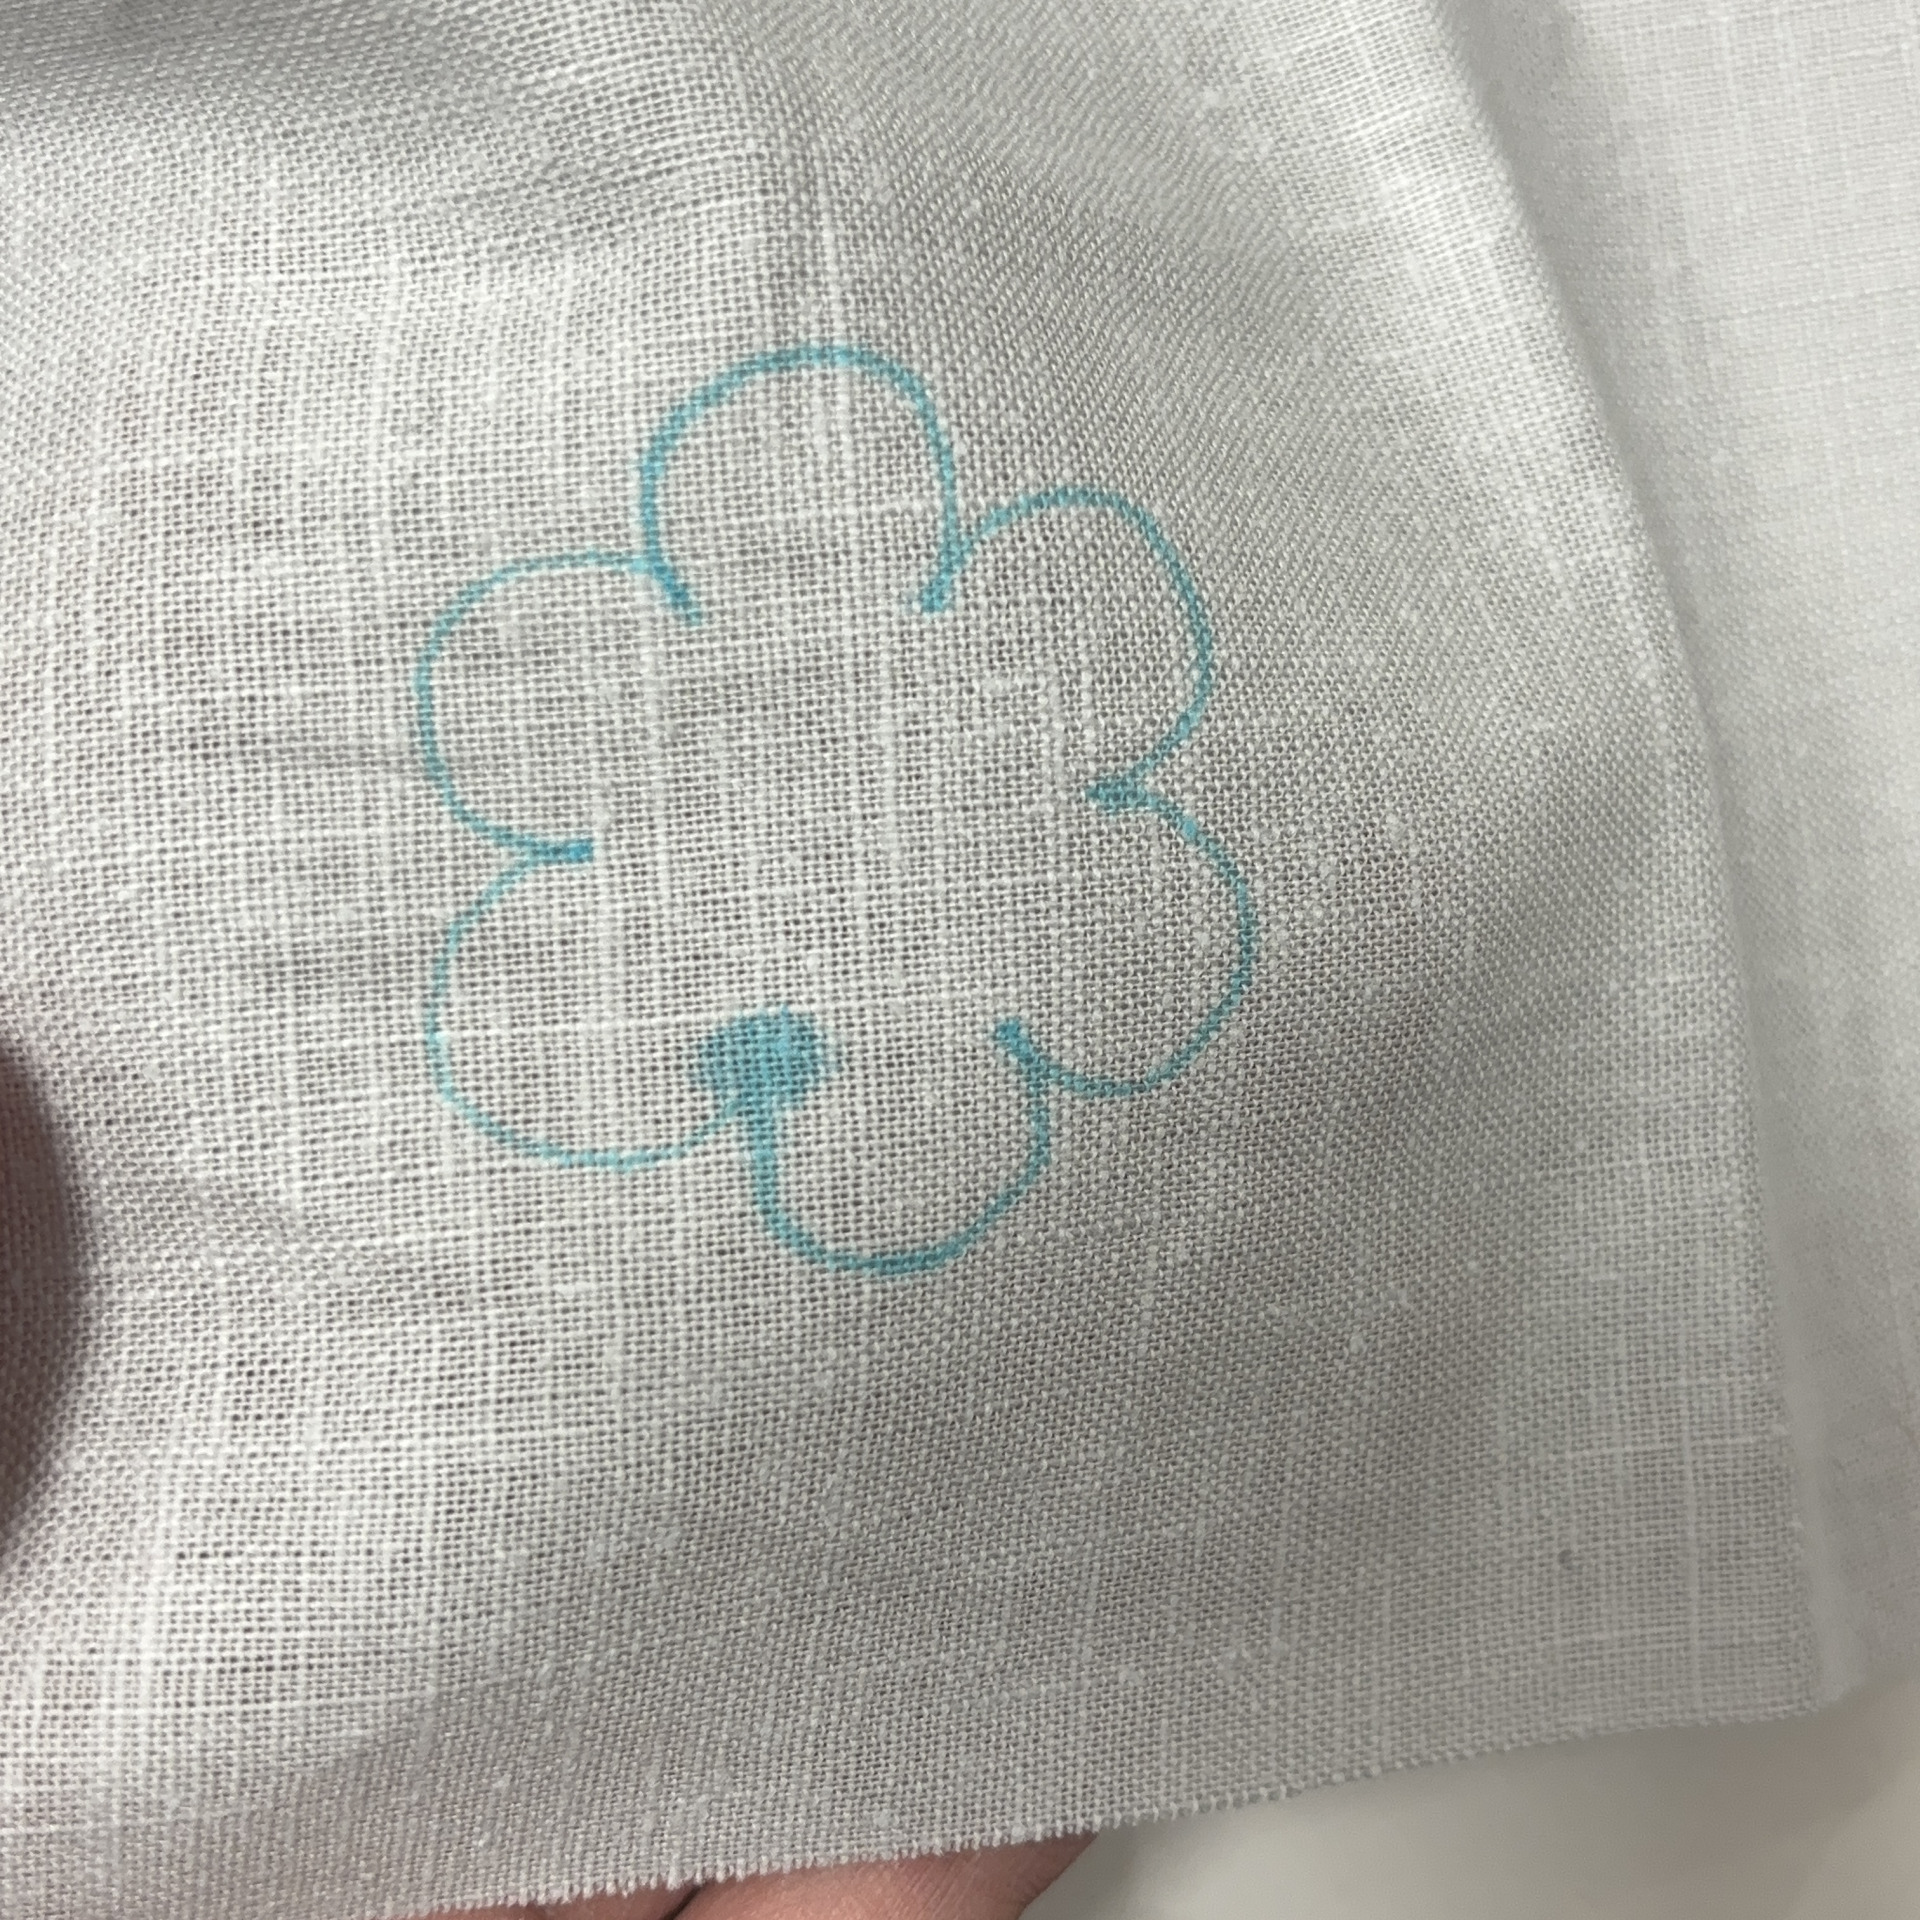
The drawn design can be erased with water, so you can use it again and again.

How to use
①Place the Moon Veil on the design and trace with the transfer marker
Use the special pen to trace the design onto the Moon Veil. The ink transfers to the design underneath, so if that concerns you, place a film or clear file in between.
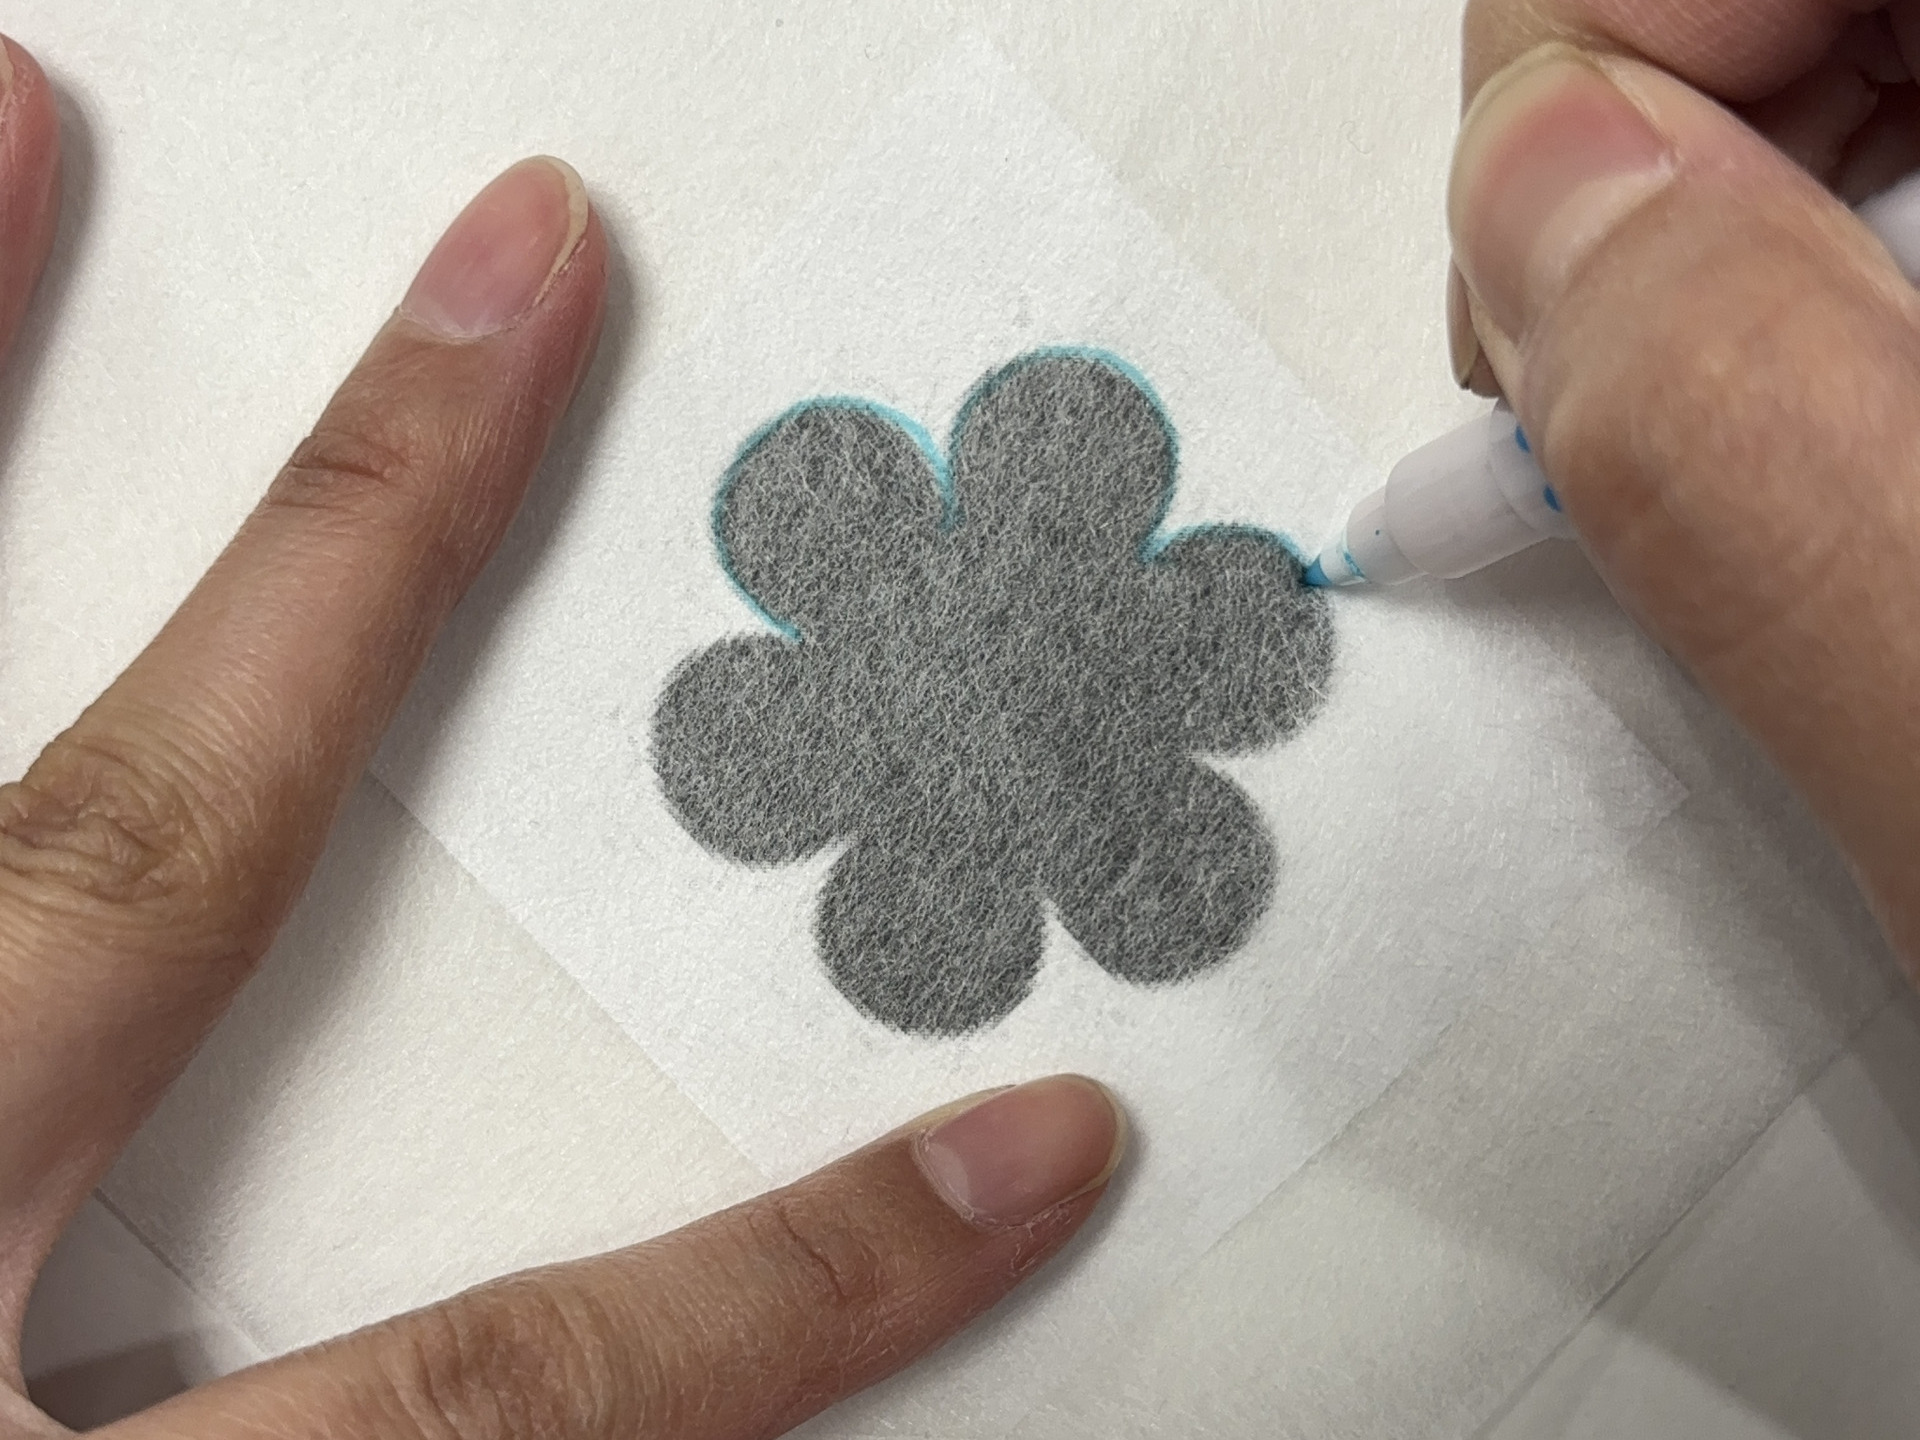
②Place the Moon Veil on the fabric and trace again
Place the traced Moon Veil on the fabric and trace the design again with the marker.
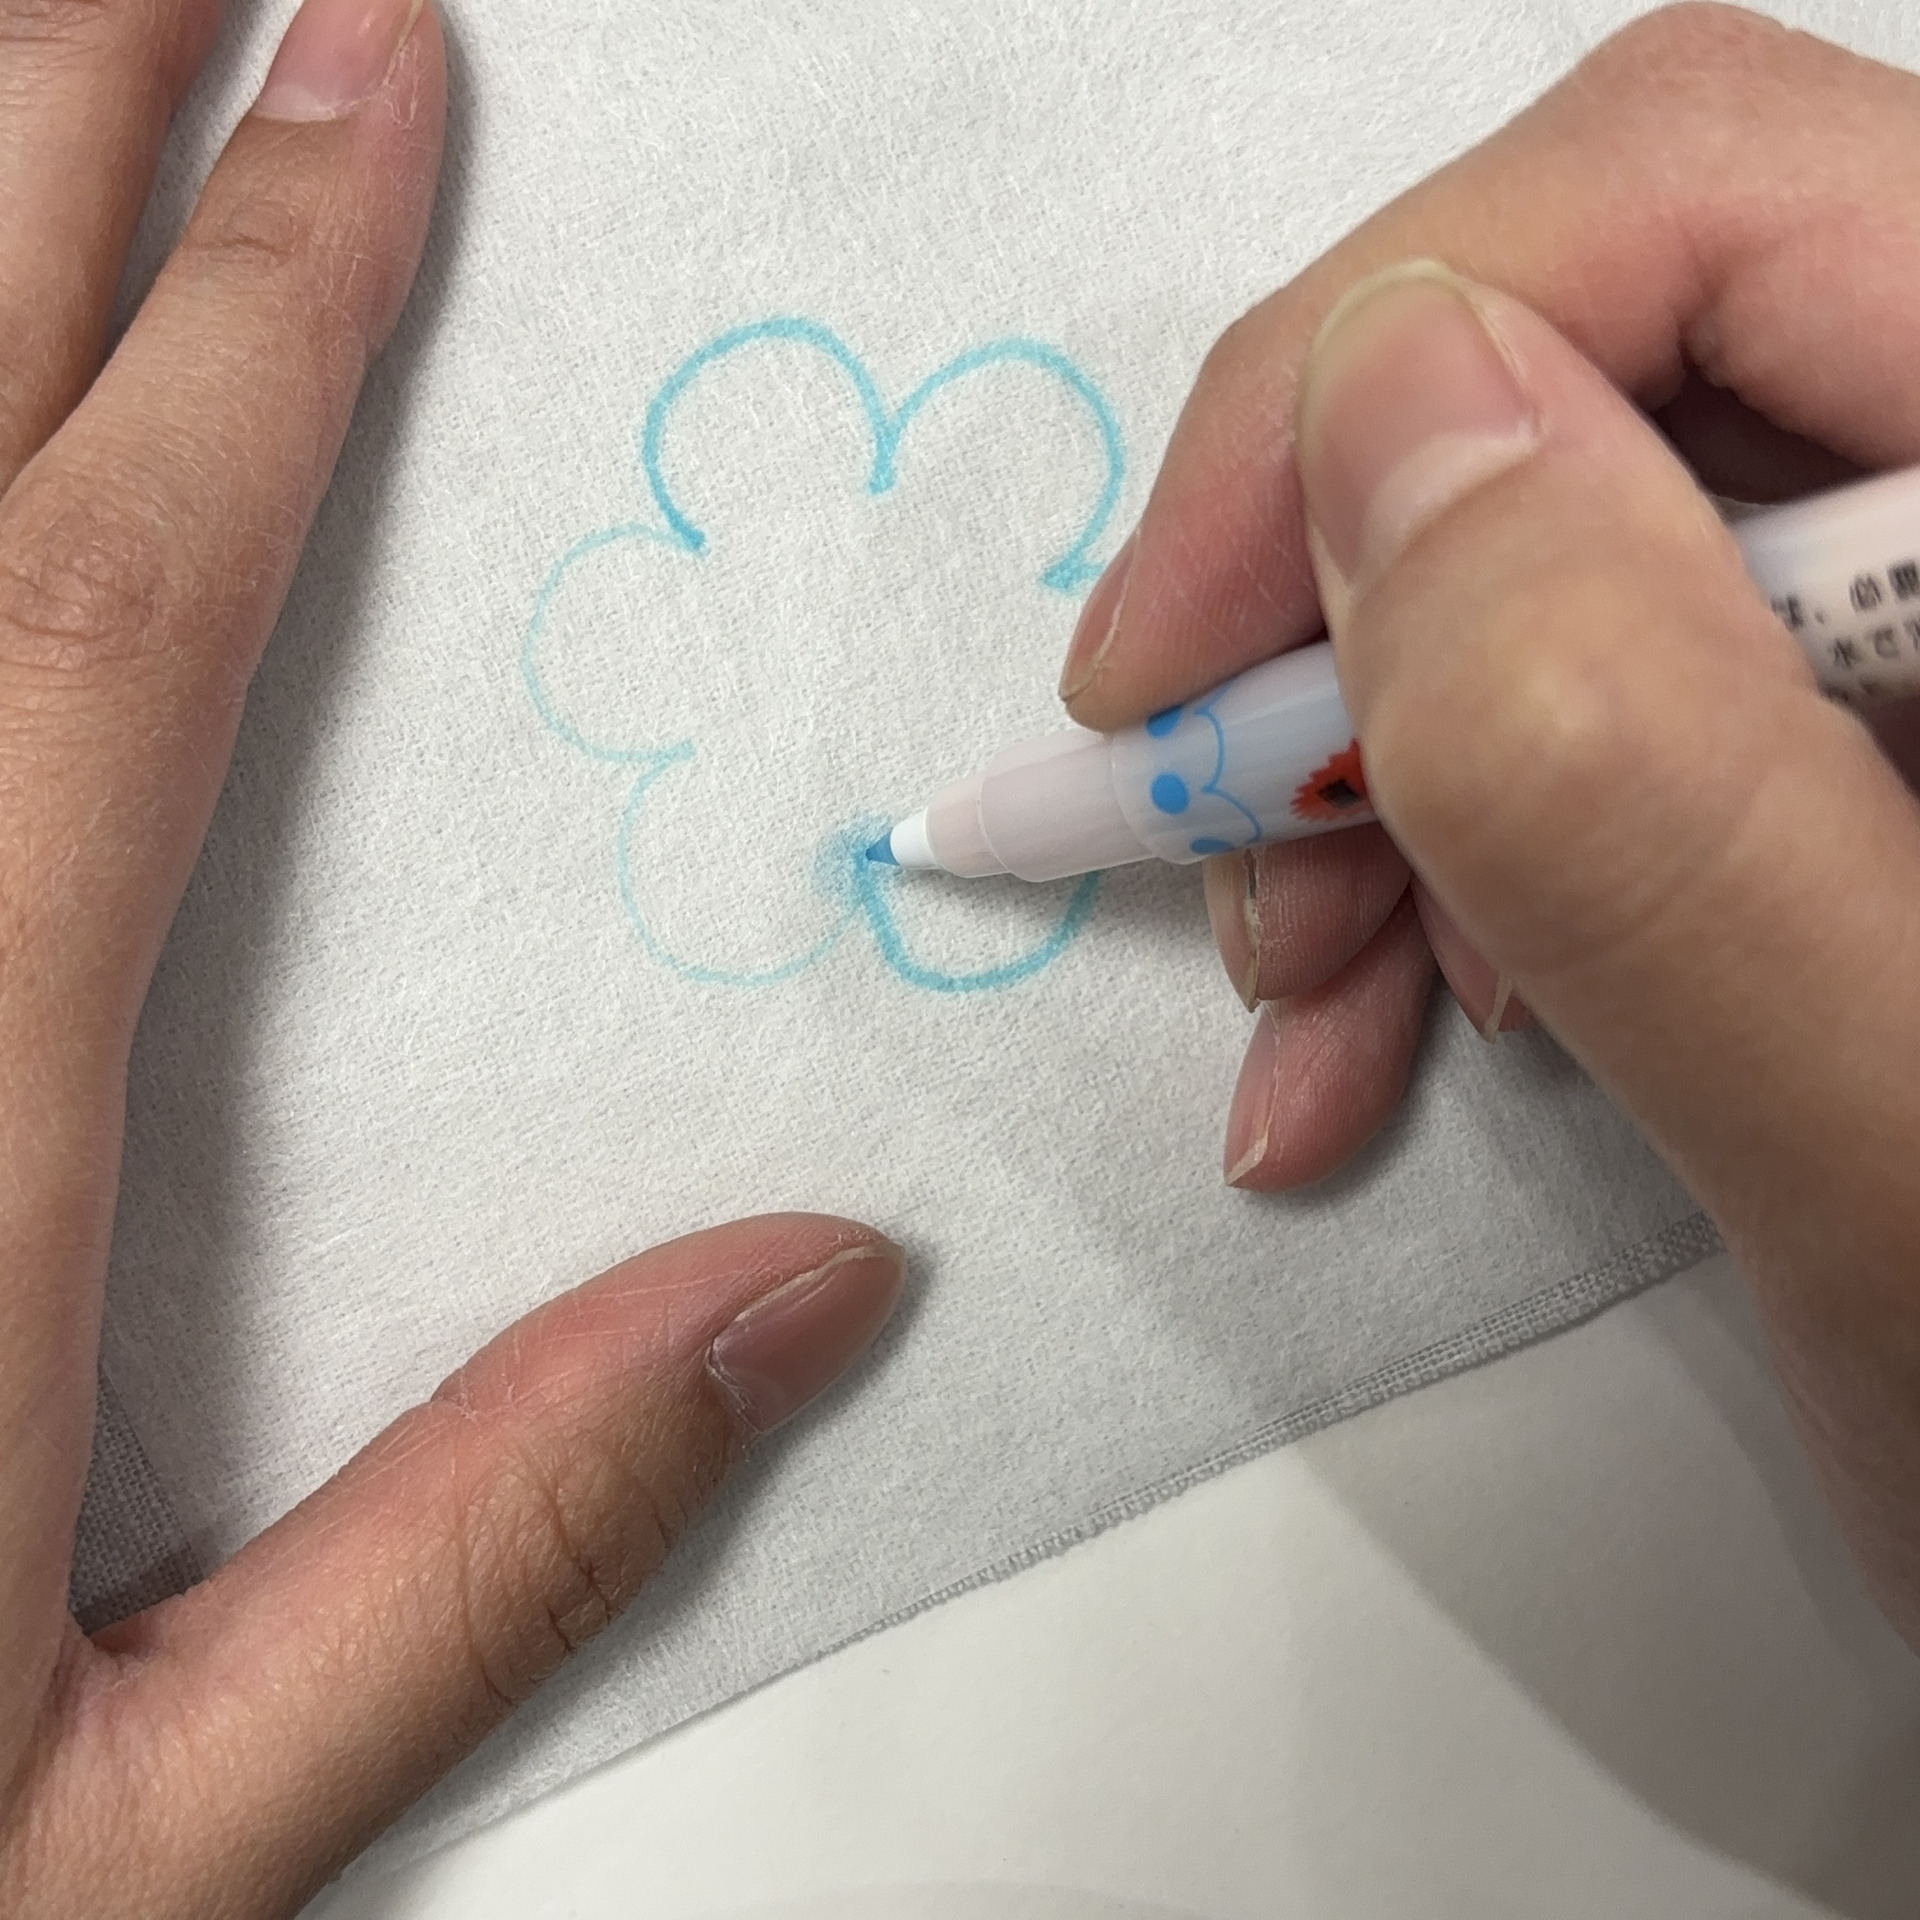
The design transfer is complete! You can transfer directly onto the fabric, so there’s no worry about glue residue.
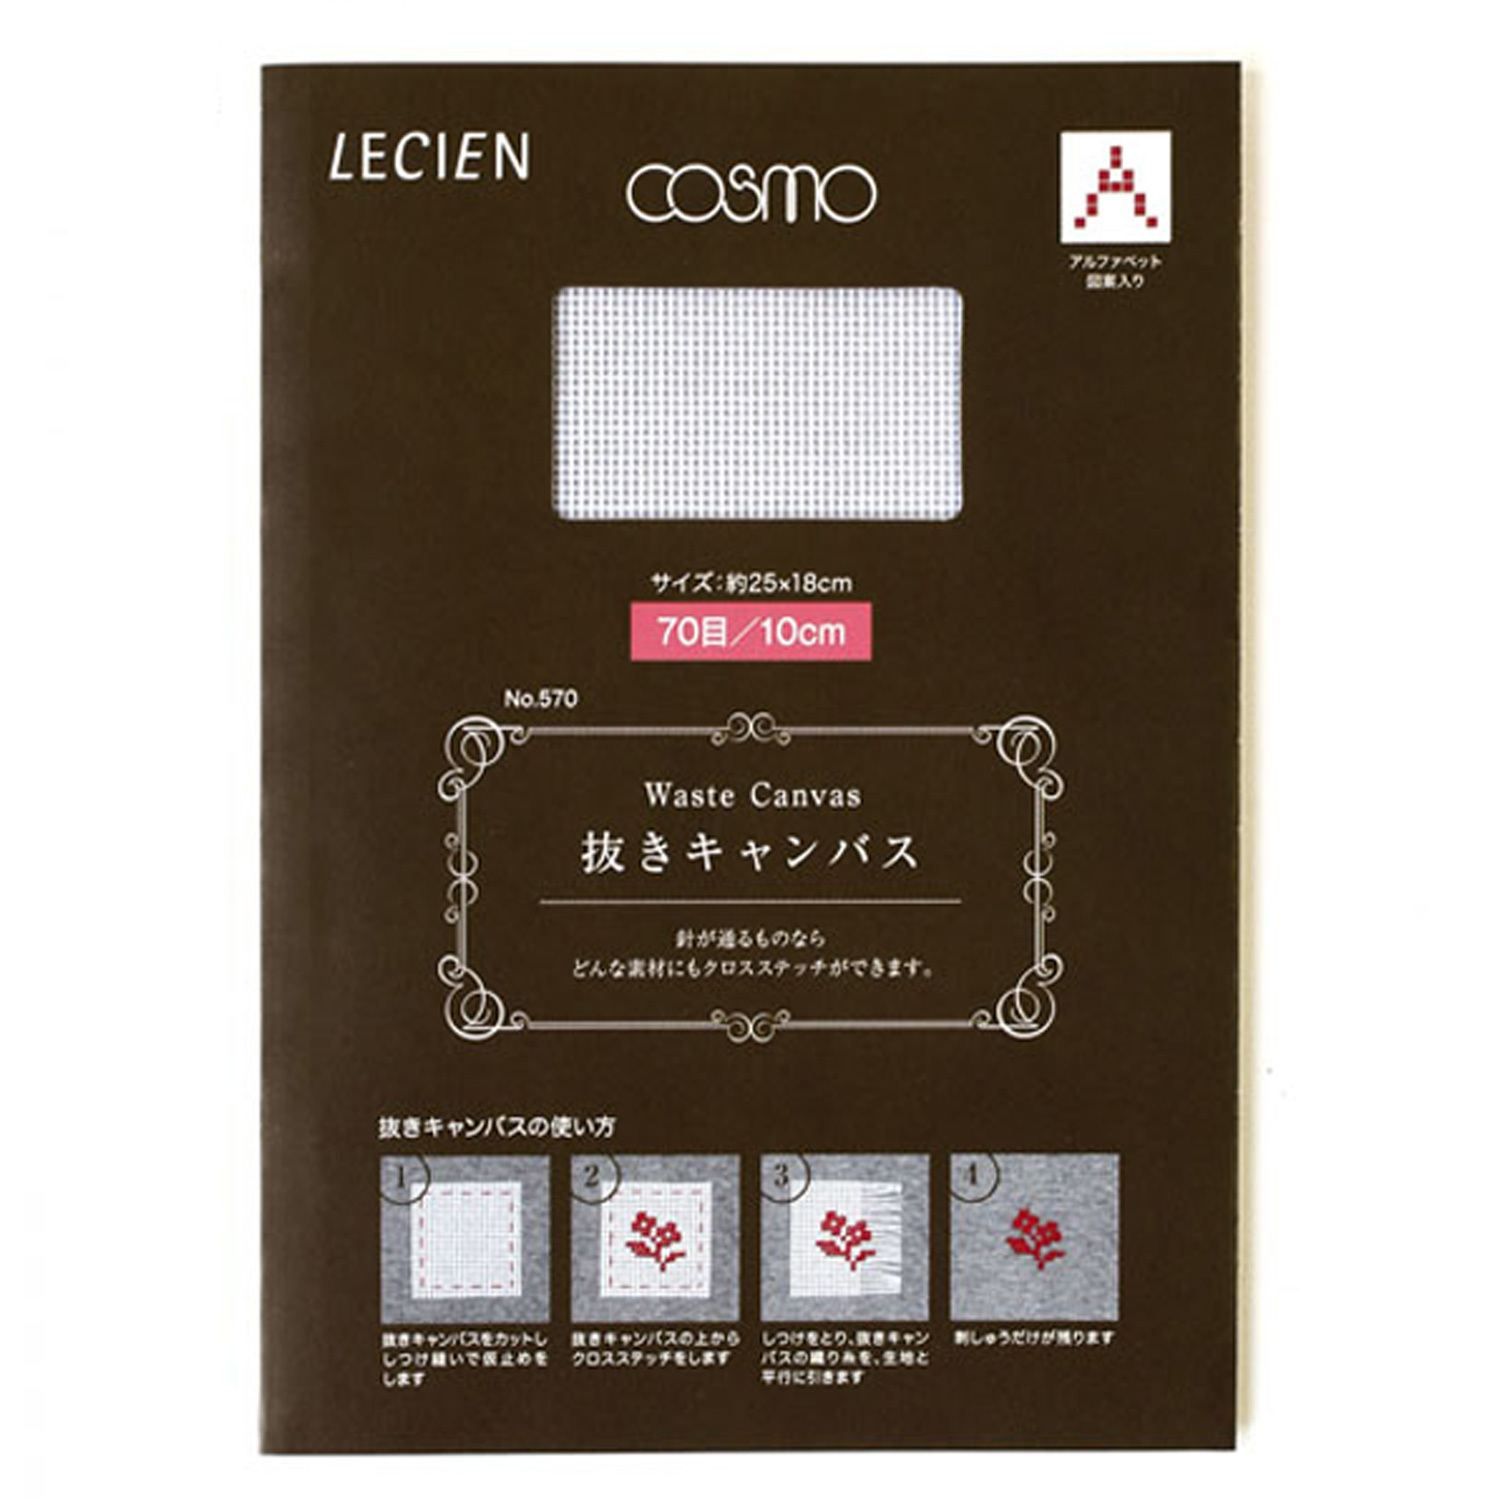
Bonus: Waste canvas
This is a bit different from transferring designs, but here’s another useful item.
By fixing it onto regular fabric, you can do cross-stitch even without a grid 👀
After stitching, you pull out the threads one by one, leaving only the stitches in the end.

More options! Recommended items for transferring designs
Besides the handy items, there are more recommended tools for transferring designs😎
Worried about ink being too dark and not coming off?
When using dark carbon paper, even after washing with water, faint marks can sometimes remain.
To prevent this, there is carbon paper with lighter ink from the start 🙌
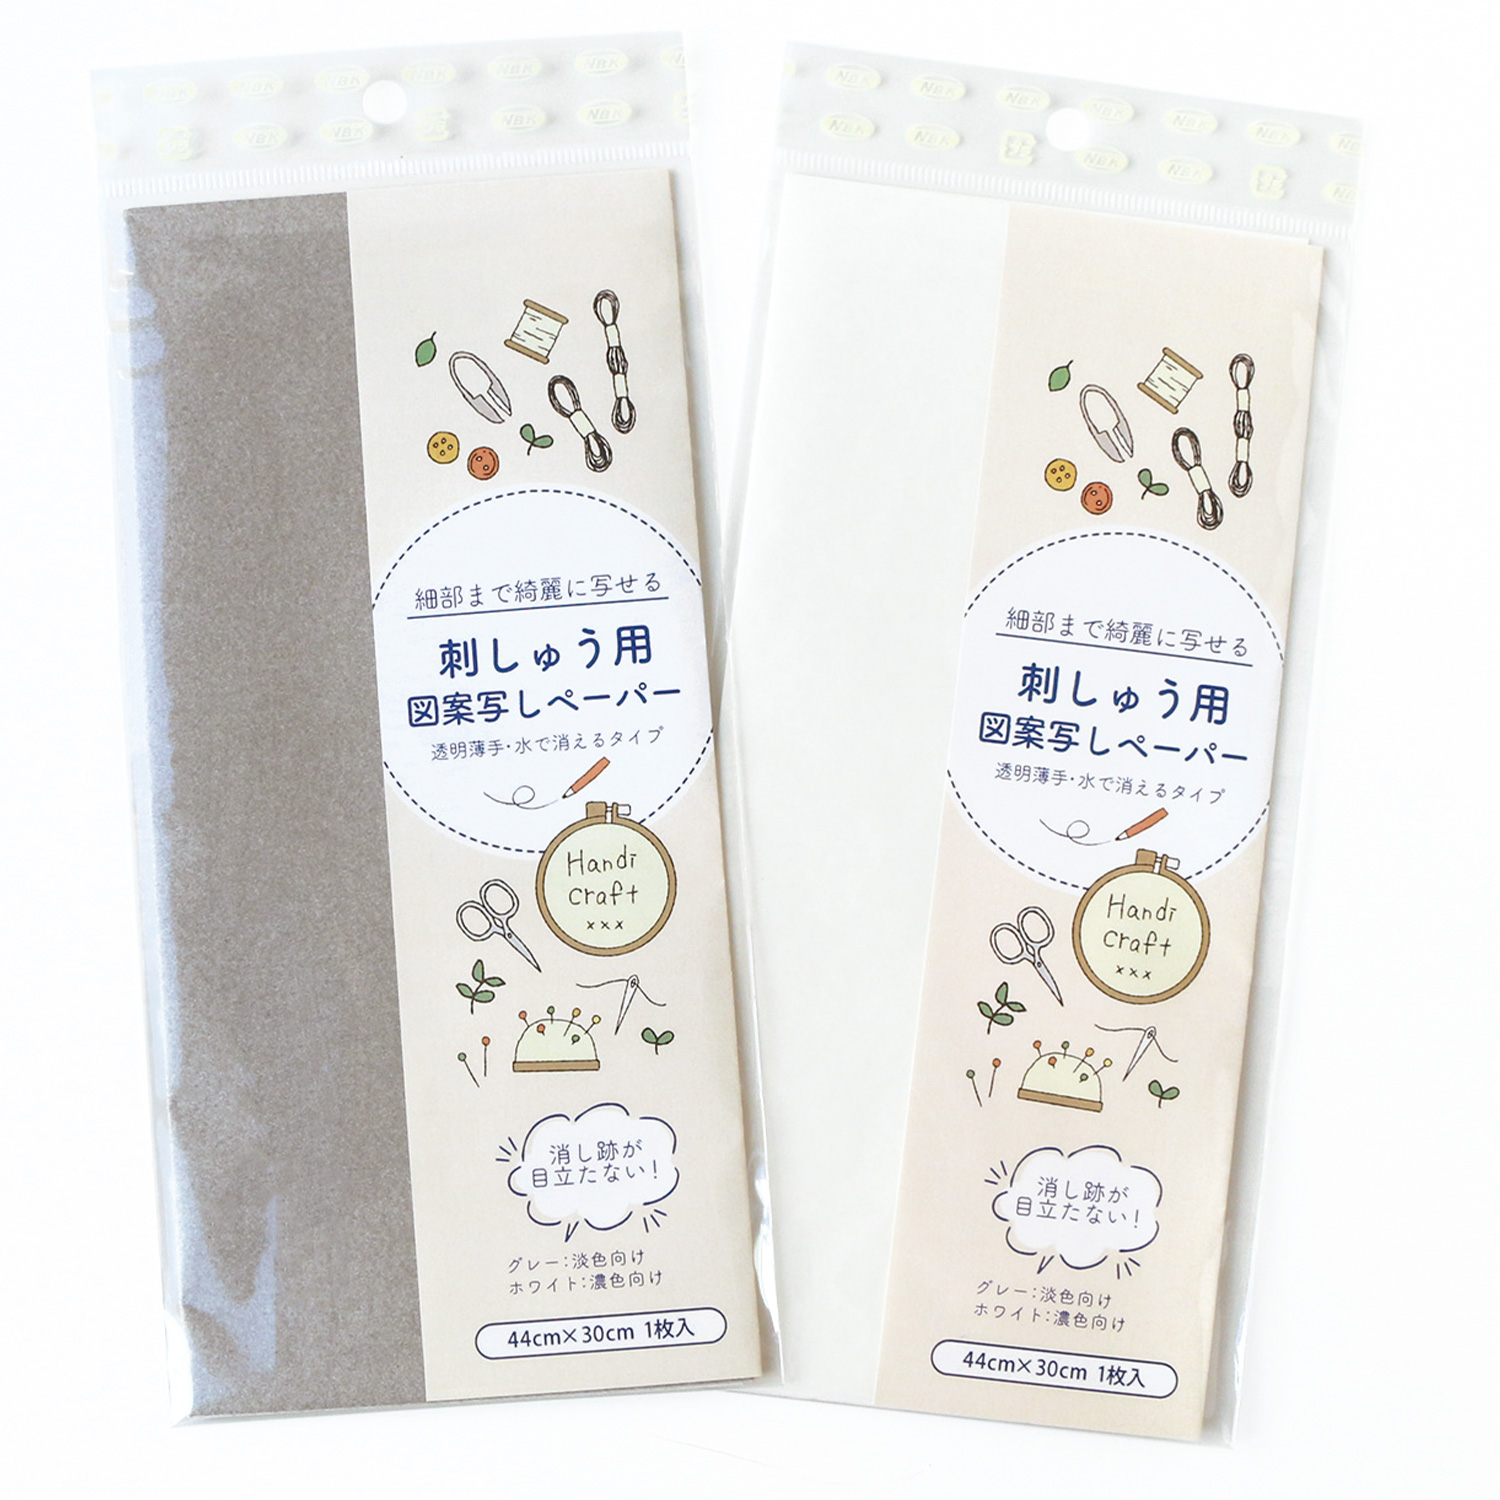
This is the design transfer paper (Product No.: EMCP-W/GR)
Since the ink color is light, it won’t stand out after embroidery.
This series is also popular with embroidery teachers.
The white type is also recommended for dark fabrics 🌷

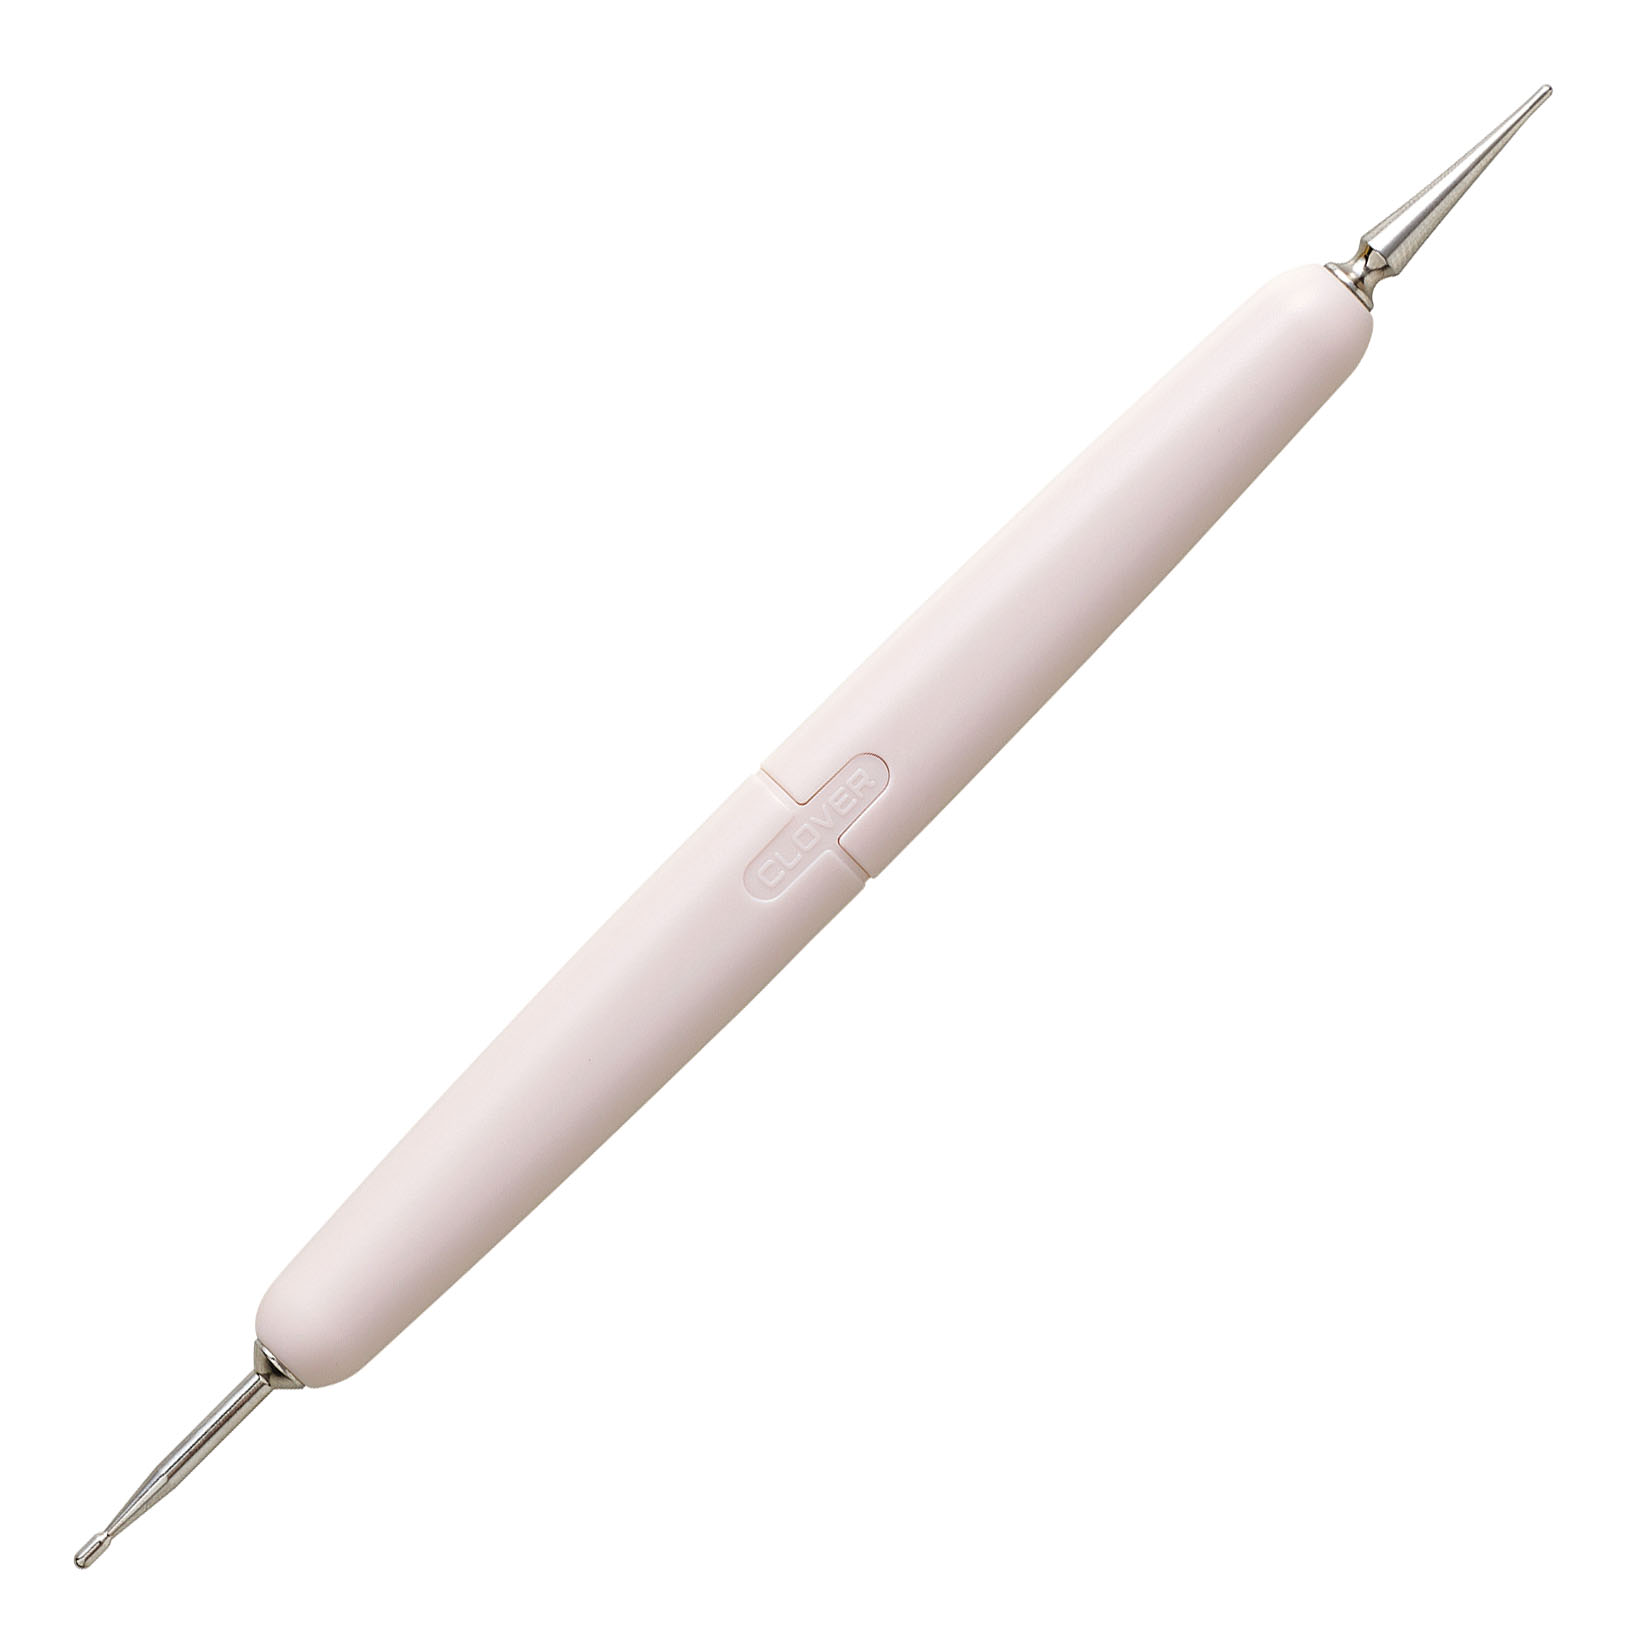
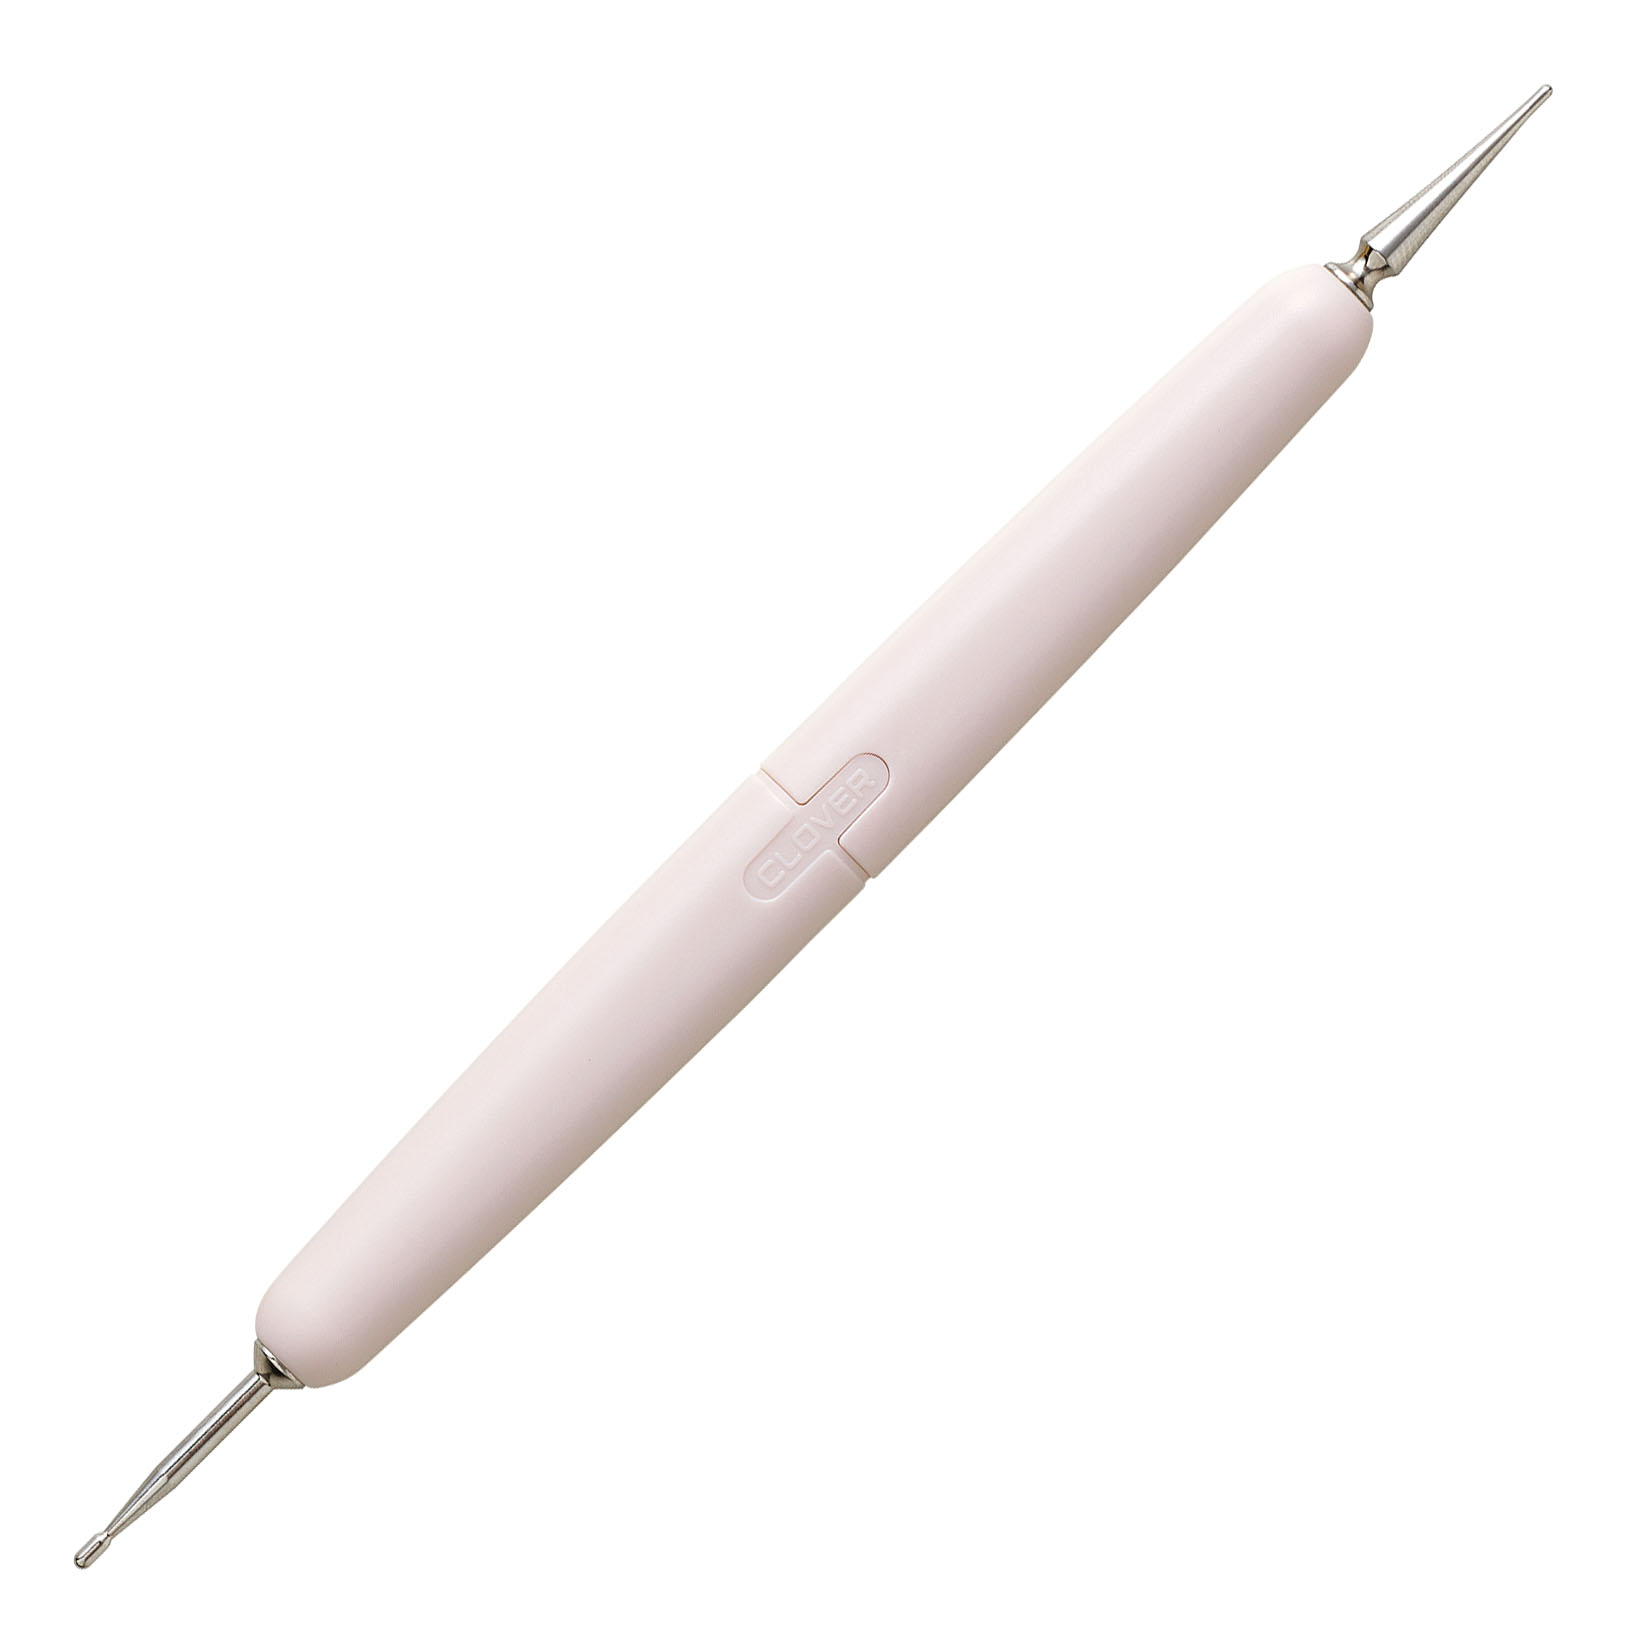
Ultra-fine tracer for detailed designs
With regular tracers, the tip can be too thick to transfer fine designs.
We often hear this concern.
This tracer is recommended for that.
There is a 0.9 mm fine tip for delicate lines, and a 1.3 mm tip for bold, clear lines. It can also be used as an awl for undoing or adjusting stitches🙂
We also share products and special offers on Instagram.
Please follow our Instagram account here!
We look forward to your orders and your visit!
Our Official Websites
Chuko Online: https://www.nippon-chuko.co.jp/shop
Facebook: https://www.facebook.com/nipponchuko
For product inquiries, please contact us here!
At our Main Building 3rd floor, you’ll find Sashiko and embroidery supplies.
If you’re visiting Osaka, please stop by and say hello!



Chuko Onlineではみなさまに日々の手芸用品の仕入れを便利にしていただけるように、お得なセール情報などを更新しております! ▽Chuko Onlineのサイトはこちらから! https://www.nippon-chuko.co.jp/shop/ みなさまからのご注文をお待ちしております。