

Hello everyone. This is Y from the 3rd floor.
Sashiko has been getting a lot of attention in the news lately.
This time, our staff went all the way to Kyoto to try sashiko!
We’ll share what it was like.
目次
We visited SASHIKO.LAB
This time, we visited SASHIKO.LAB in Kyoto.
We made a reservation for a Japanese-language class and joined.
The two staff members, who already love handicrafts, were excited even before it started.
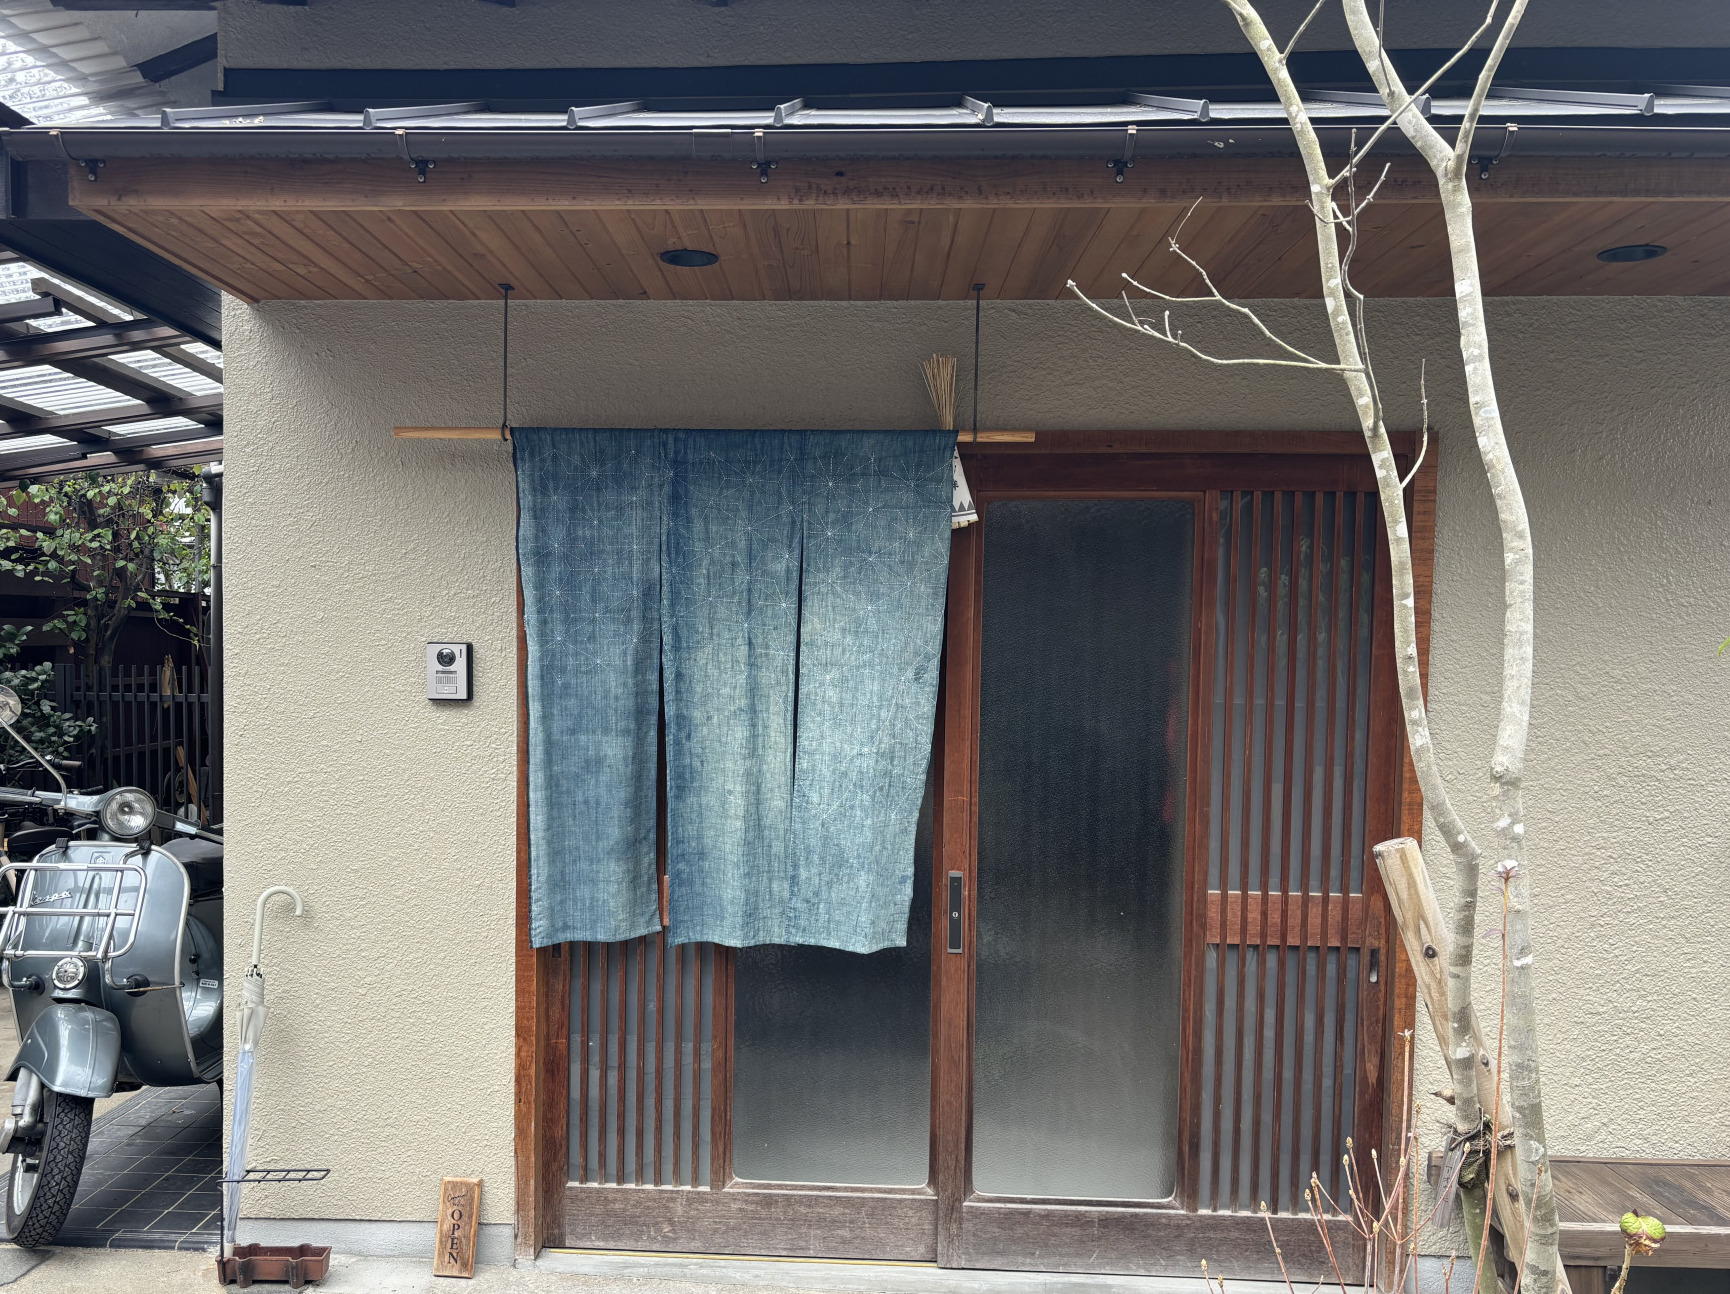
At the entrance, there was already a sashiko noren curtain!
Maybe because it’s Kyoto, the atelier had a very nice atmosphere.
There were five participants in the workshop, including our staff.
*From Osaka, where our company is, it takes less than about one hour one way to get to Kyoto, depending on the destination!
Let’s try making a coaster!
In this workshop, if you already had a design or piece you wanted to stitch, you could work on that. If you were a beginner and just wanted to try sashiko, you chose a pattern and made one coaster.
Our staff each picked a pattern they wanted to try and got started right away!
This time, we tried not only hitomezashi, but also a technique called “kuguri-zashi,” which we had never tried before.
We’ll show you how it went.
How a coaster is made
Choose your fabric and thread
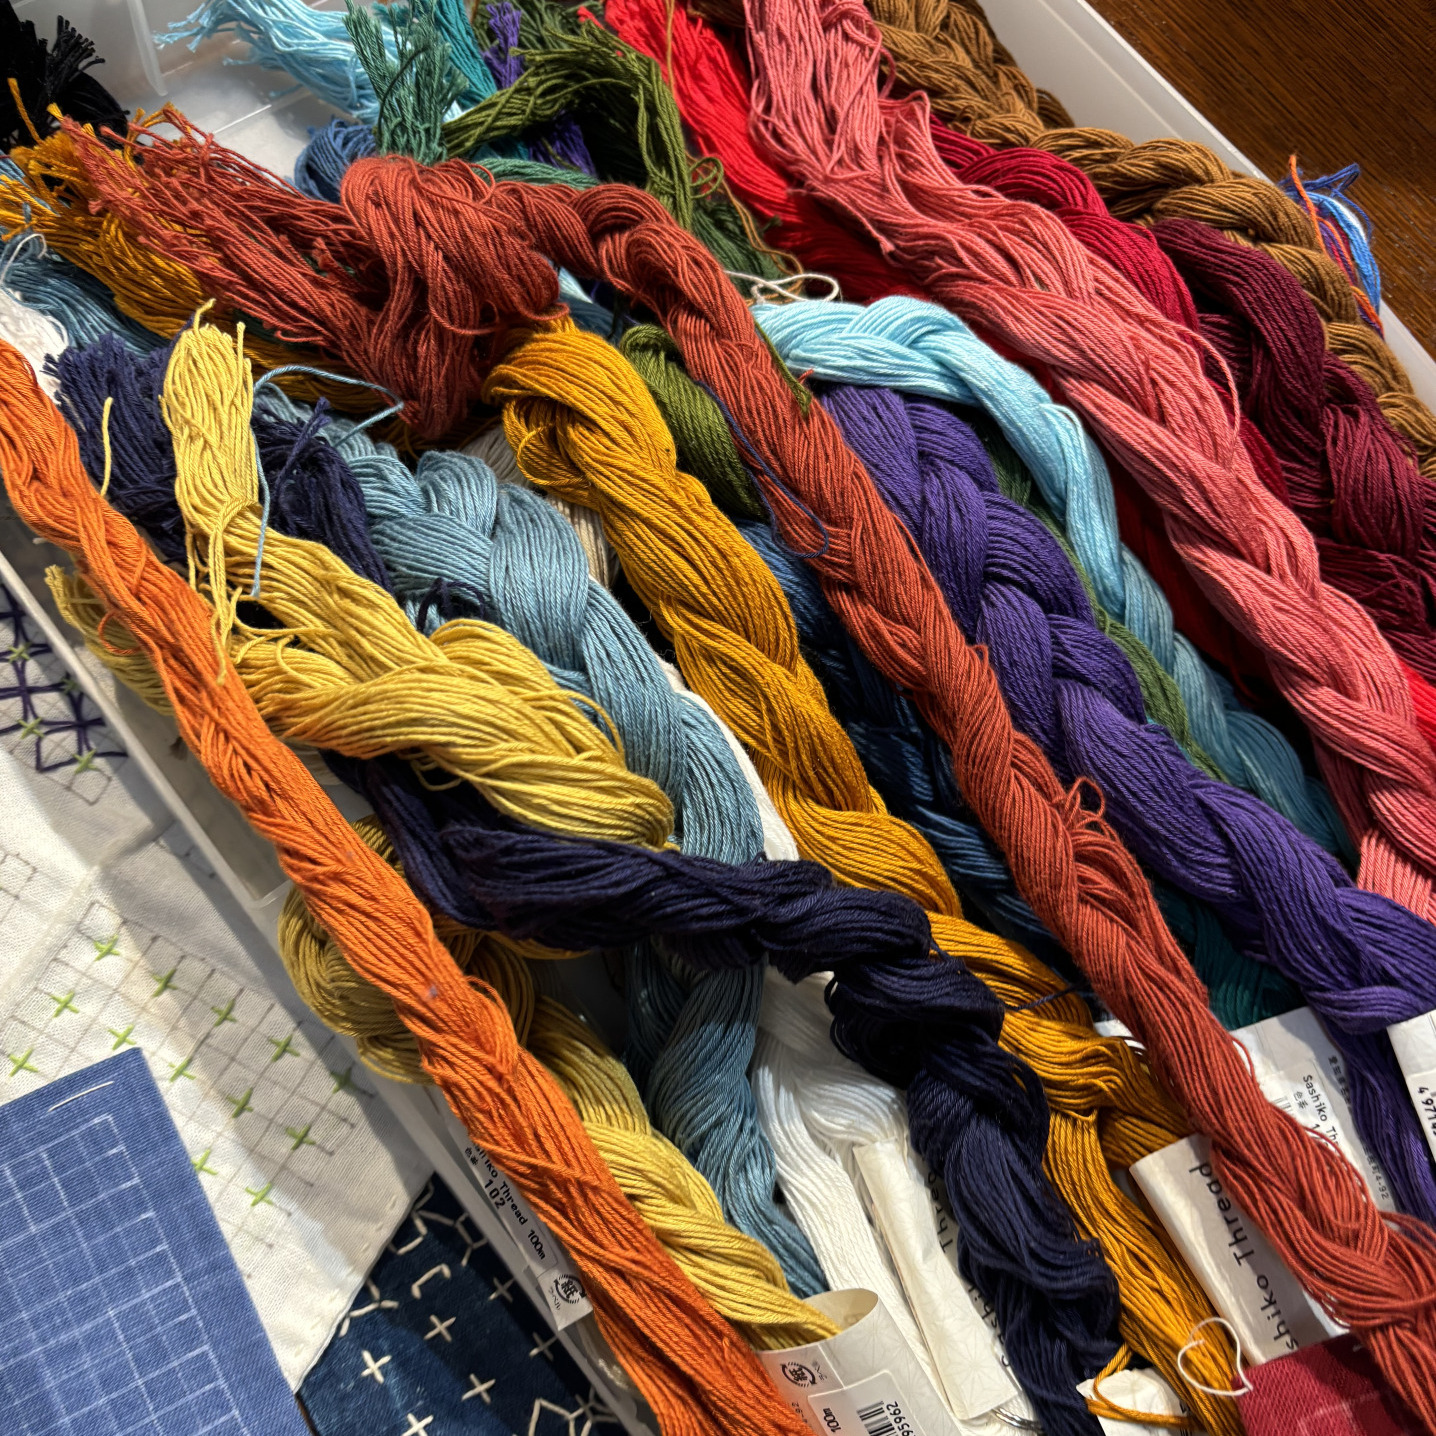
You choose a color that matches your fabric from the many threads provided.
There were a lot of Olympus threads!
These sashiko threads also sell very well at our store.
We feel the same with embroidery, but choosing your own thread and fabric really shows your sense, so it’s a bit exciting.
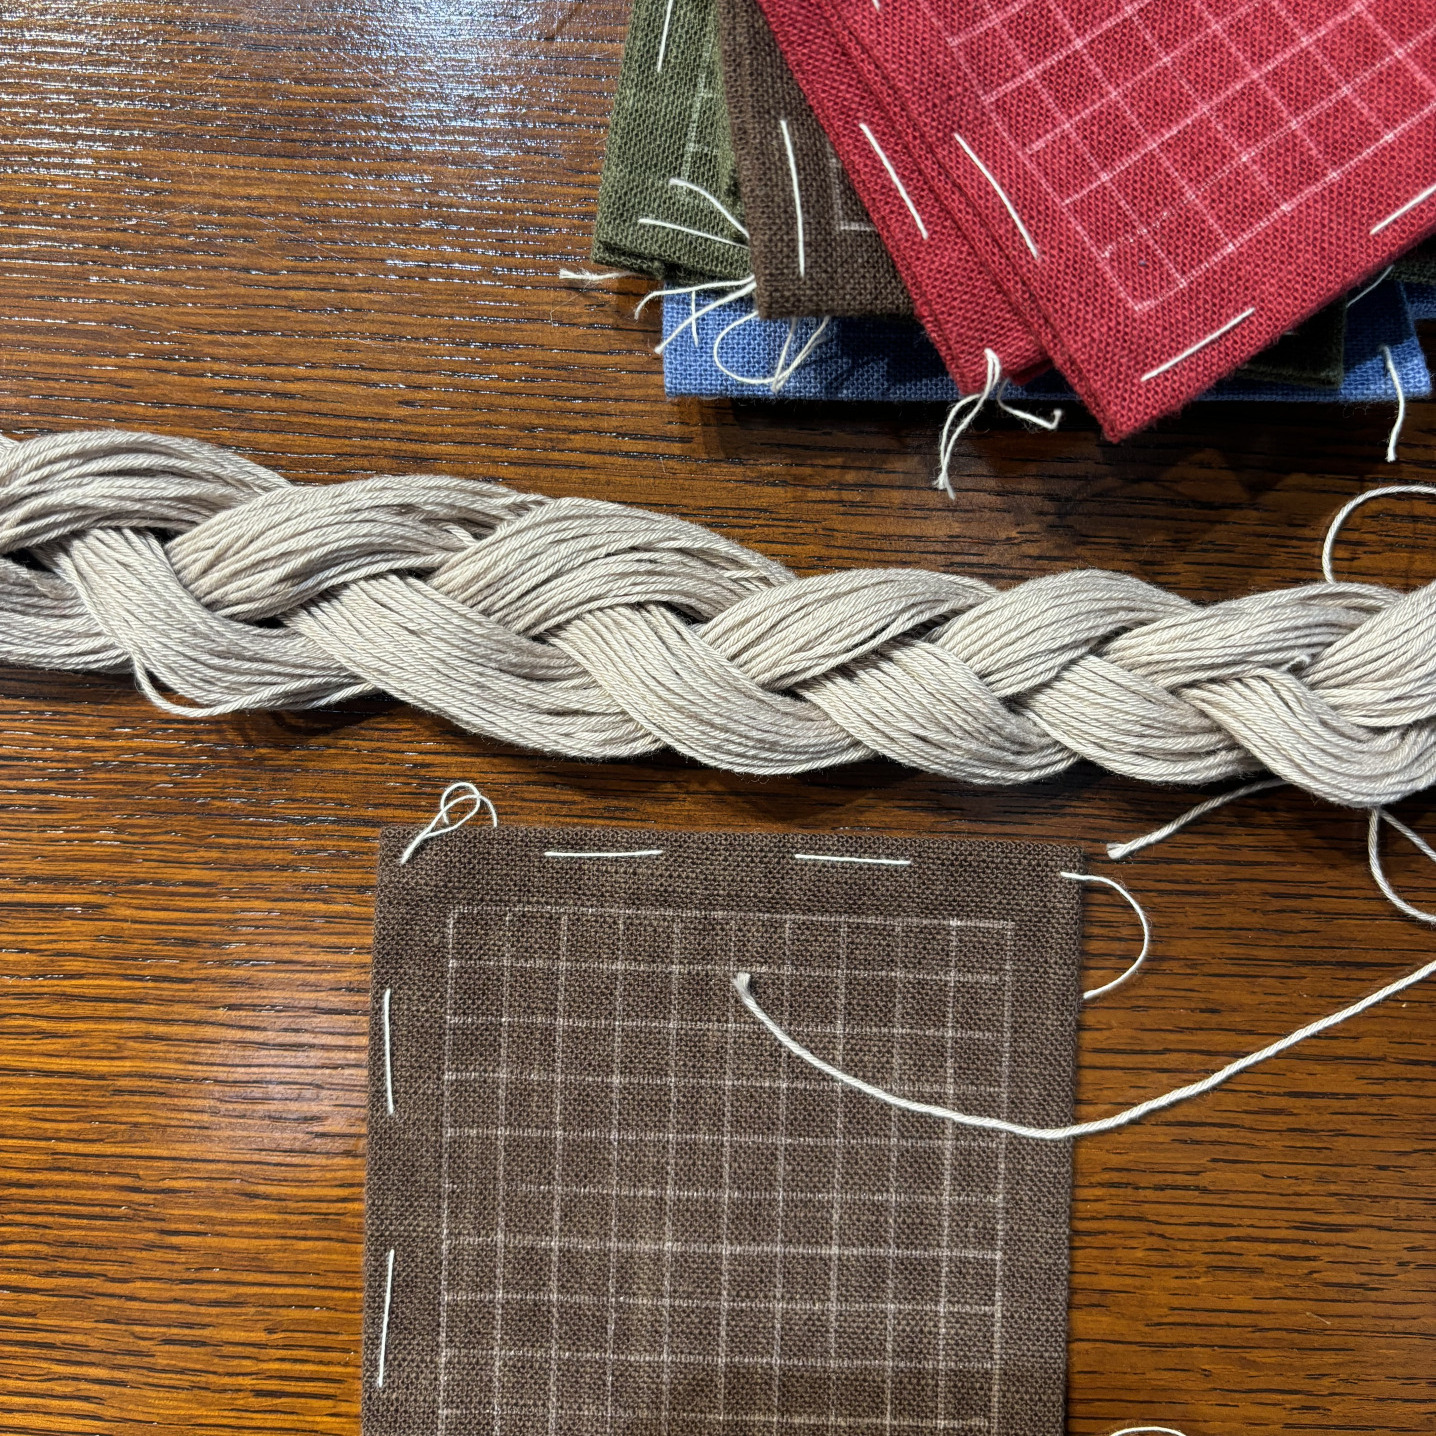
Here are the fabrics and threads our staff chose!
Will they turn out cute…?
There were also other fabric colors like red and green.
Let’s start making the coaster
We picked up the needle and gave it a try!
The instructor showed us step-by-step stitched samples for each pattern we wanted to make.
They were very easy to understand.
When you think of sashiko, the basic stitch is running stitch, so we thought it might not be that hard… but it was actually quite difficult!
What’s difficult is making it look neat and clean.
Even though we stitched in one go, the lines became slanted when we pulled the thread, or the fabric started to wrinkle as we stitched…
There are some key points to prevent this.
We’ll introduce those points in the next article!
If you follow them, your stitching will turn out much neater.
The final finishing step…
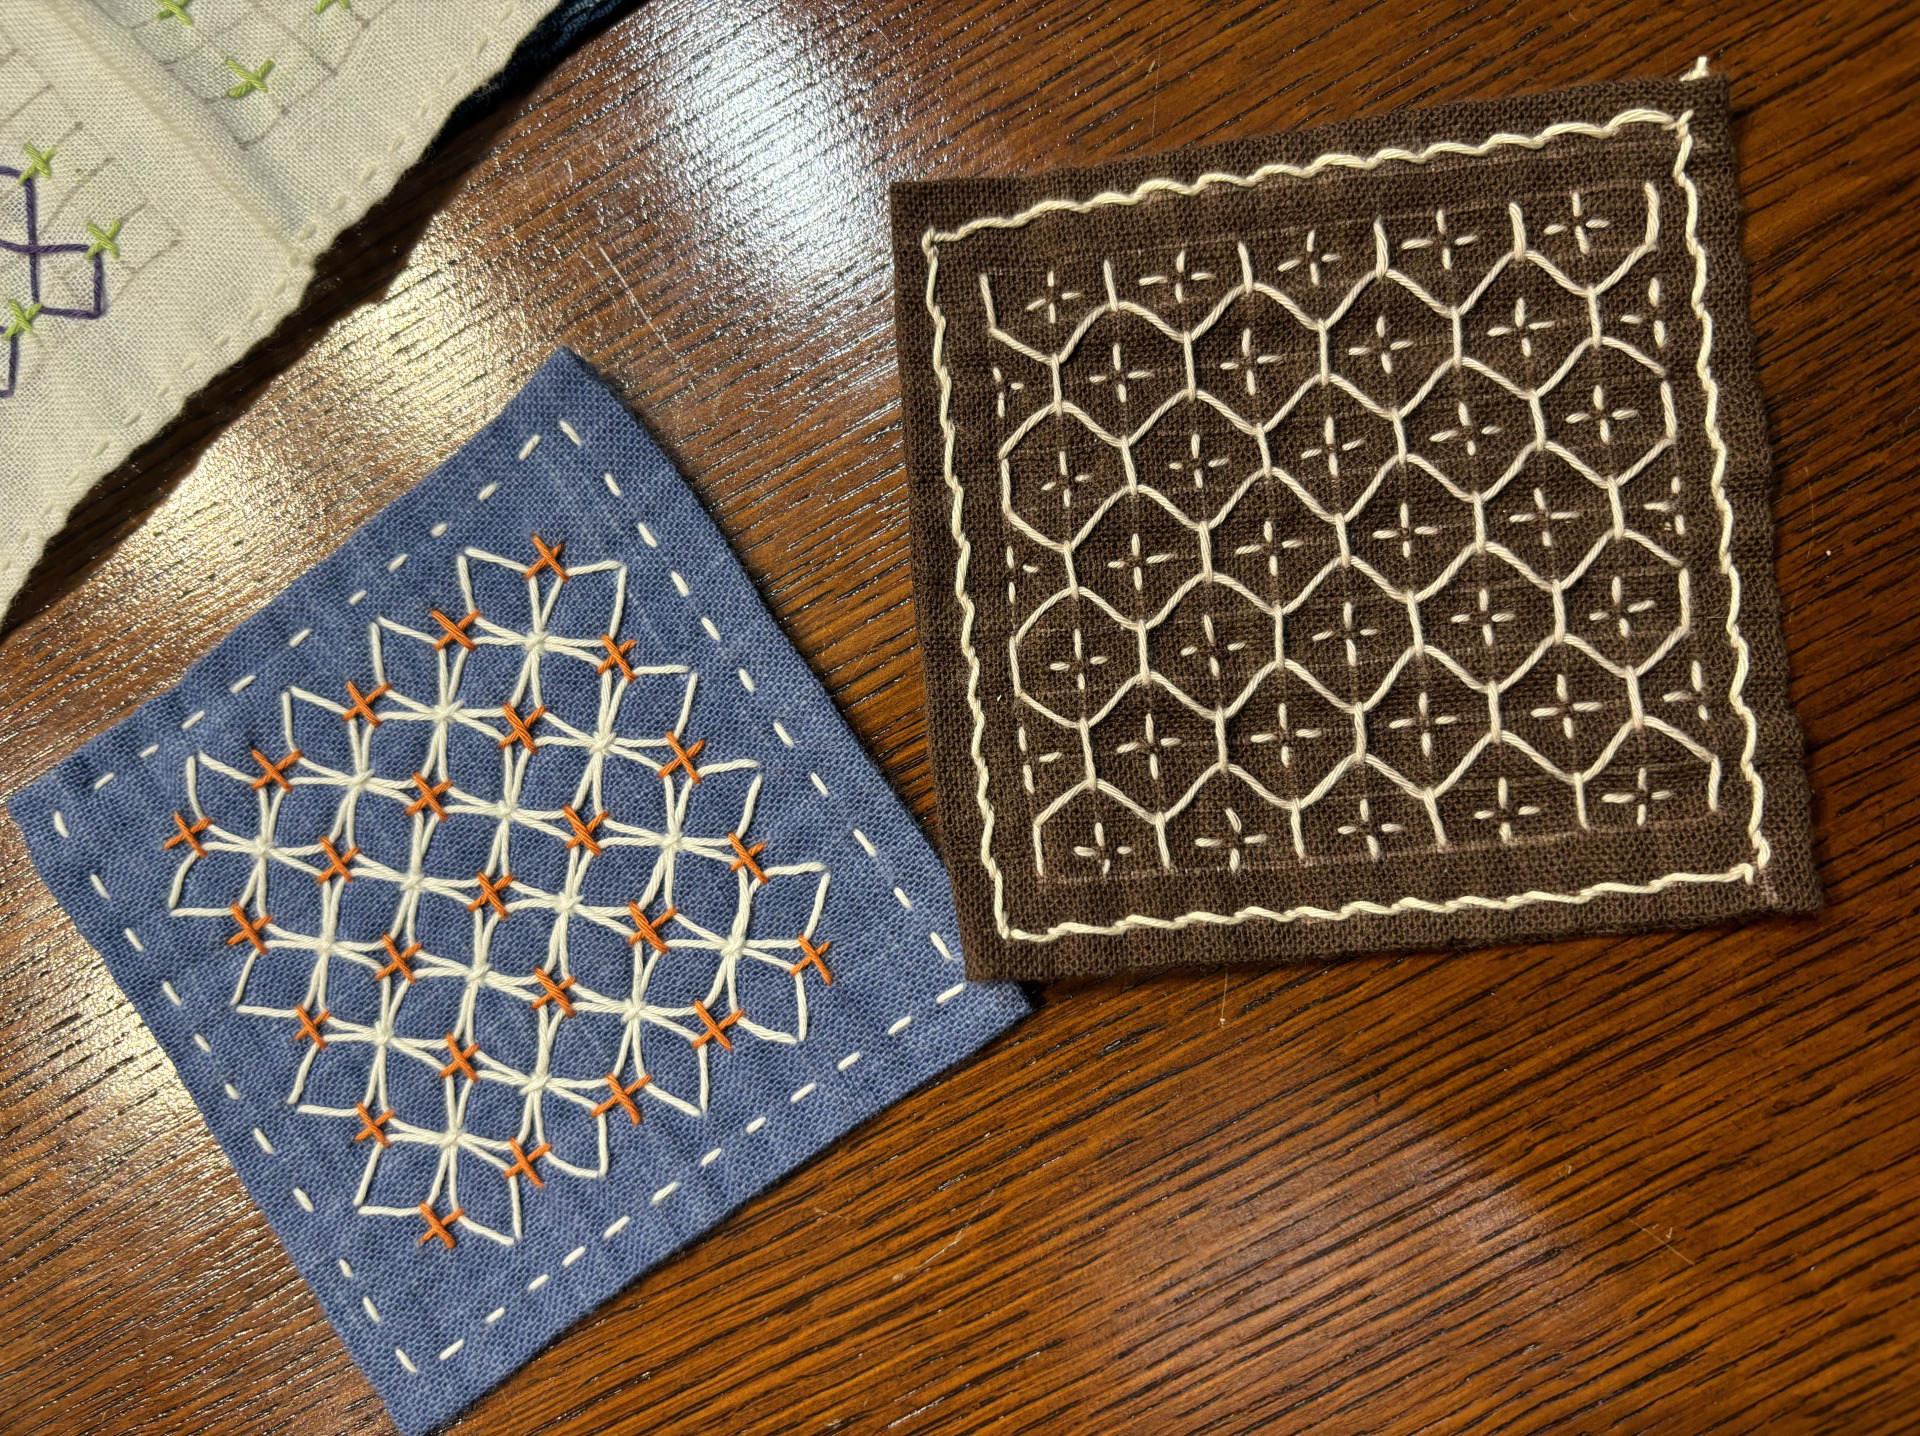
This time, we finished it as a coaster, so we stitched around the edges.
It also looks cute if you simply add small running stitches!
Staff Y tried a slightly stylish method—first doing running stitches, then weaving another thread through them♪
It also looks lovely if you change the color just around the edges.
Even if you’ve never tried sashiko, feel free to give it a go!
If you feel sewing is difficult, we still recommend giving sashiko a try.
It’s appealing because there are no complicated stitches, so it’s easy to start.
With sashiko, you can create designs just by sewing straight lines, so even beginners can enjoy it.
At first, just try it casually. If you find it fun, you can learn the key points and challenge yourself with more unique pieces.
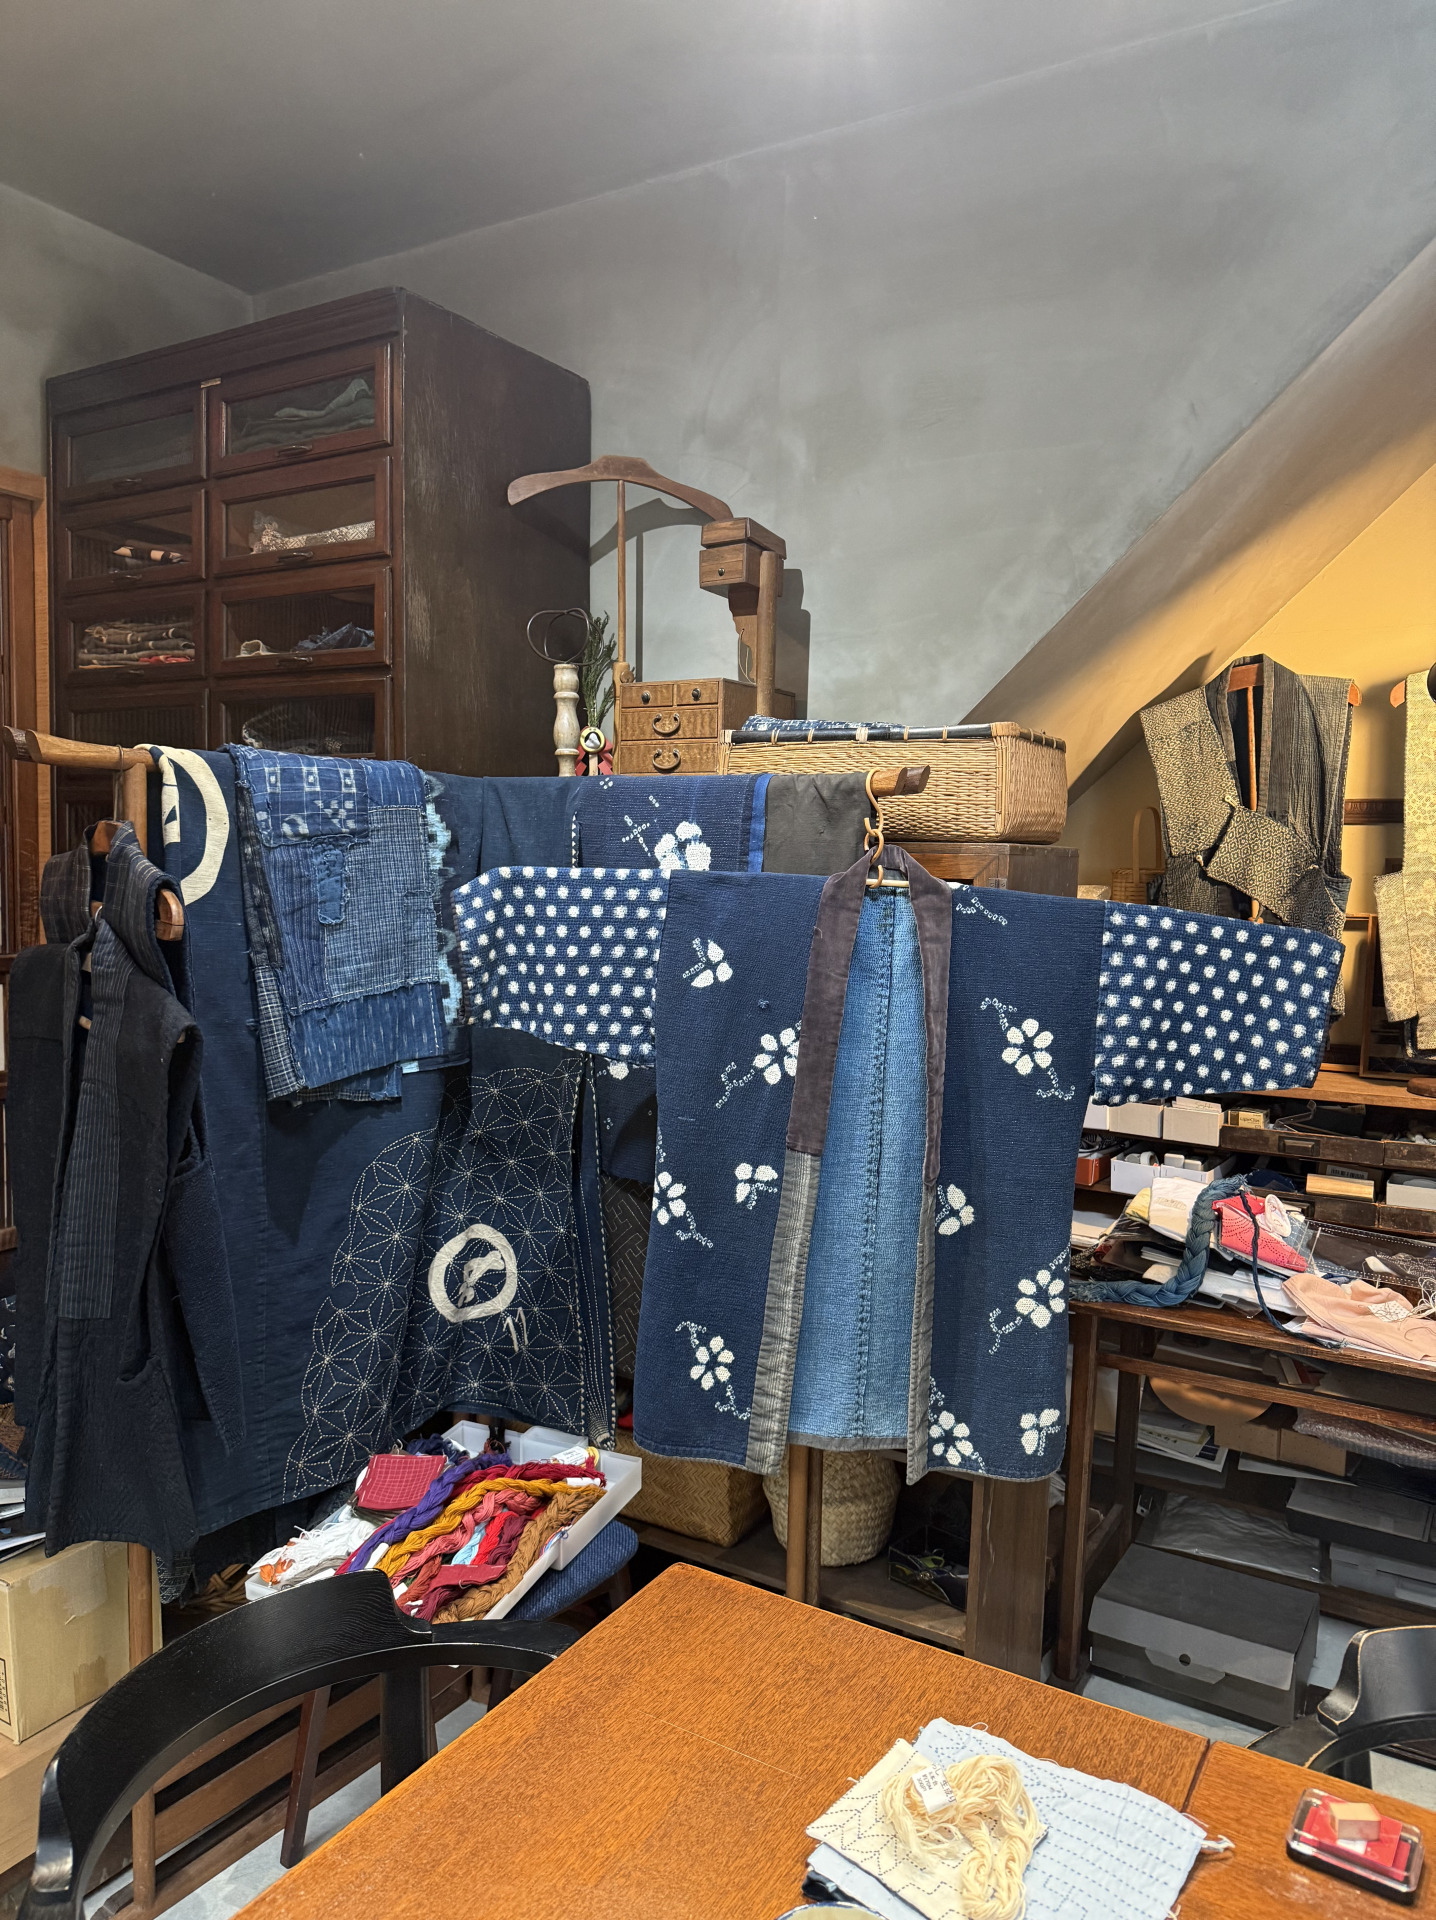
This is what the atelier looks like👀
There were many sashiko pieces displayed in the atelier.
Originally, sashiko has been used as a practical handcraft technique with purposes like these:
・Reinforcing fabric (to prevent tearing)
・Keeping warm (protection from the cold)
・Reusing worn-out cloth
At this atelier, we could see traditional pieces made for these purposes.
It’s a bit hard to tell from this photo, but this garment has fine sashiko stitching not just in parts, but all over.
By stitching the entire surface, the fabric becomes much thicker.
In the past, there was also a method where sashiko was done on the fabric before making it into clothing, to make it stronger.
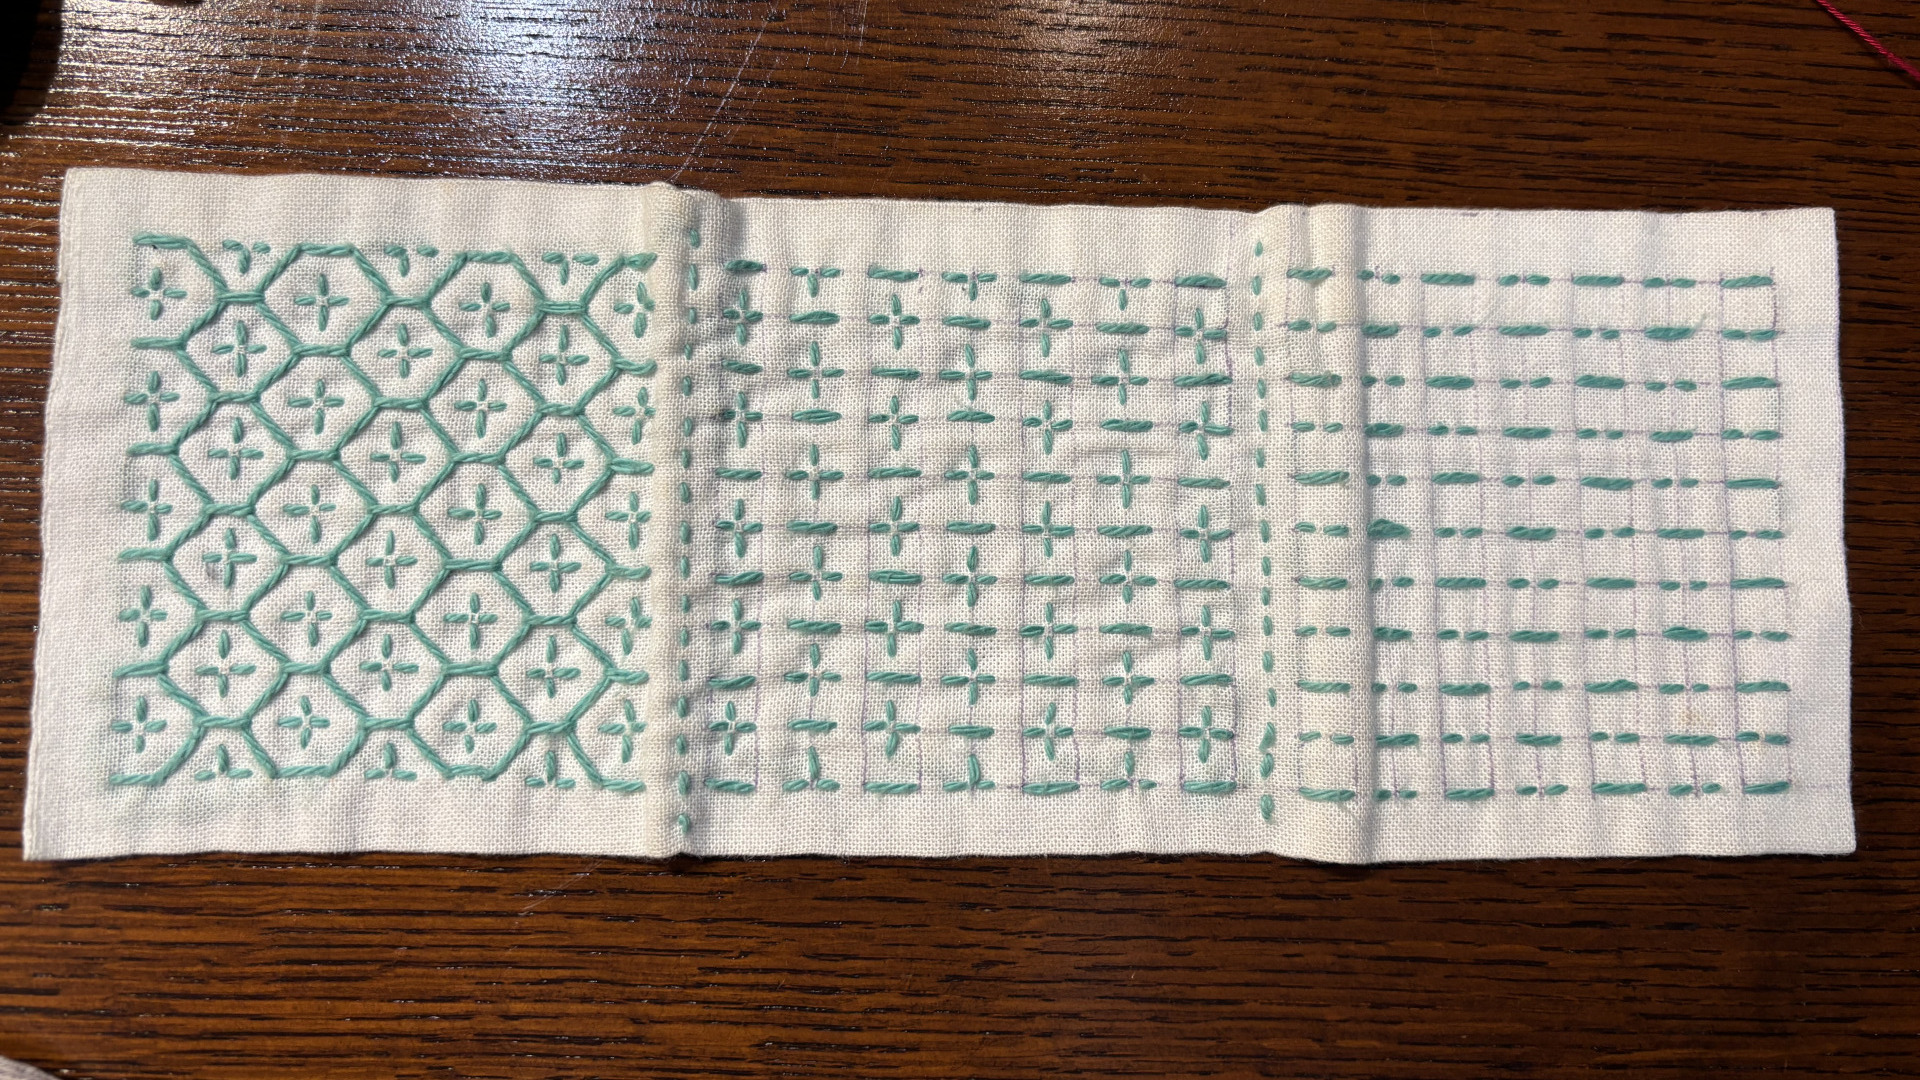
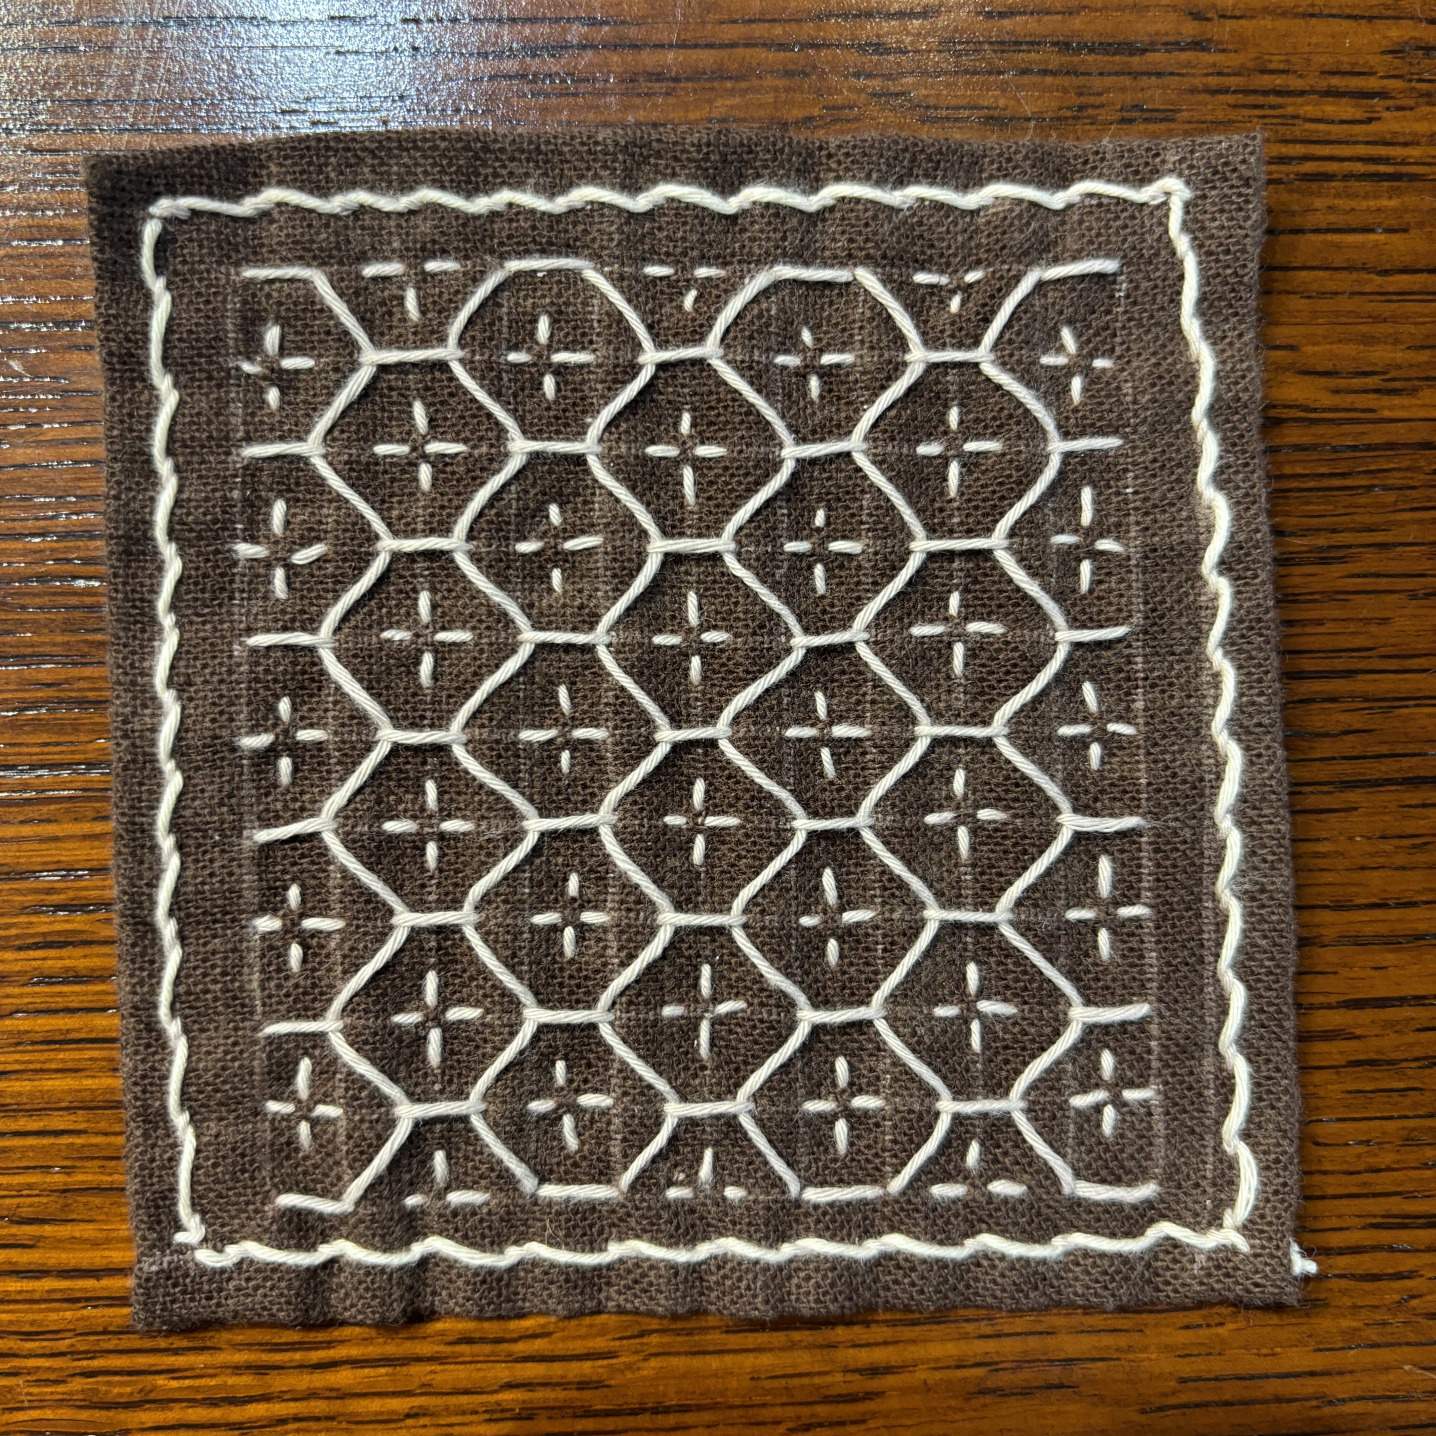
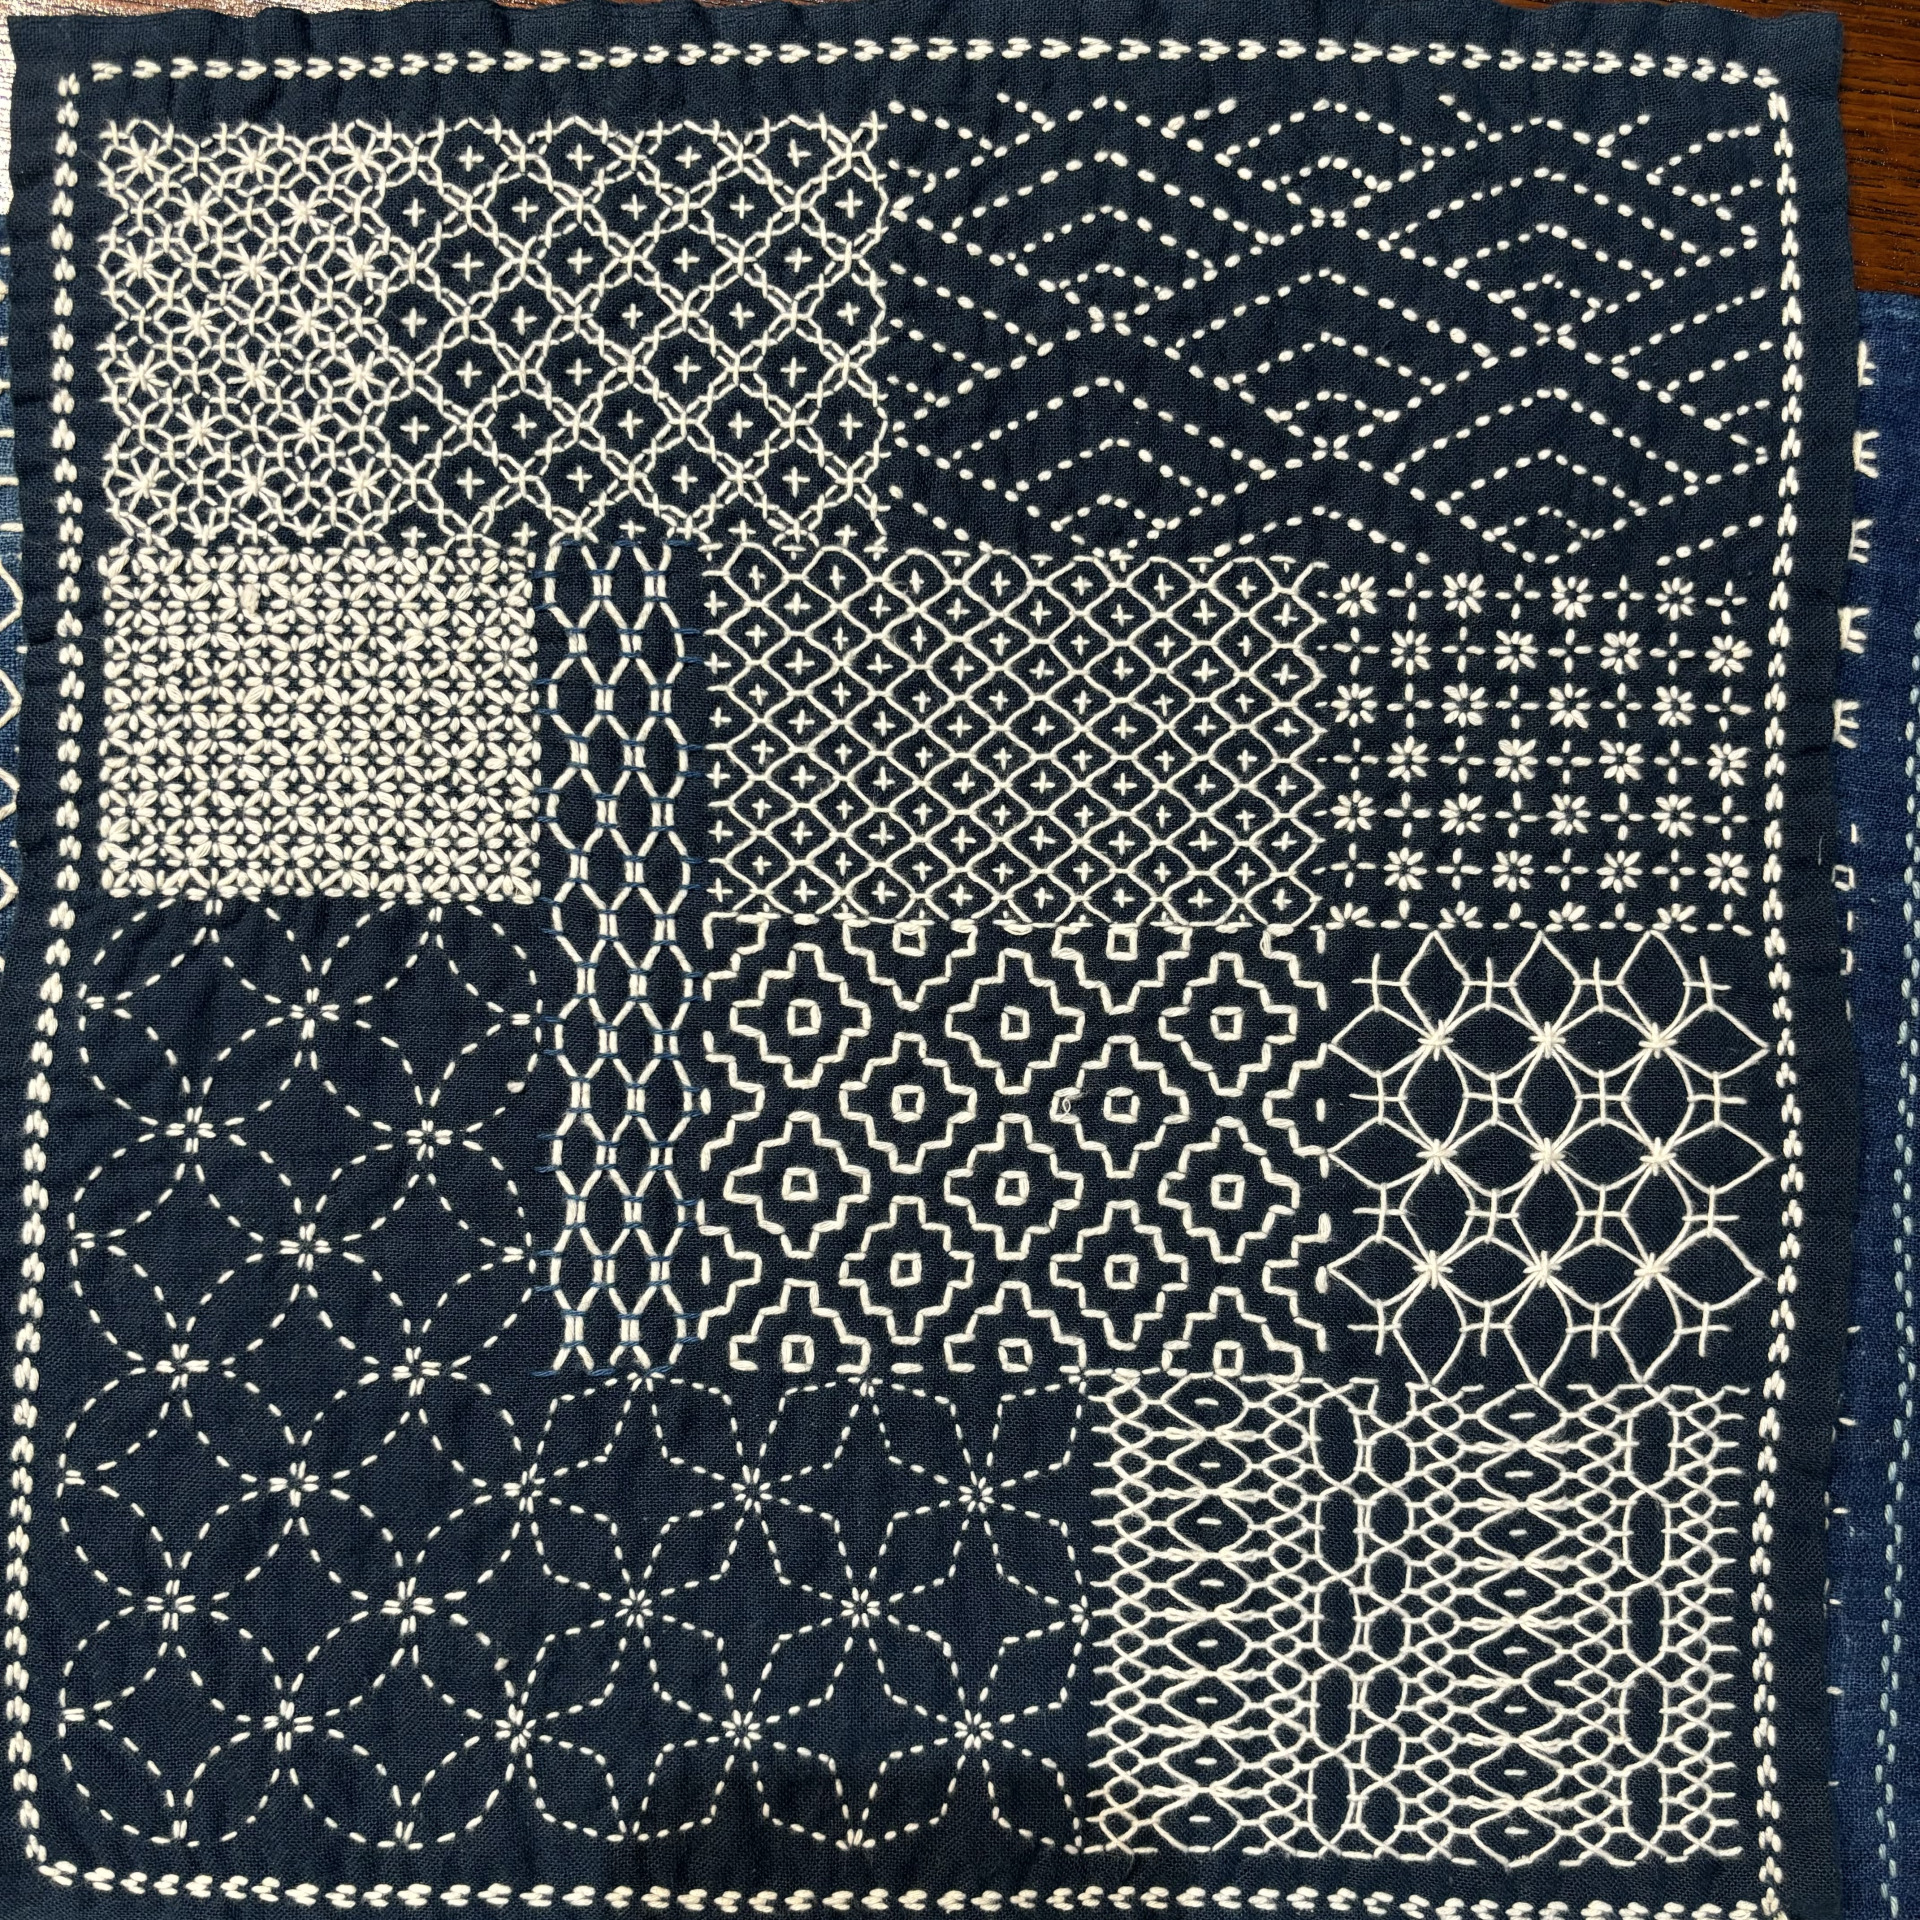
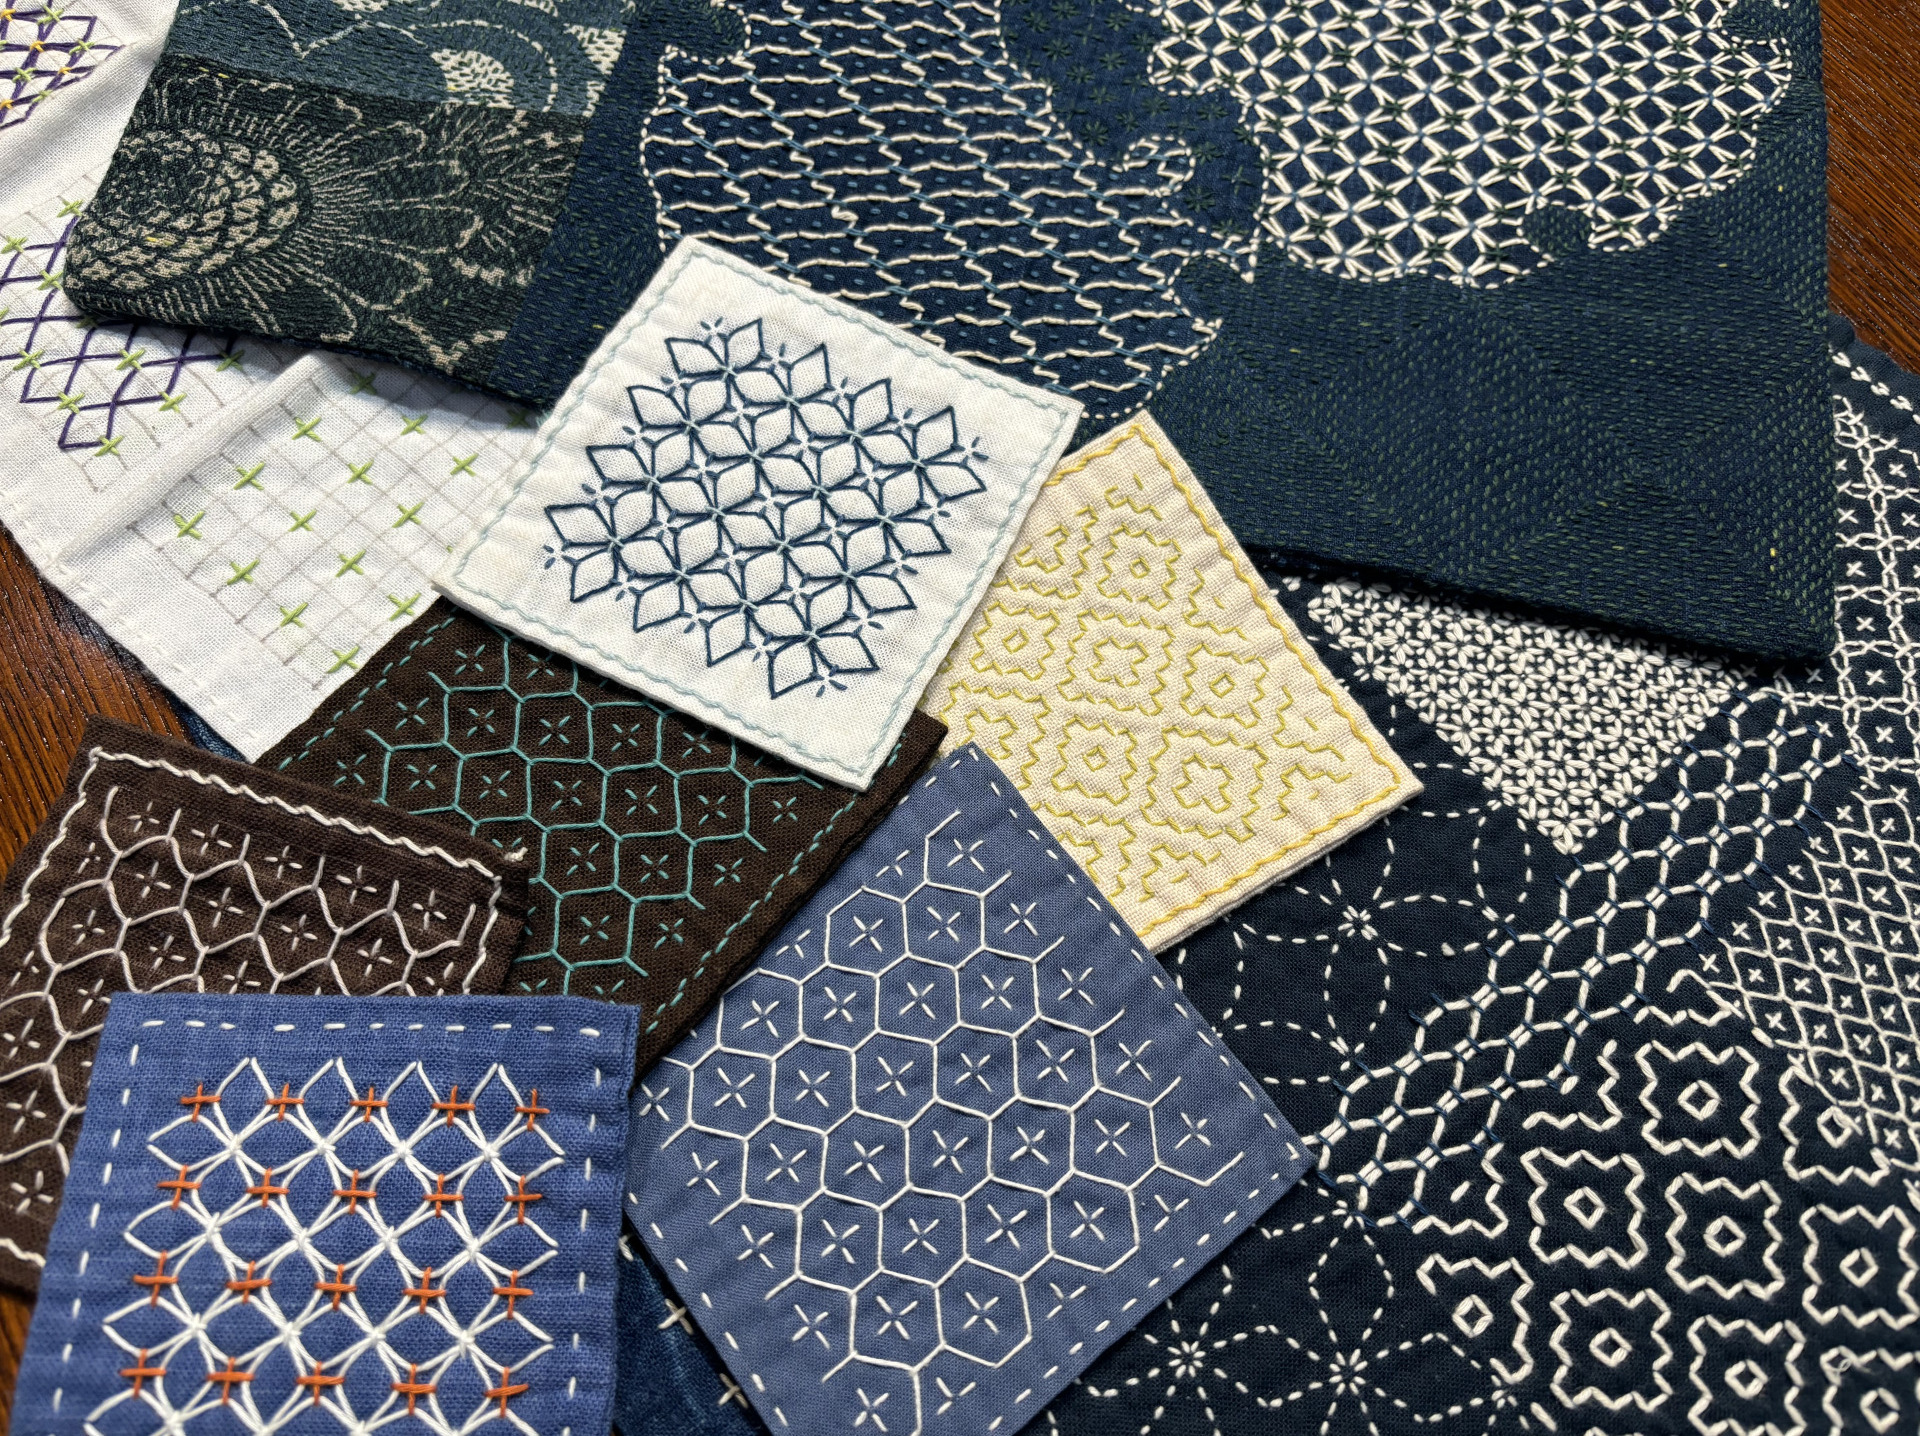
There were also sample works by the instructor displayed for the workshop.
This photo is one of them.
It was a very cute piece with very fine stitching.
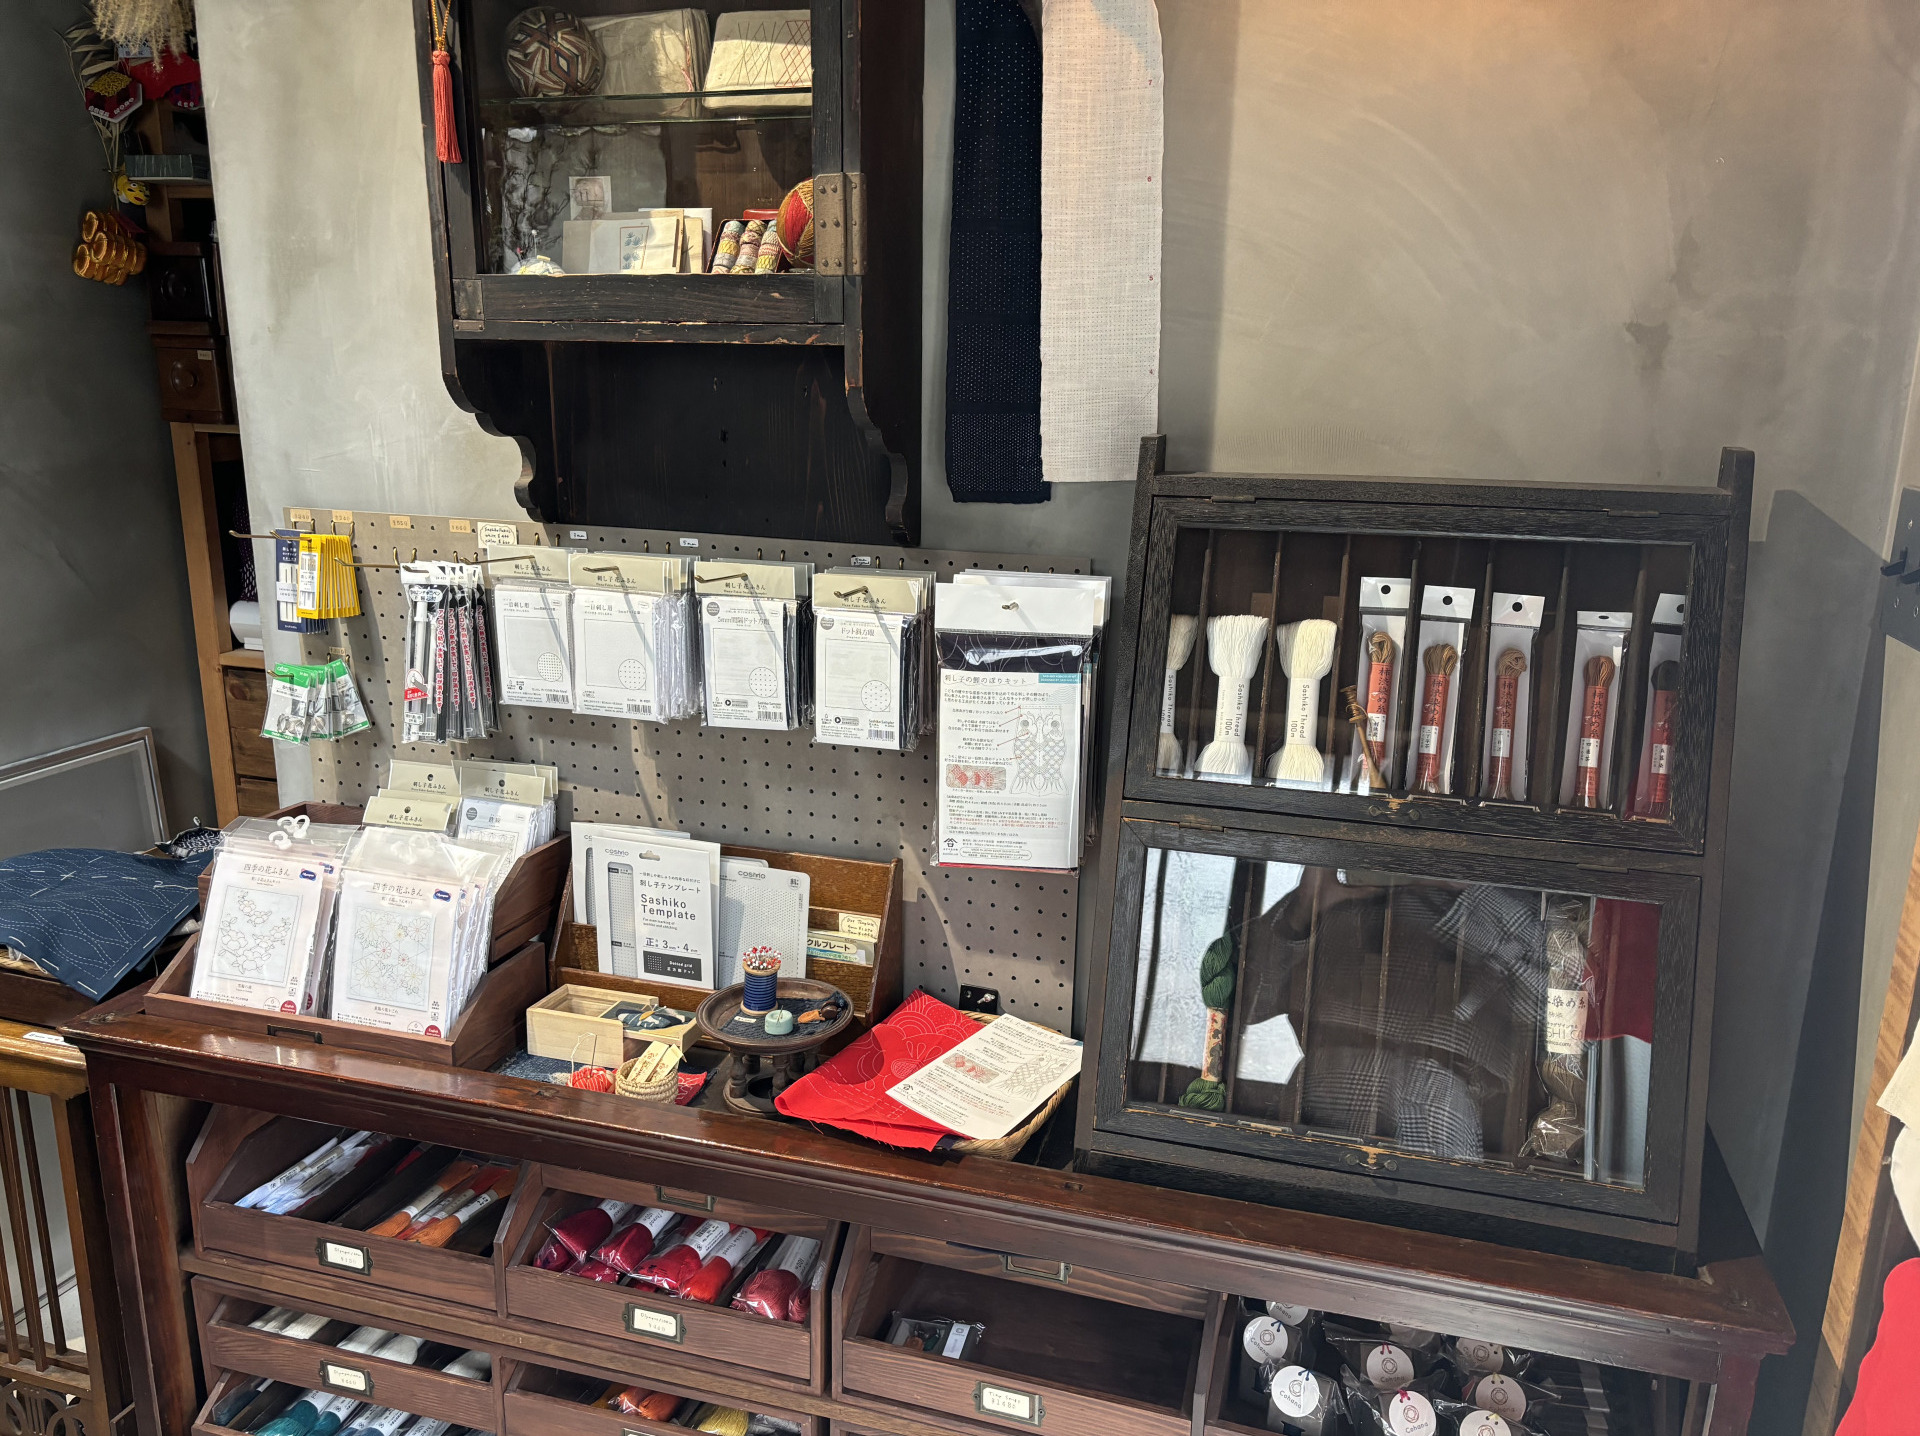
Sashiko supplies were also sold at the atelier
The atelier also sold sashiko supplies for those who wanted to try it at home.
The way the products were displayed was very stylish.
Sashiko supplies are also popular with people from overseas.
By the way, the atelier is planning to move to a building with more of a traditional house atmosphere.
This workshop was full with five people, but after the move, they are considering holding workshops for a few more participants.
We asked some questions!
Most of the items that overseas customers ask about on the 3rd floor of Himobotan are sashiko supplies.
So we asked what kinds of things are popular with people from overseas!
According to the instructor,
many people from overseas come to Japan looking for sashiko thread, so as long as it’s made in Japan, threads from any brand are popular.
However, unlike in Japan where people often stitch cloths, many prefer to make practical items like clothing or accessories.
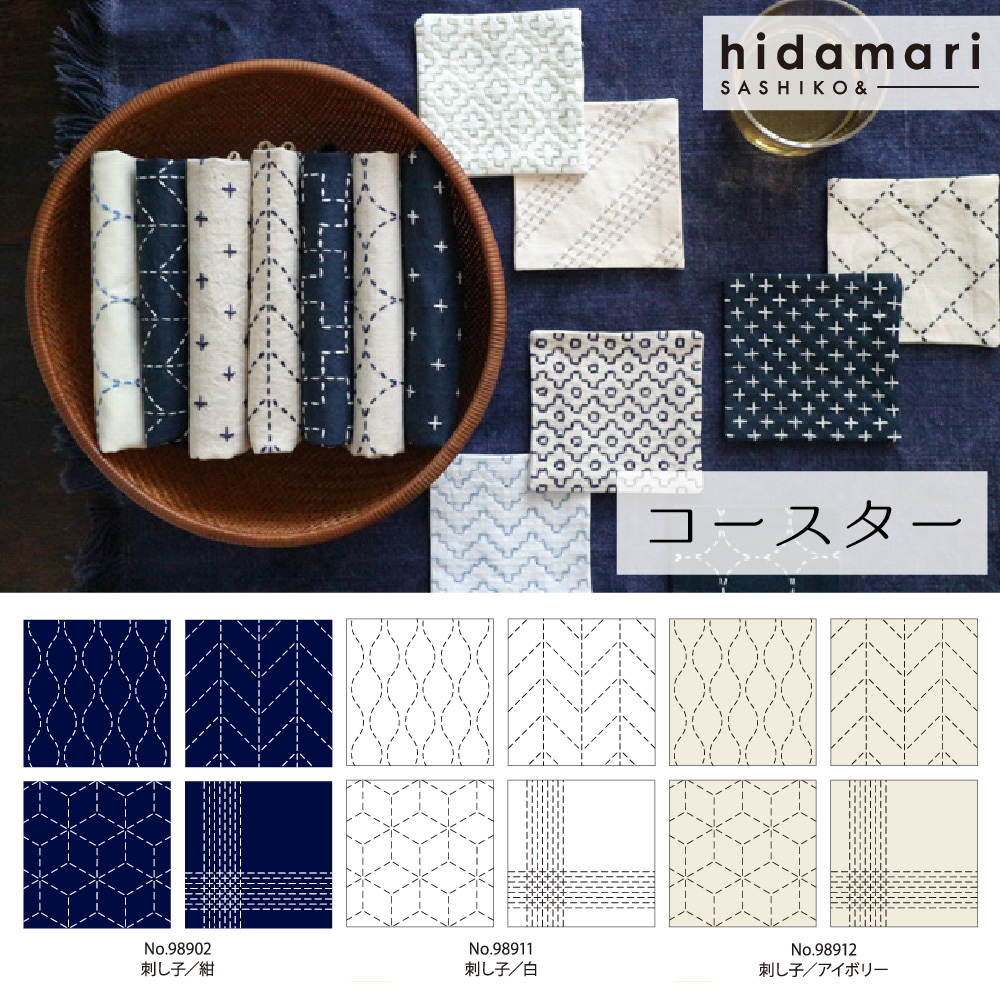
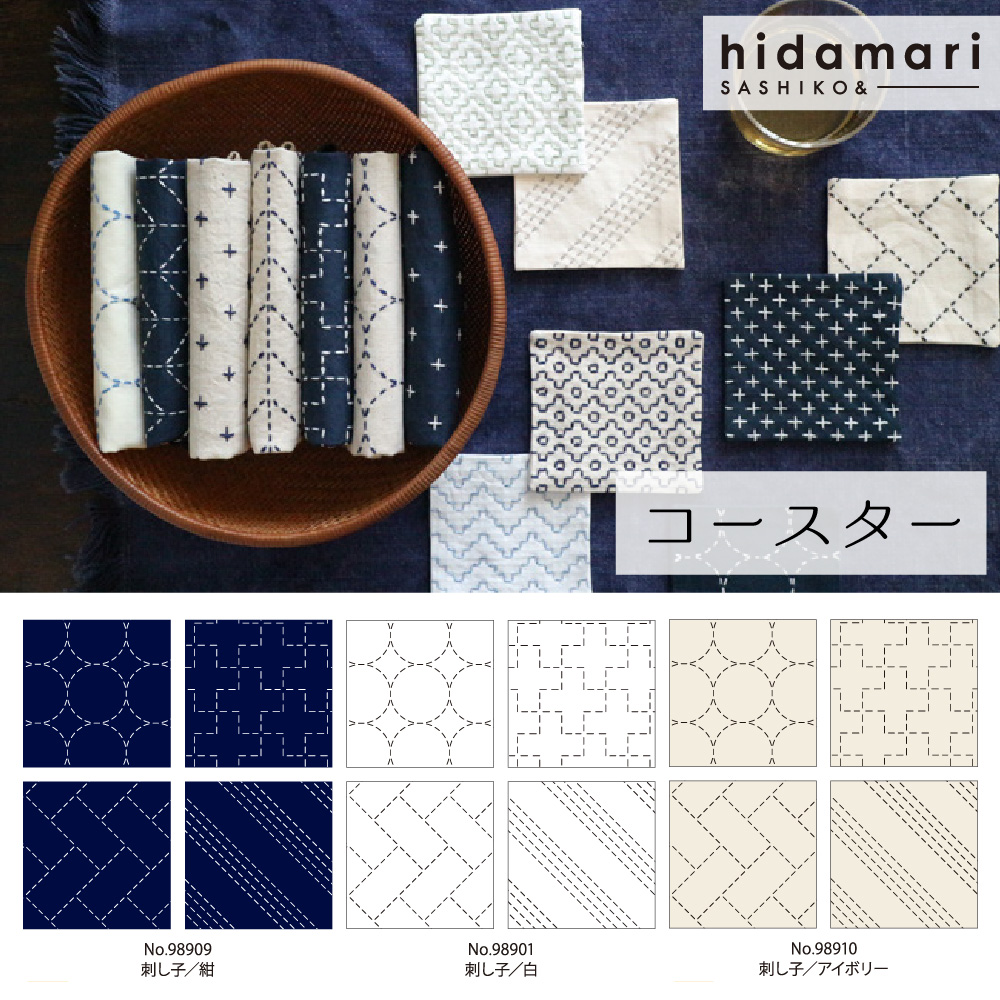
Actually, on our online shop, kits for making coasters and fabric that can be used like noren curtains have been very popular since they were released 🪡
Now we see why!
The 3rd floor of Himobotan has also recently expanded its sashiko section!
We now carry sashiko kits that we didn’t have before.
If you’re thinking about sashiko supplies, be sure to check out the kits too!
Chuko Onlineオンラインストアでご注文
Chuko Online

We also share products and special offers on Instagram.
Please follow our Instagram account here!
We look forward to your orders and your visit!
Our Official Websites
Chuko Online: https://www.nippon-chuko.co.jp/shop
Facebook: https://www.facebook.com/nipponchuko
For product inquiries, please contact us here!
At our Main Building 3rd floor, you’ll find Sashiko and embroidery supplies.
If you’re visiting Osaka, please stop by and say hello!


Chuko Onlineではみなさまに日々の手芸用品の仕入れを便利にしていただけるように、お得なセール情報などを更新しております! ▽Chuko Onlineのサイトはこちらから! https://www.nippon-chuko.co.jp/shop/ みなさまからのご注文をお待ちしております。