


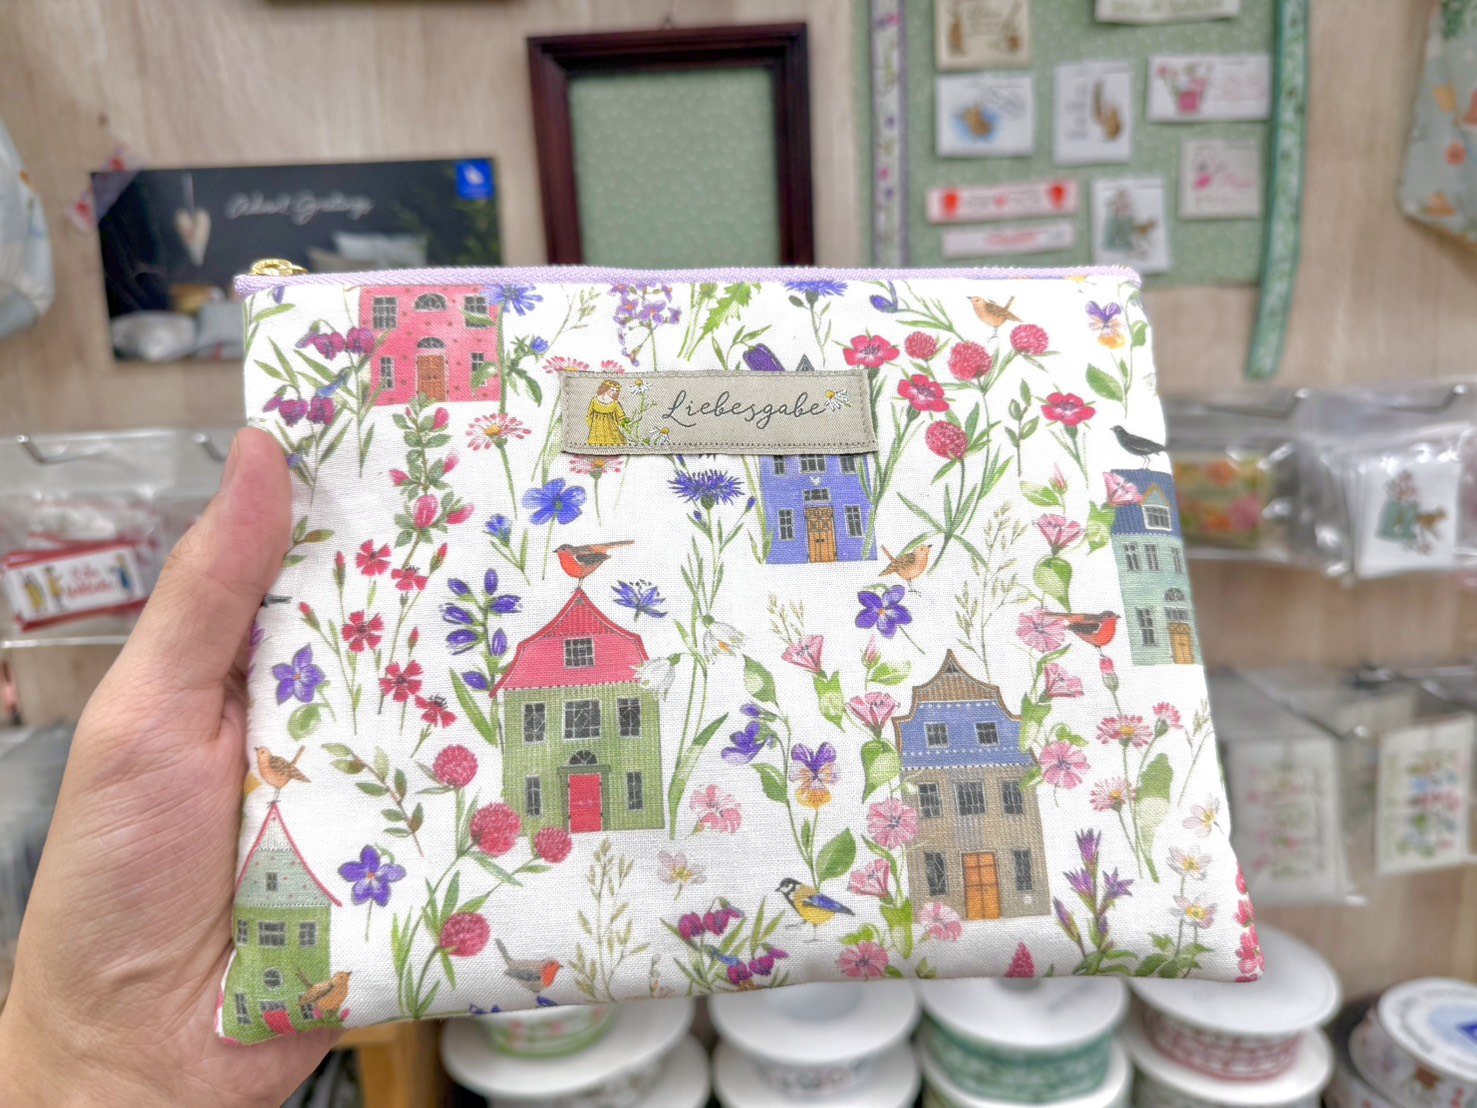
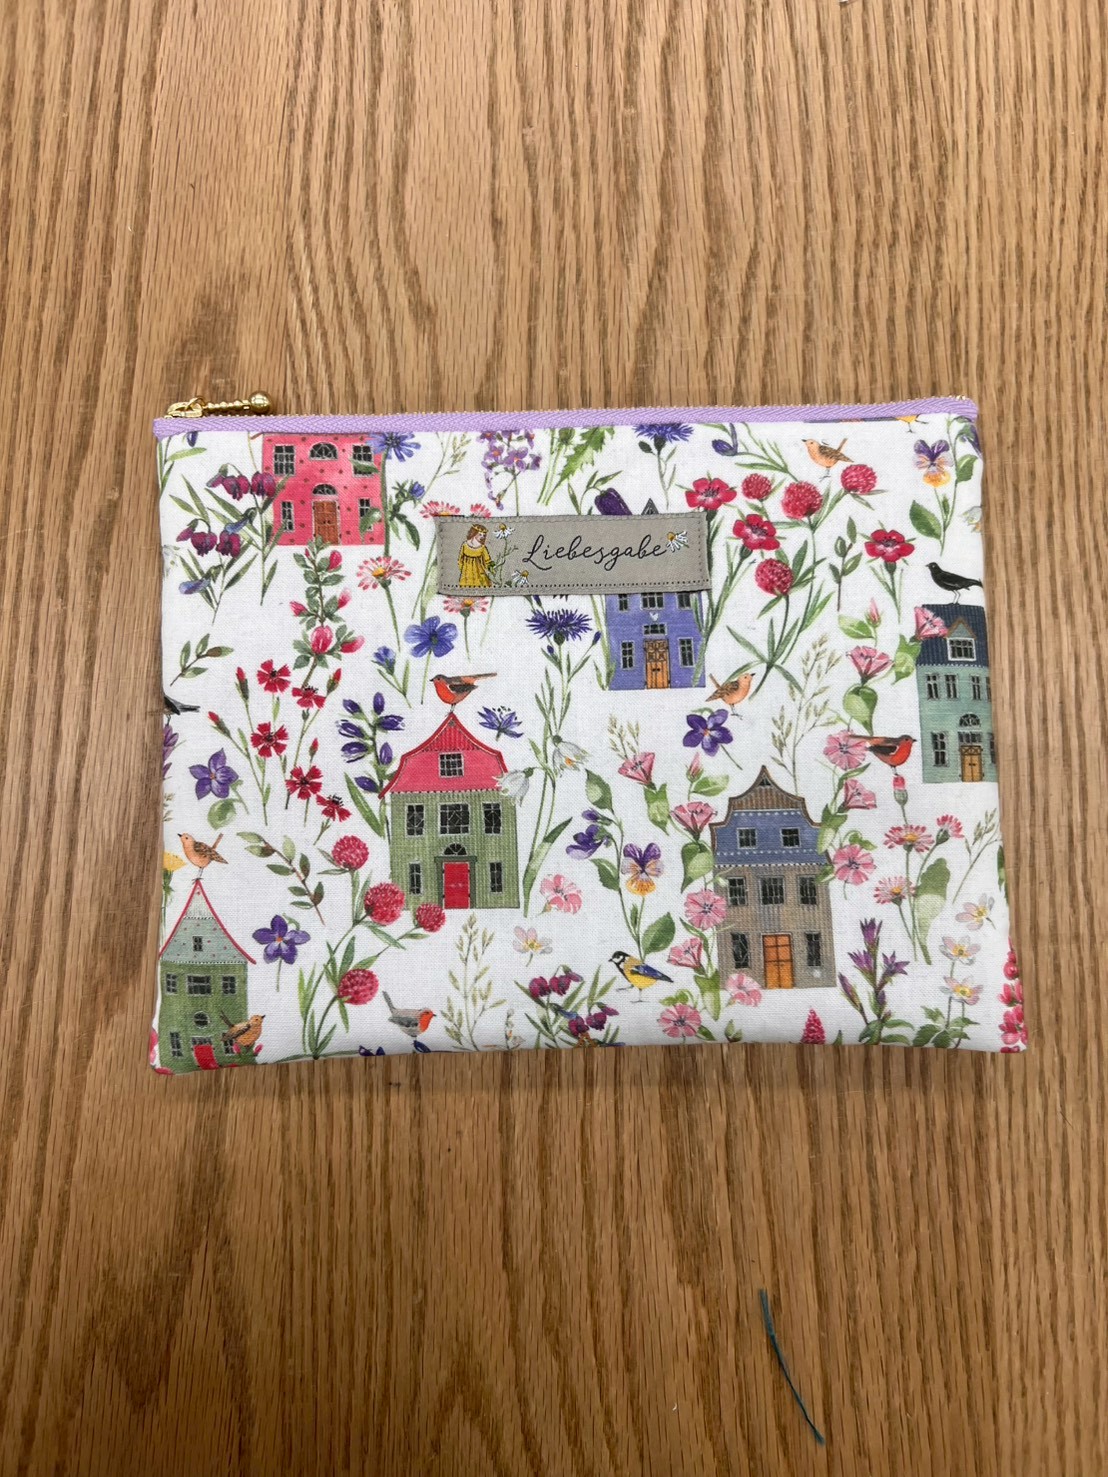
This time, we’ll show you how to make a basic pouch, the “flat pouch,” step by step♪
“Can a beginner like me make it?”
“It’s cute, but it looks difficult.”
“I want to start making pouches!”
We created this column to help anyone who is still a little unsure about giving it a try♪
The best part of this pattern is its cute, puffy finish. We hope you enjoy making one!
Estimated time: 1.5 hours
目次
Materia
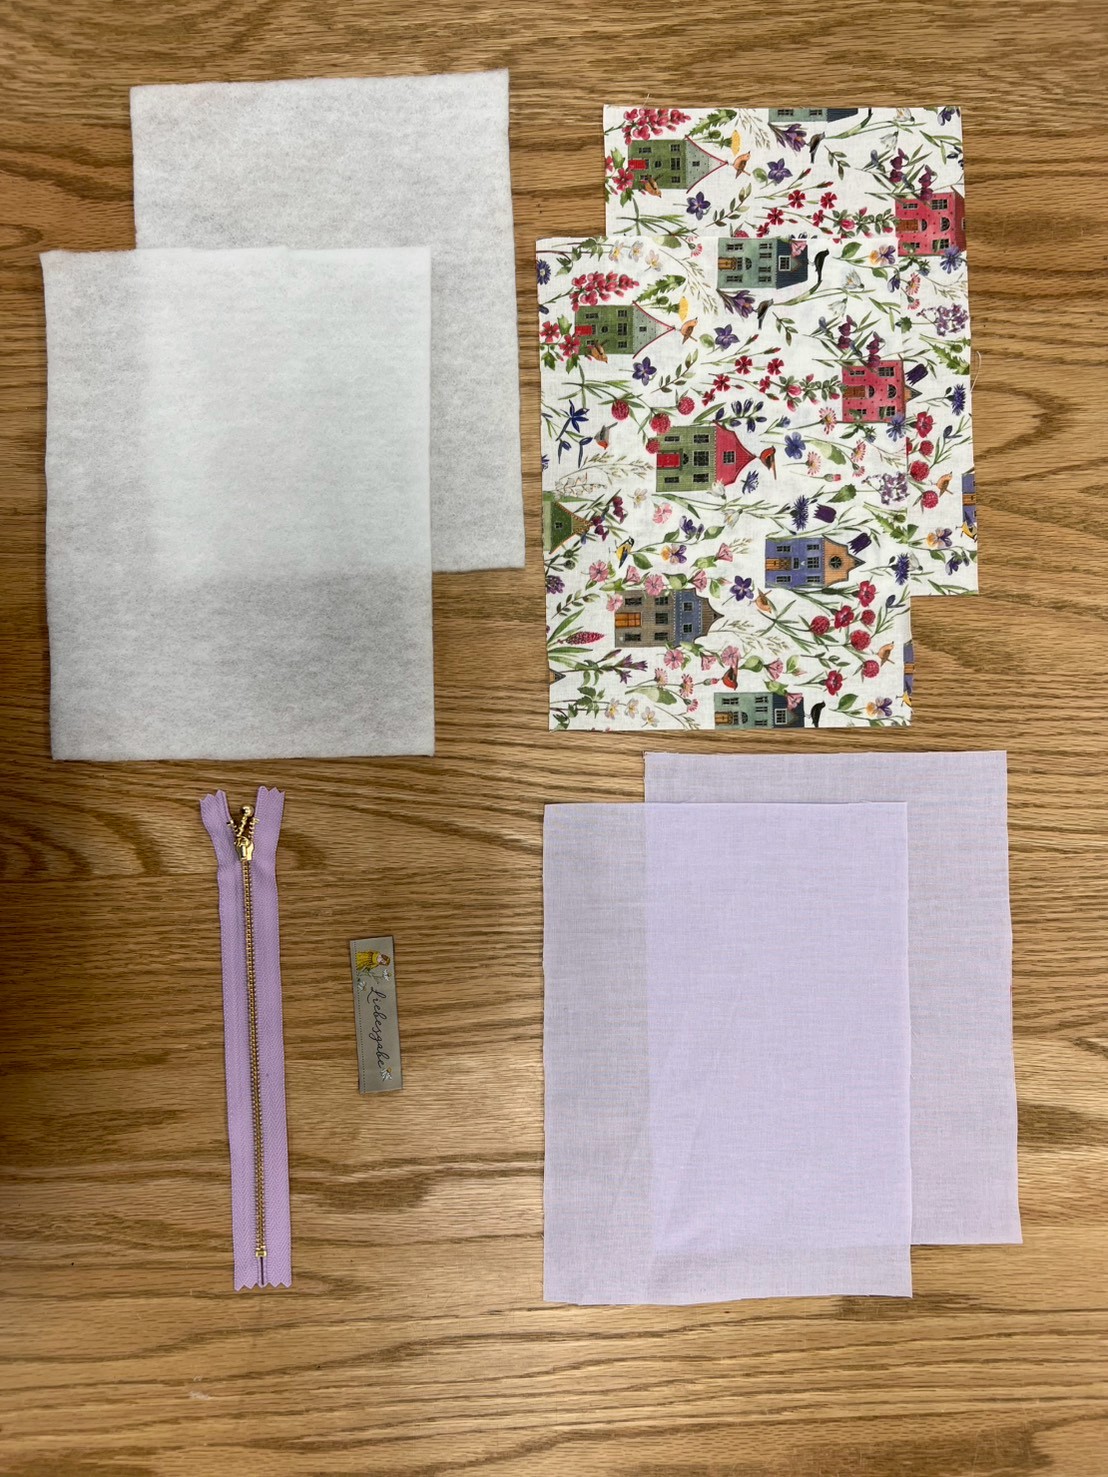
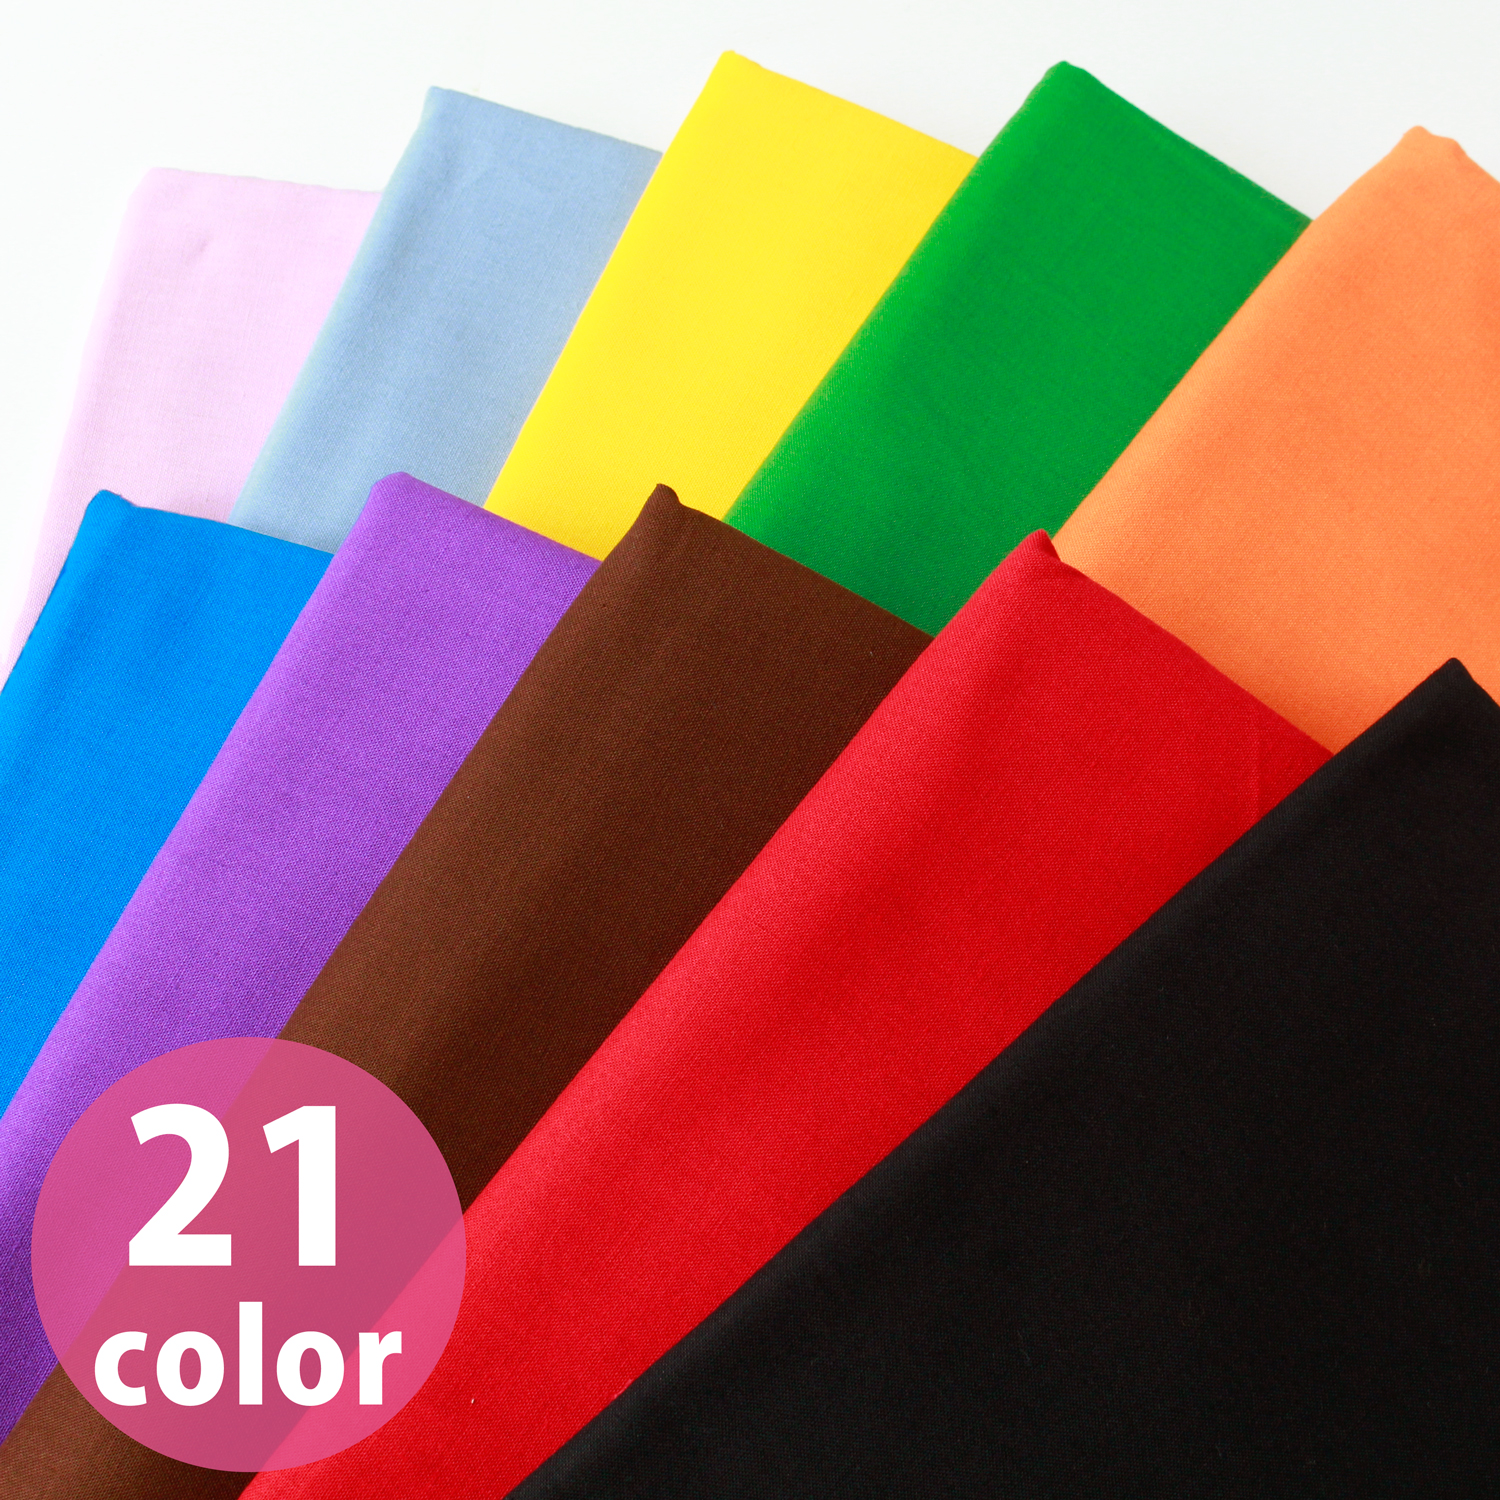
Outer fabric (17 × 23 cm) / 2 pieces
Lining fabric (17 × 23 cm) / 2 pieces
Fusible quilt batting (17 × 23 cm) / 2 pieces
20 cm zipper with pull / 1
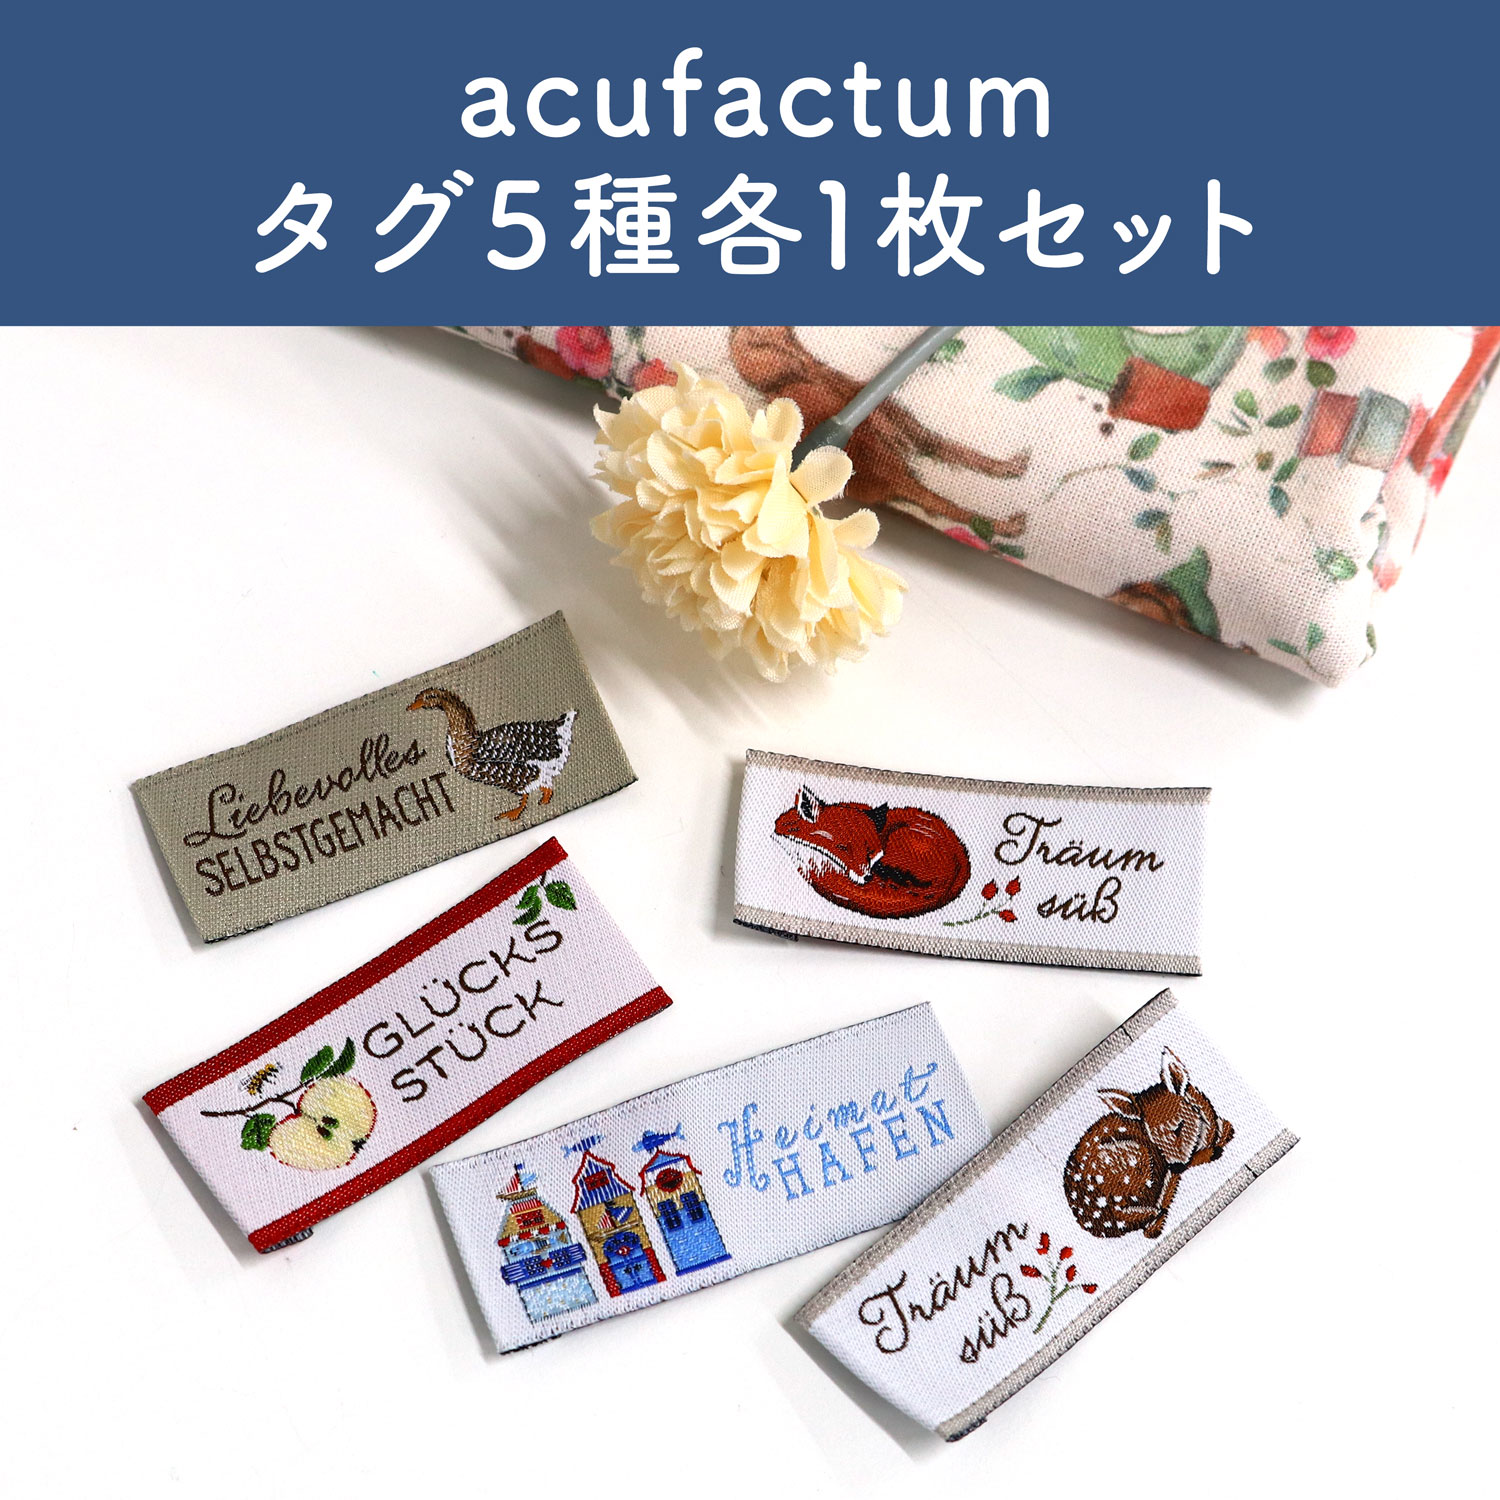
Your favorite label / 1 piece (Not required, but adding a label can make the pouch look much more finished!)
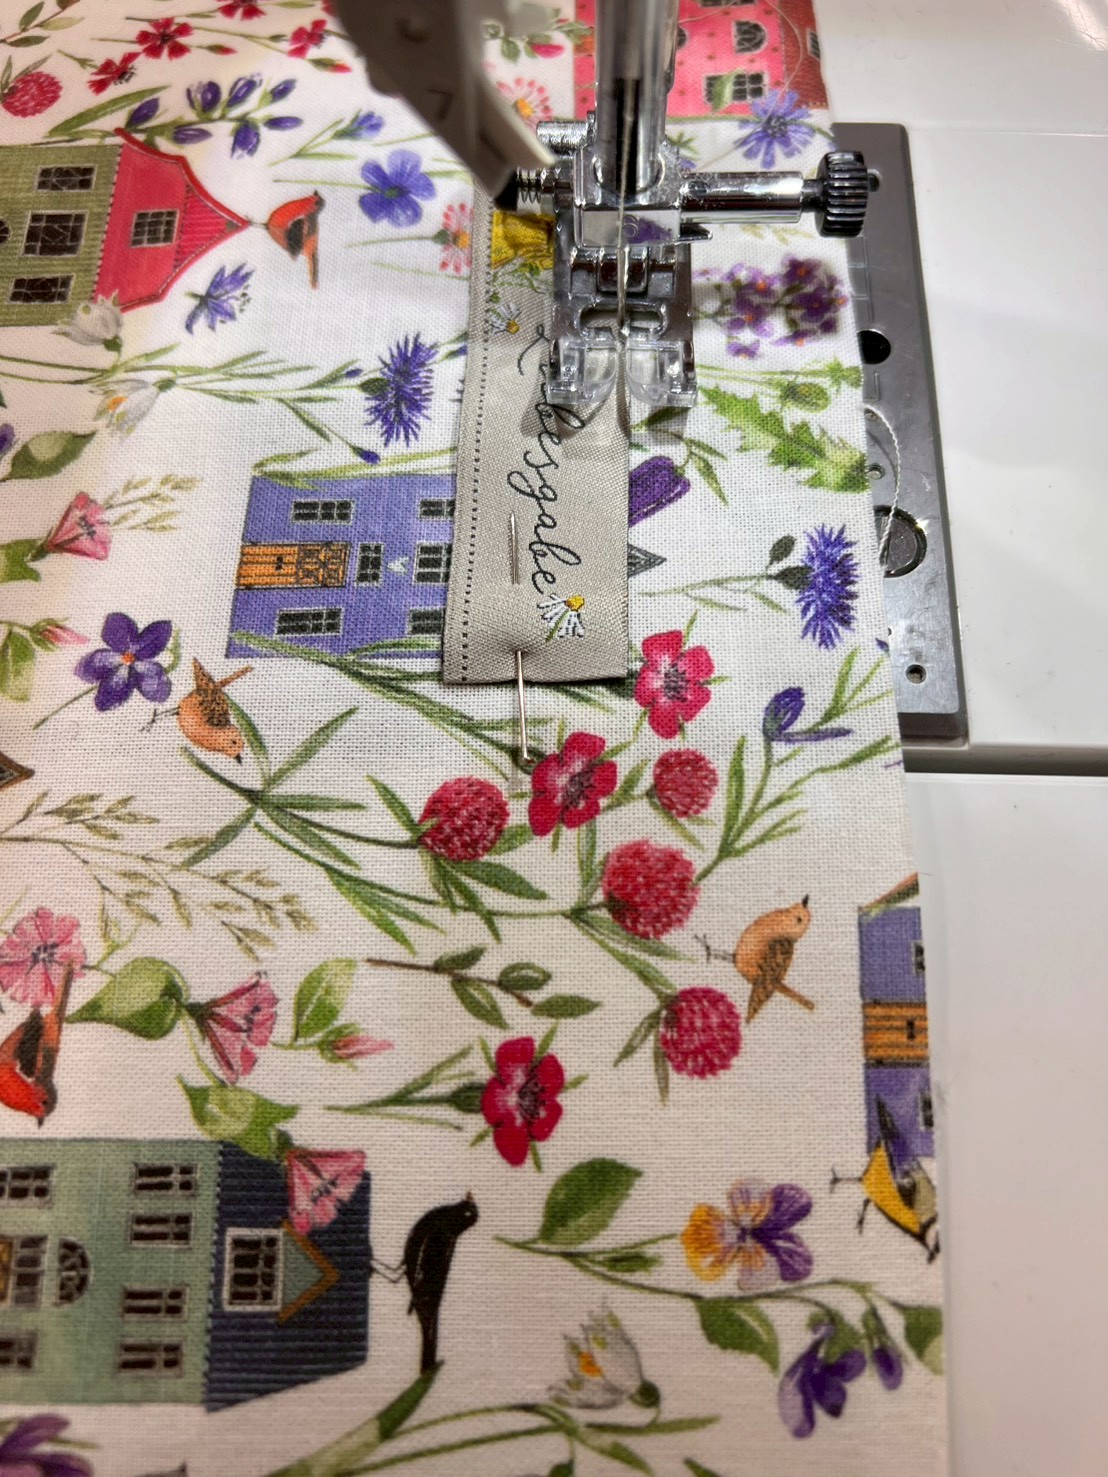
① Sew on the Label
Secure the label to the outer fabric with pins, then sew about 1 mm inside the edge of the label with a sewing machine.
If you’re not using a label, you can start from Step ②!
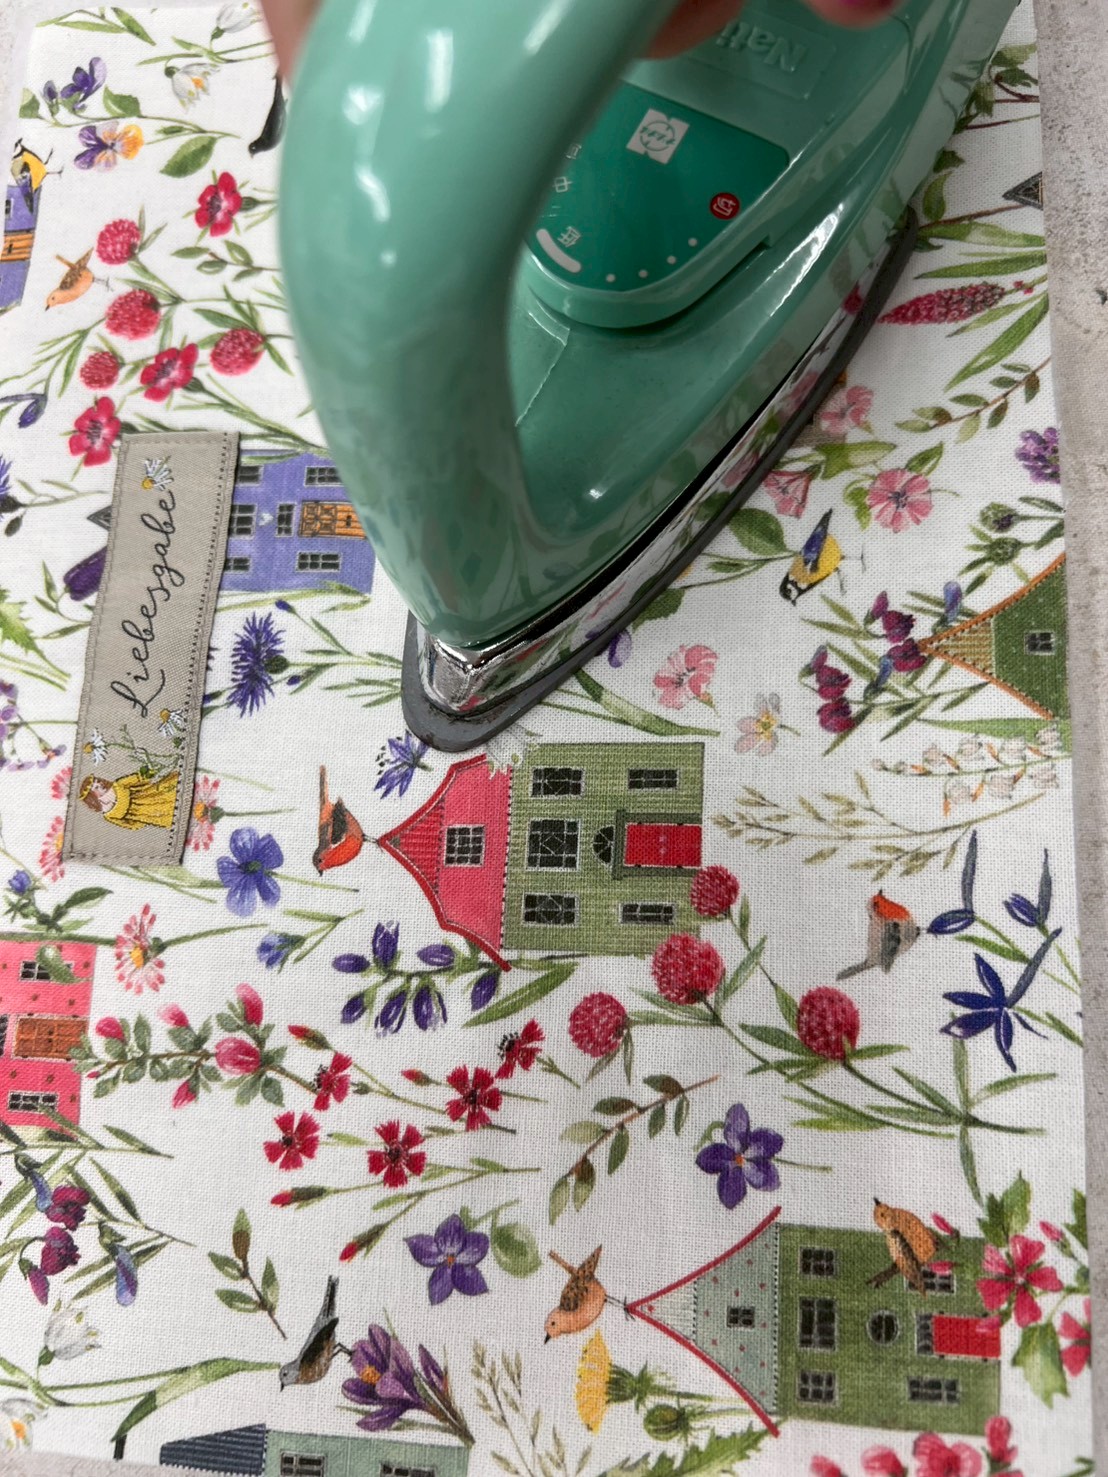
② Attach the Quilt Batting to the Outer Fabric
Place the fusible side of the quilt batting against the wrong side of the outer fabric, then press it with an iron from the front side.
Repeat this step for both pieces of outer fabric.
Tip: If you look closely at the fusible side of the quilt batting, it has a slight shine, and you can see small dots of adhesive.
③Sew on the Zipper
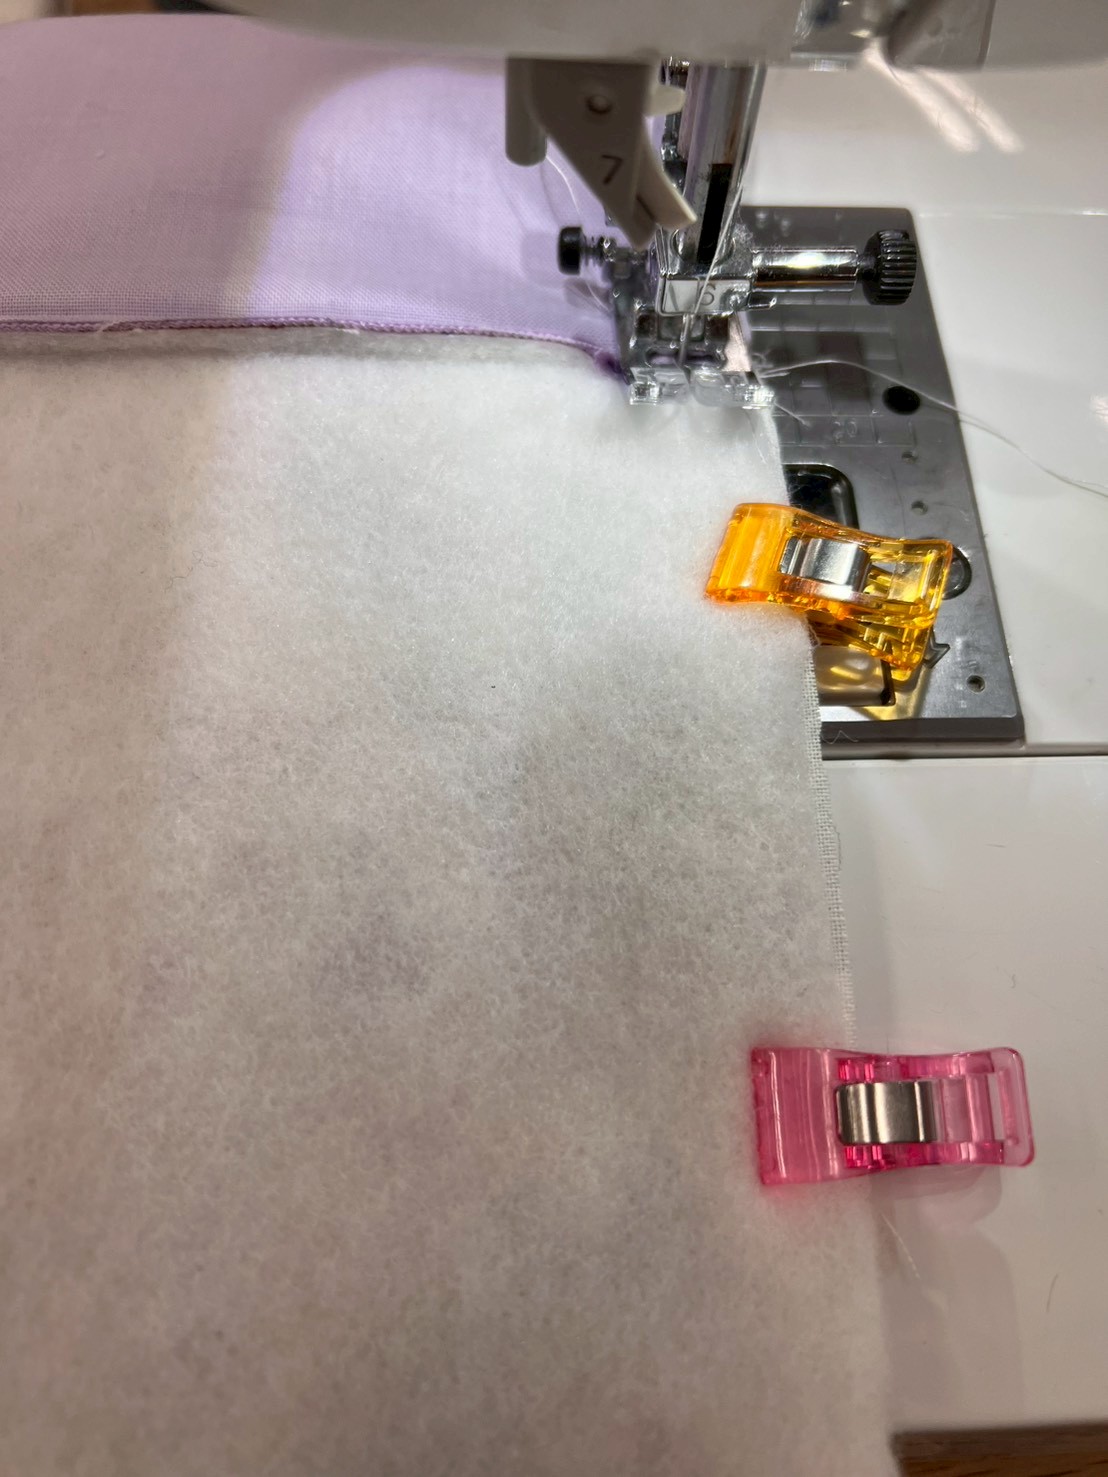
Place the outer fabric from Step ② and the zipper right sides together, then sew them together. Next, place the lining fabric on top and sew again through the lining fabric.
Clips or pins can make it easier to hold everything in place♪
What does “right sides together” mean? It means placing the right sides of two pieces of fabric together, facing inward. In this case, it means the right side of the fabric and the front side of the zipper.
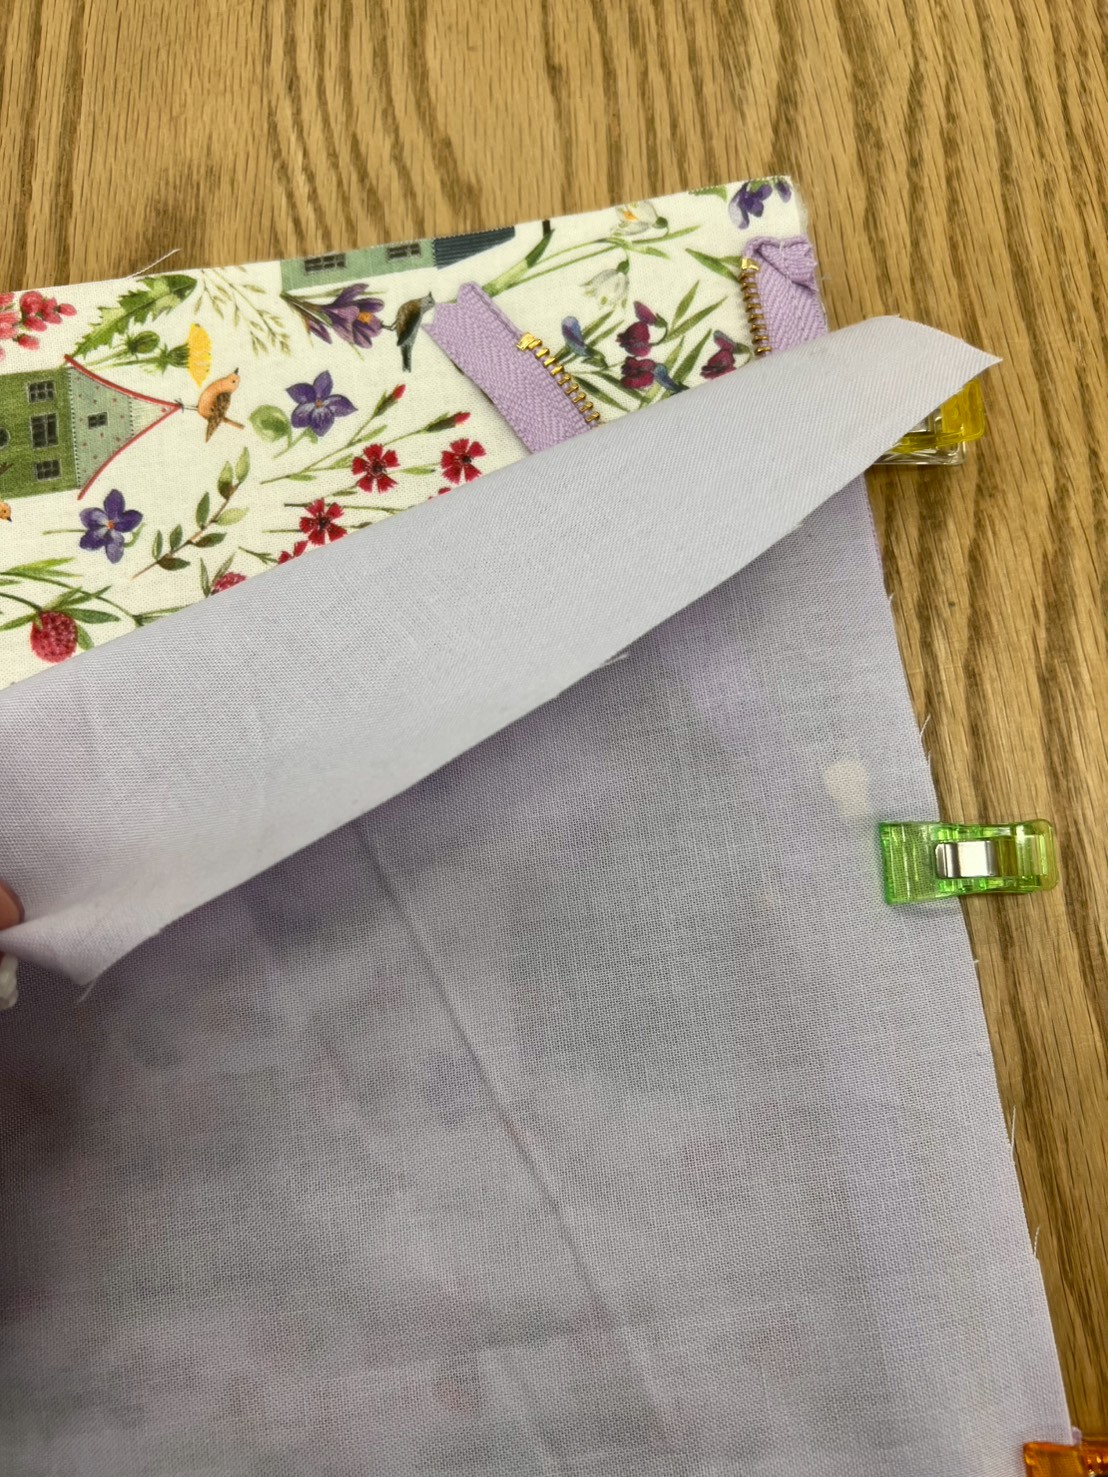
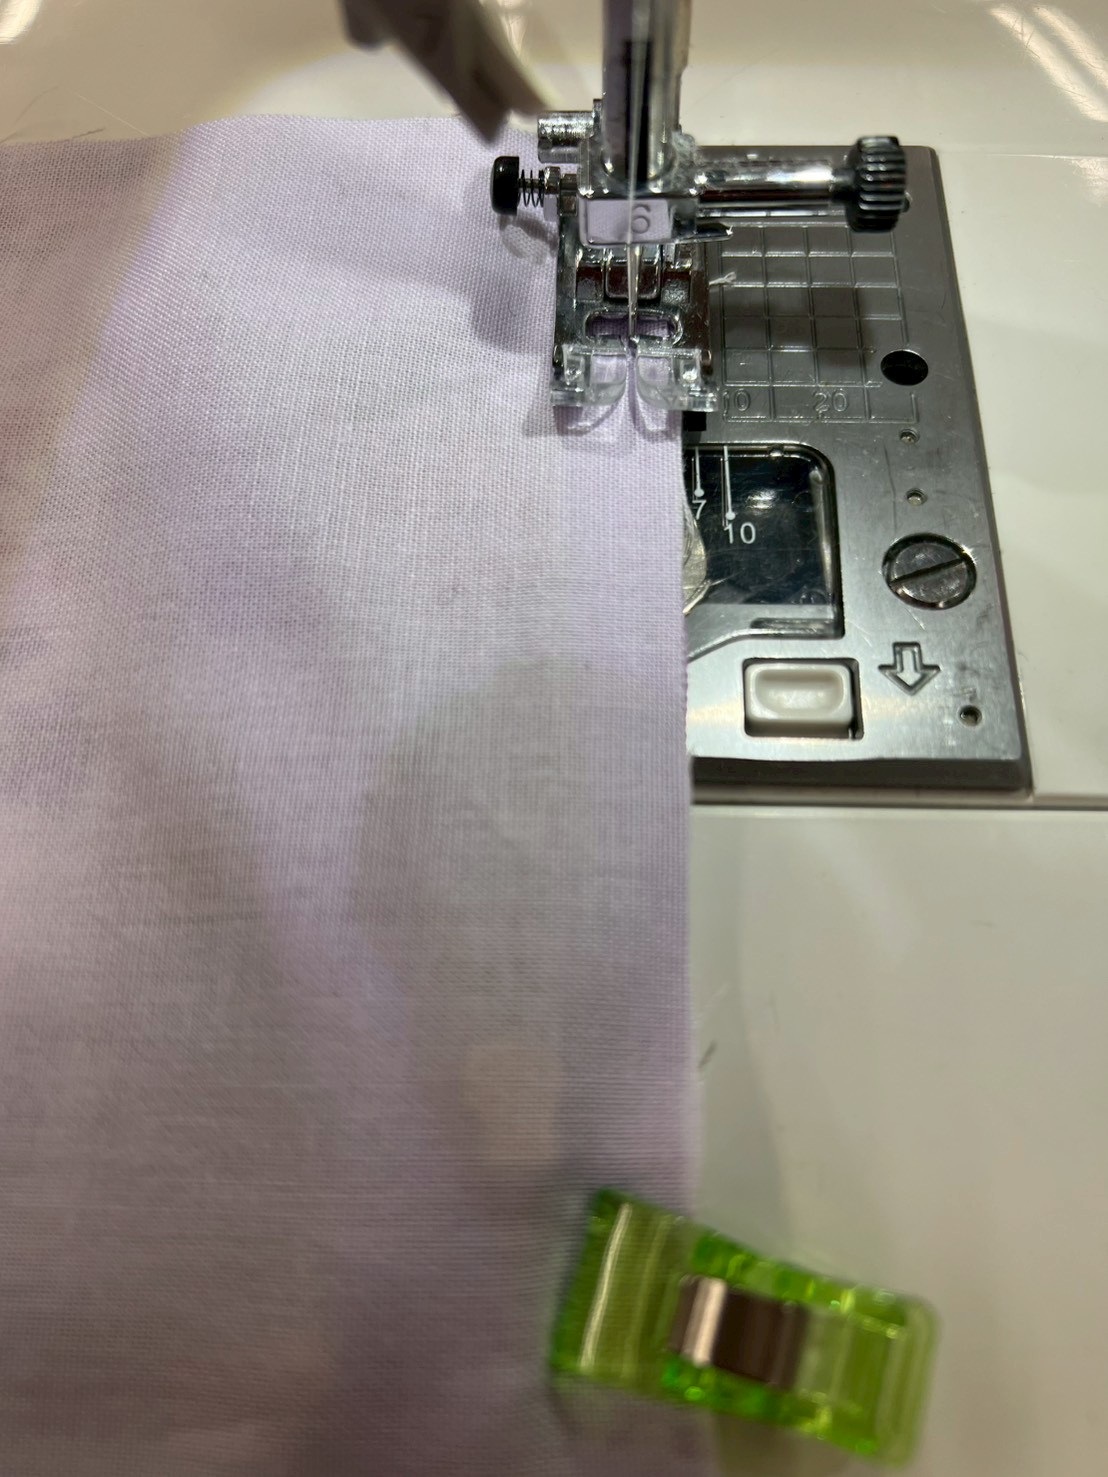
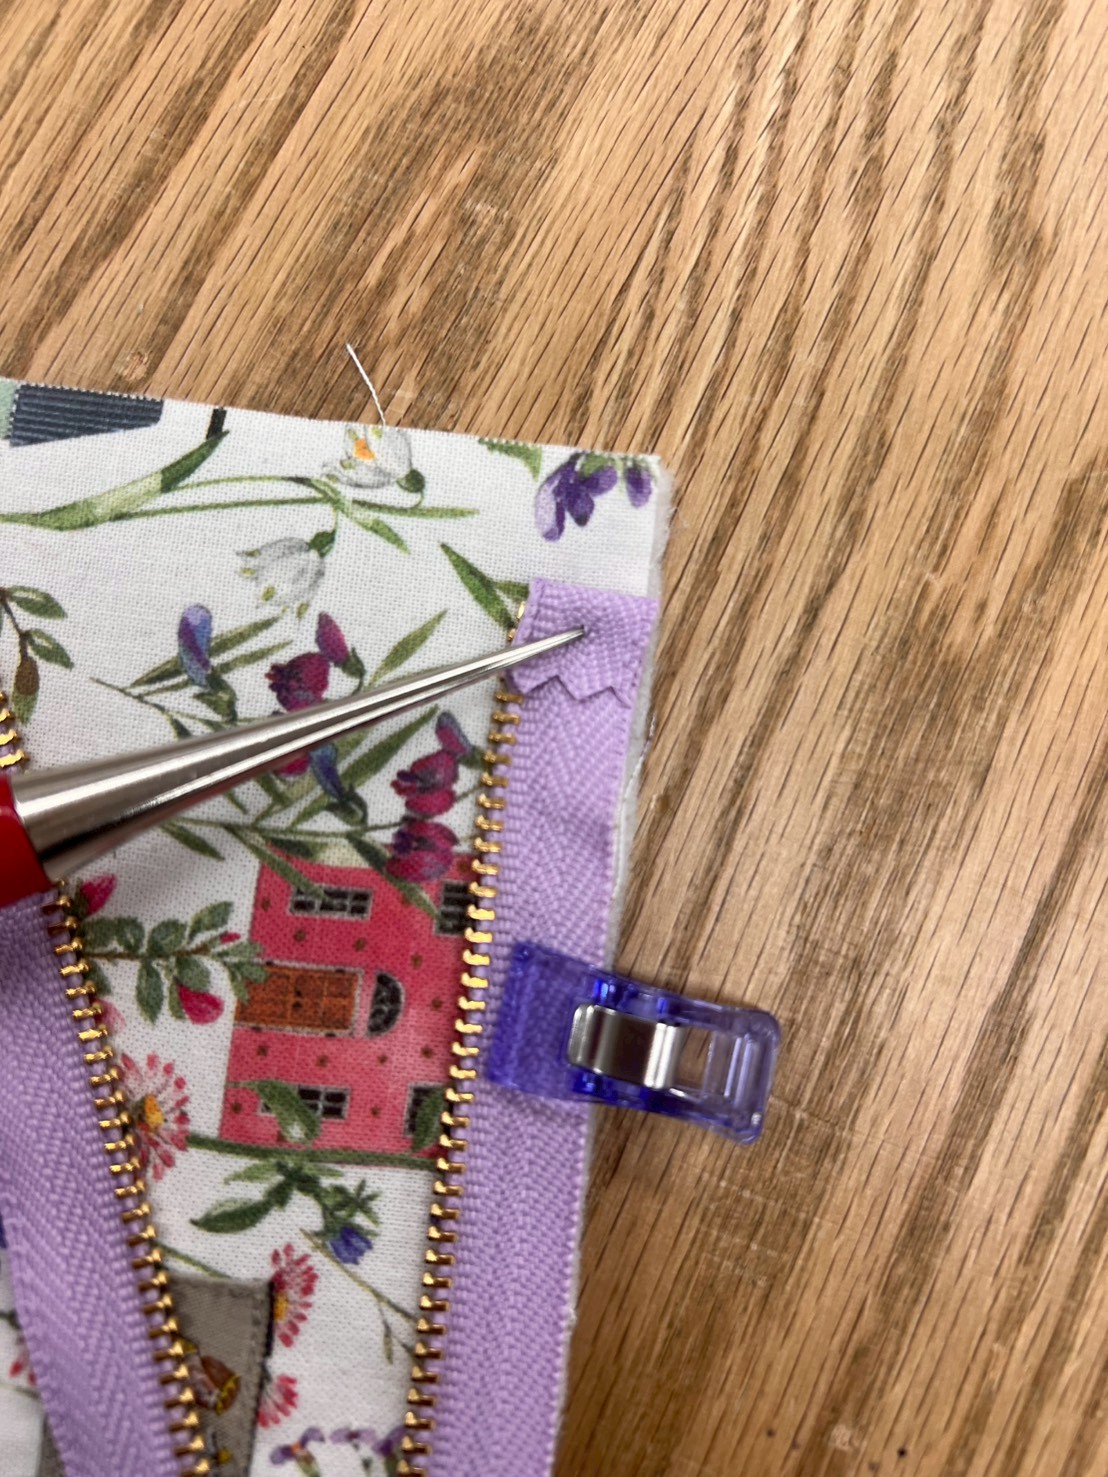
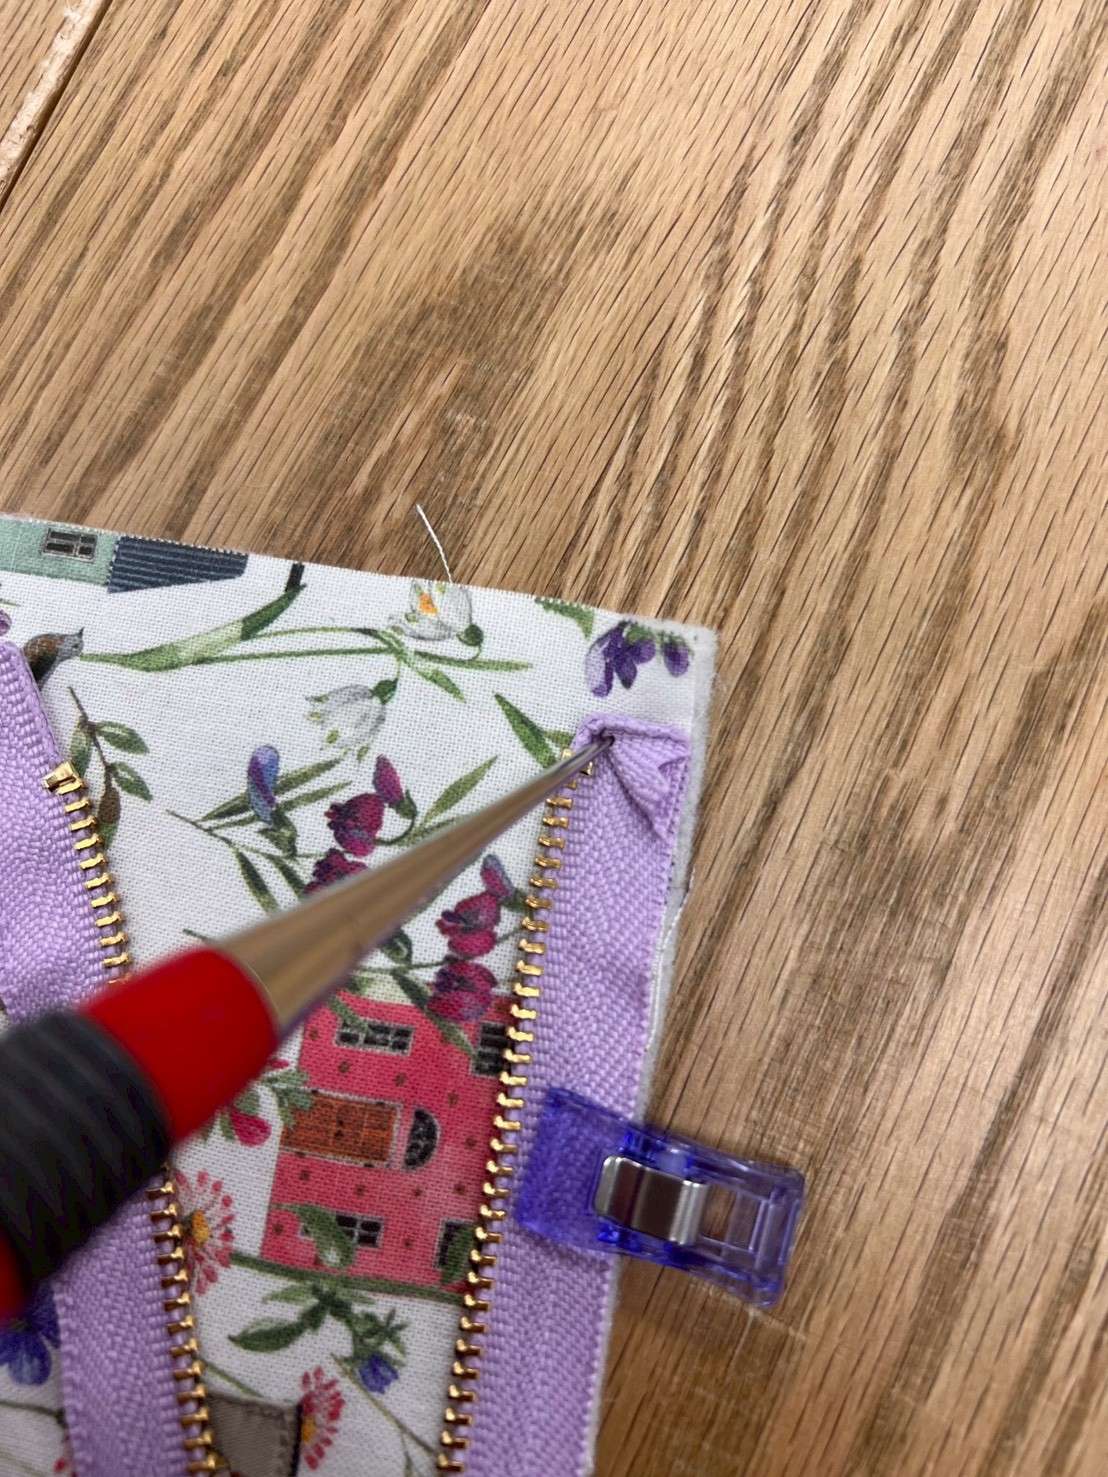
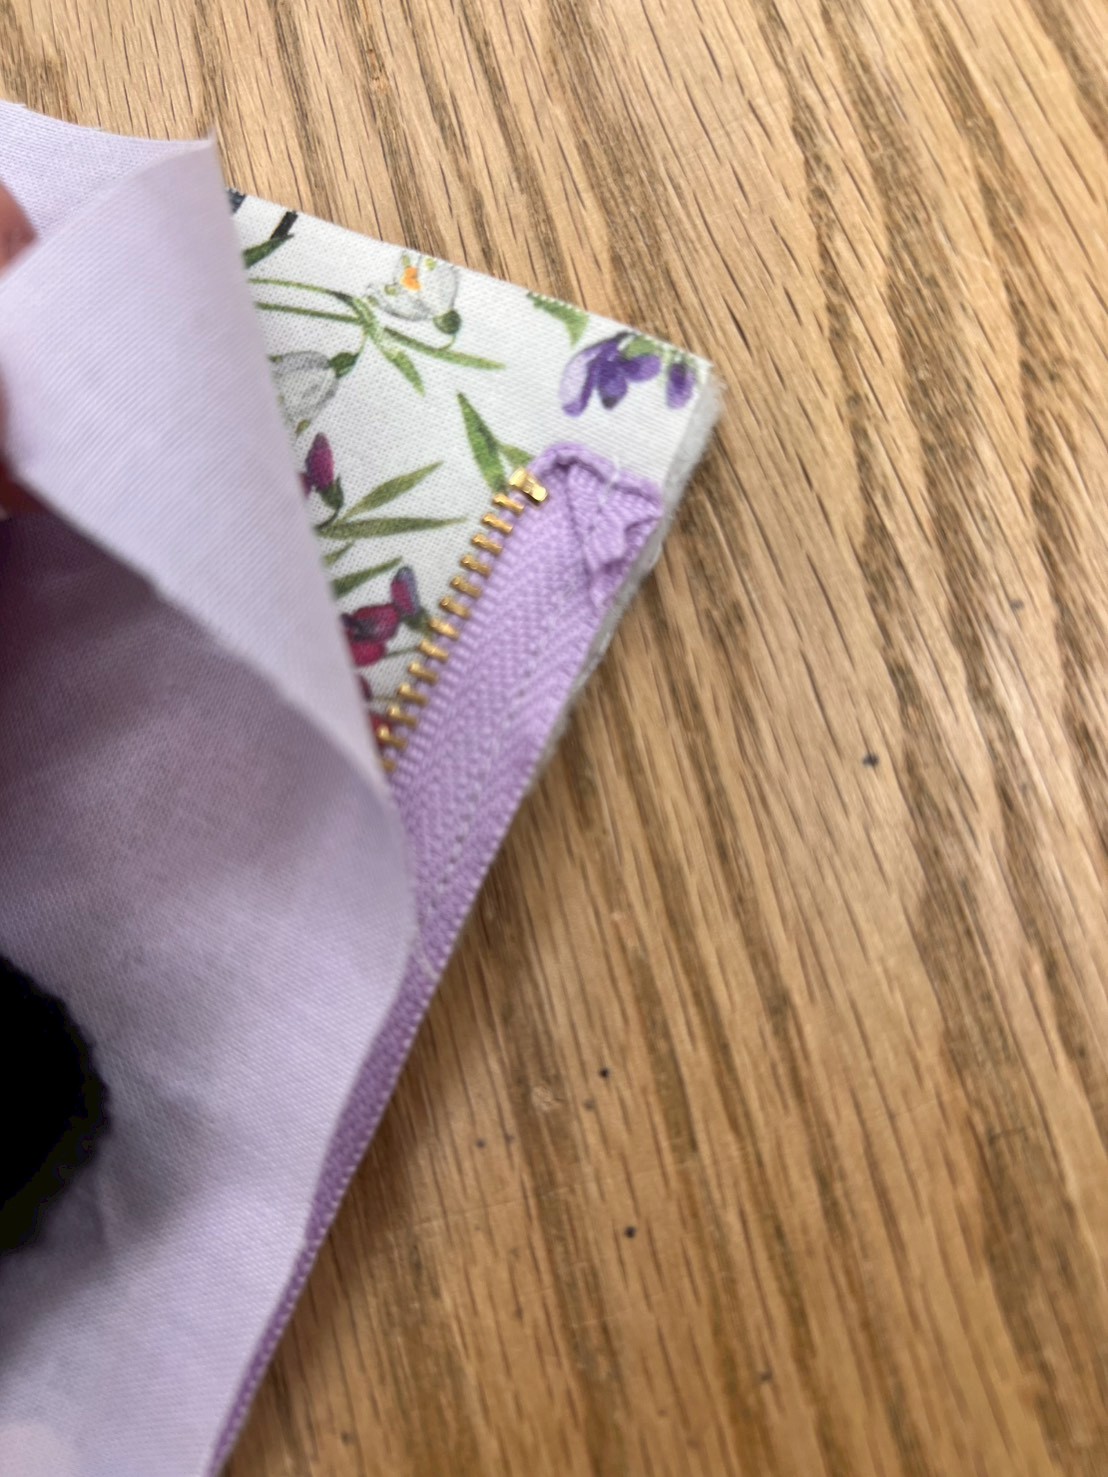
Tip: You can sew the zipper on as it is, but folding in the fabric edge of the zipper and sewing it in place as shown in the photo below will give you a neater finish.
④Sew the Other Side and Press
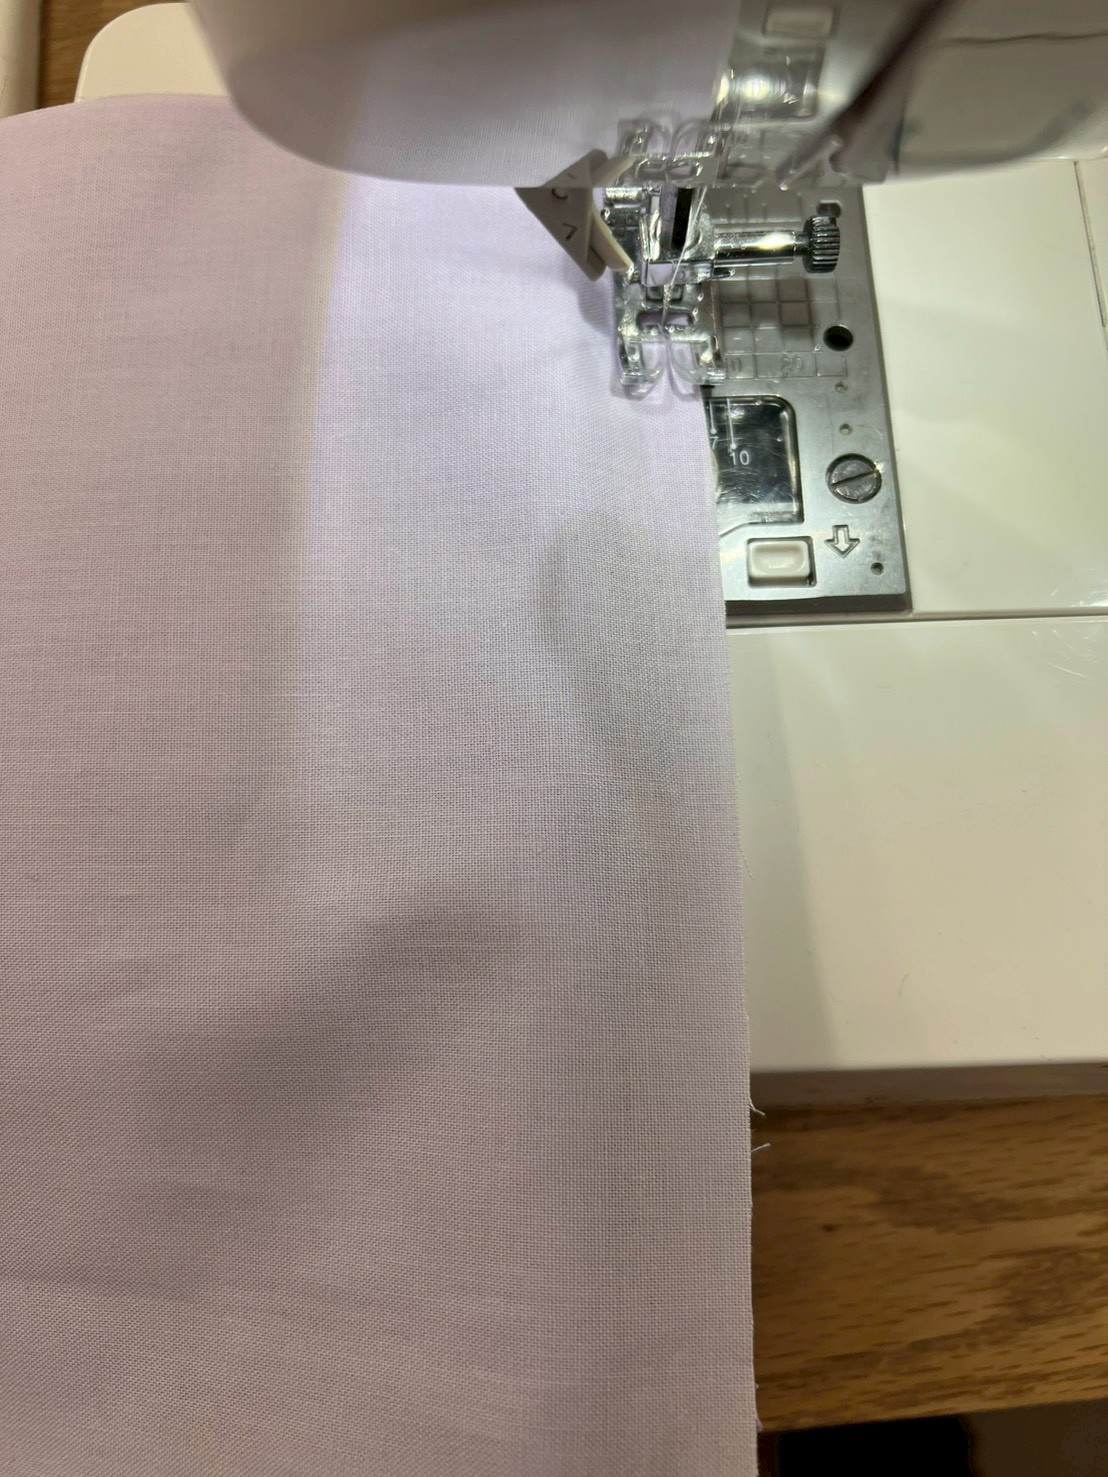
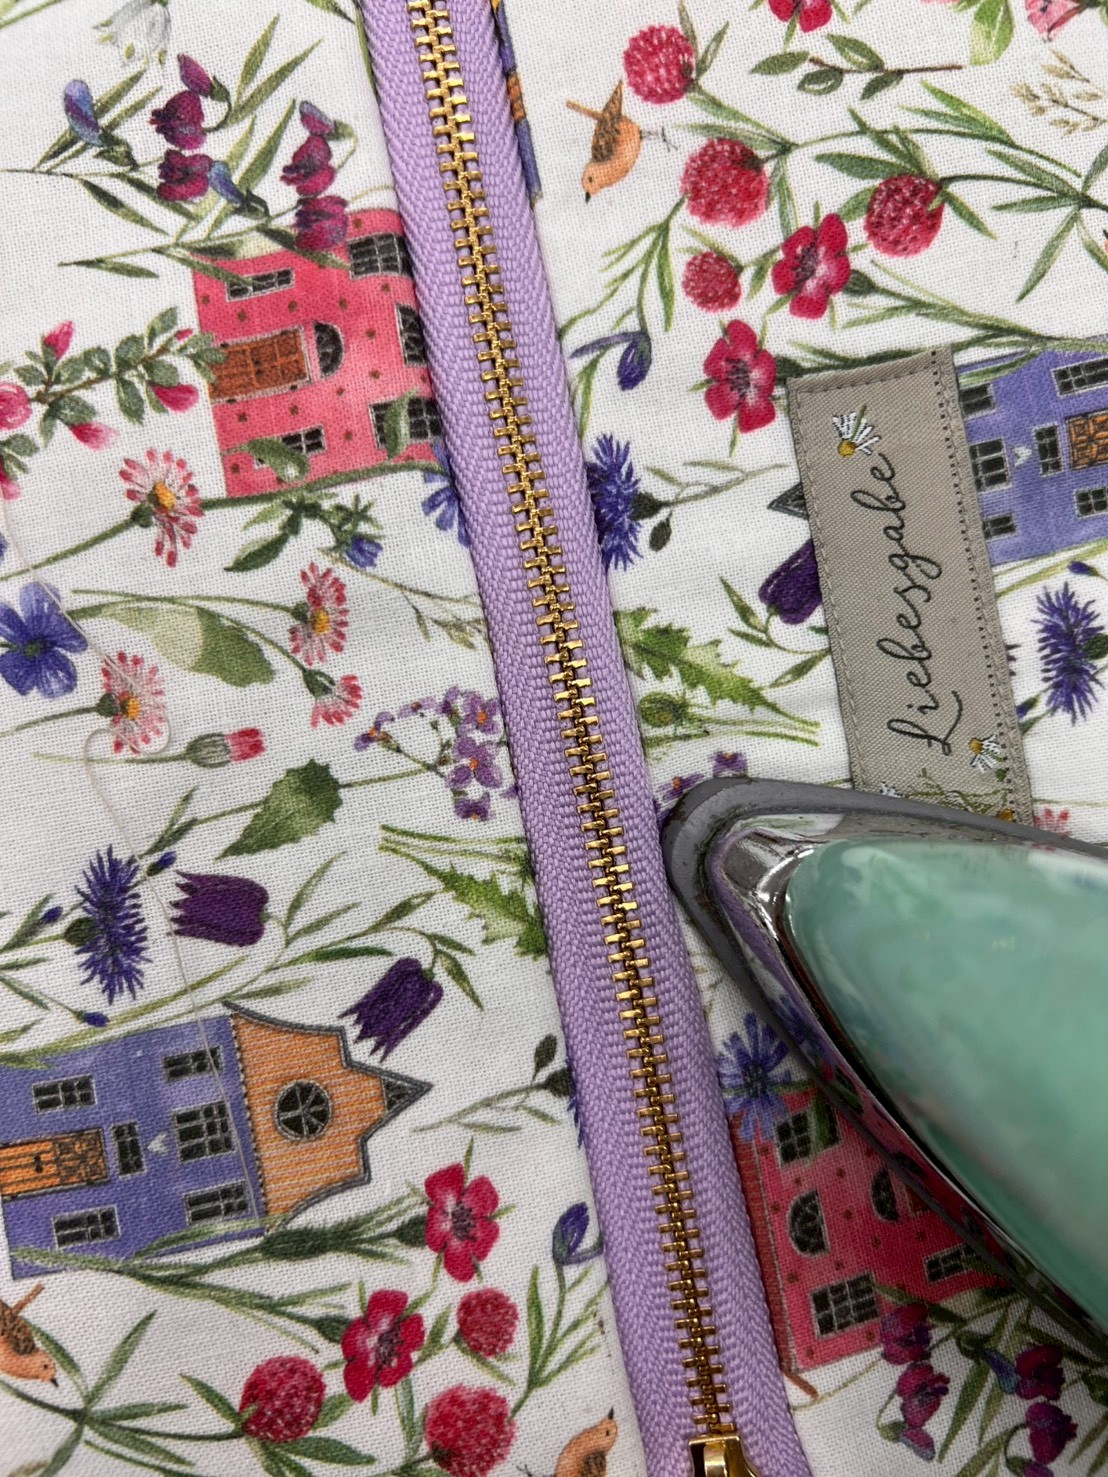
Sew the other side in the same way as in Step ③. Then, open the fabric with the outer fabric facing you and the zipper in the center. Press it with an iron to smooth it out.
⑤Sew the Pouch and Finish the Corners
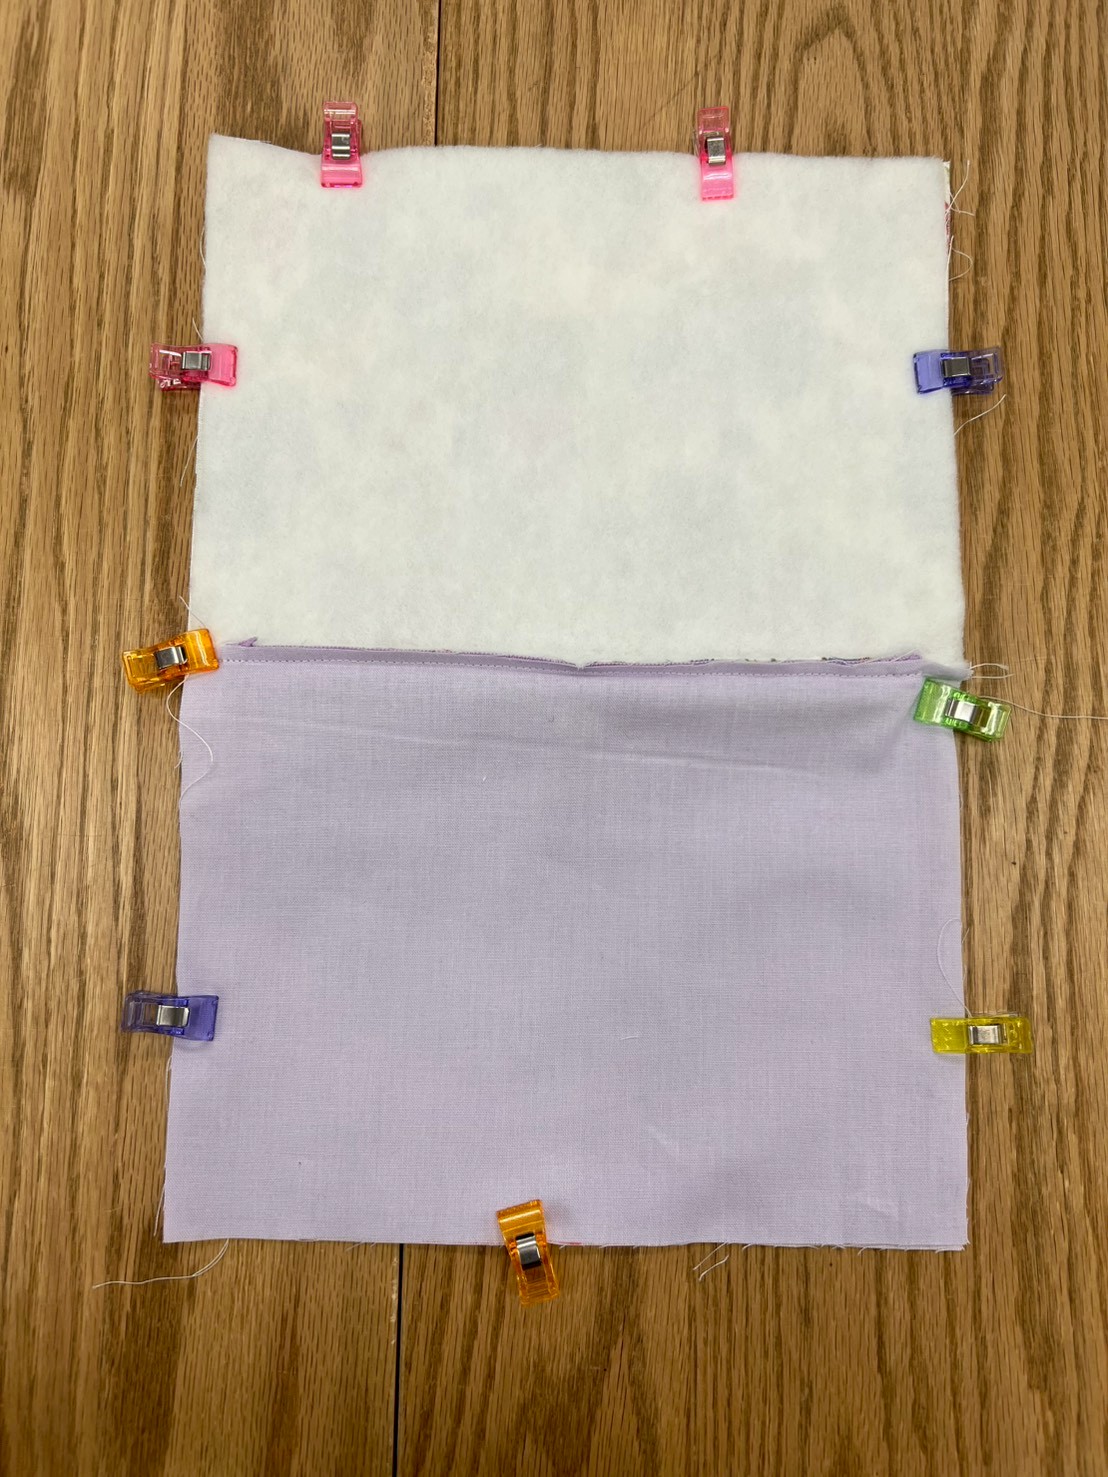
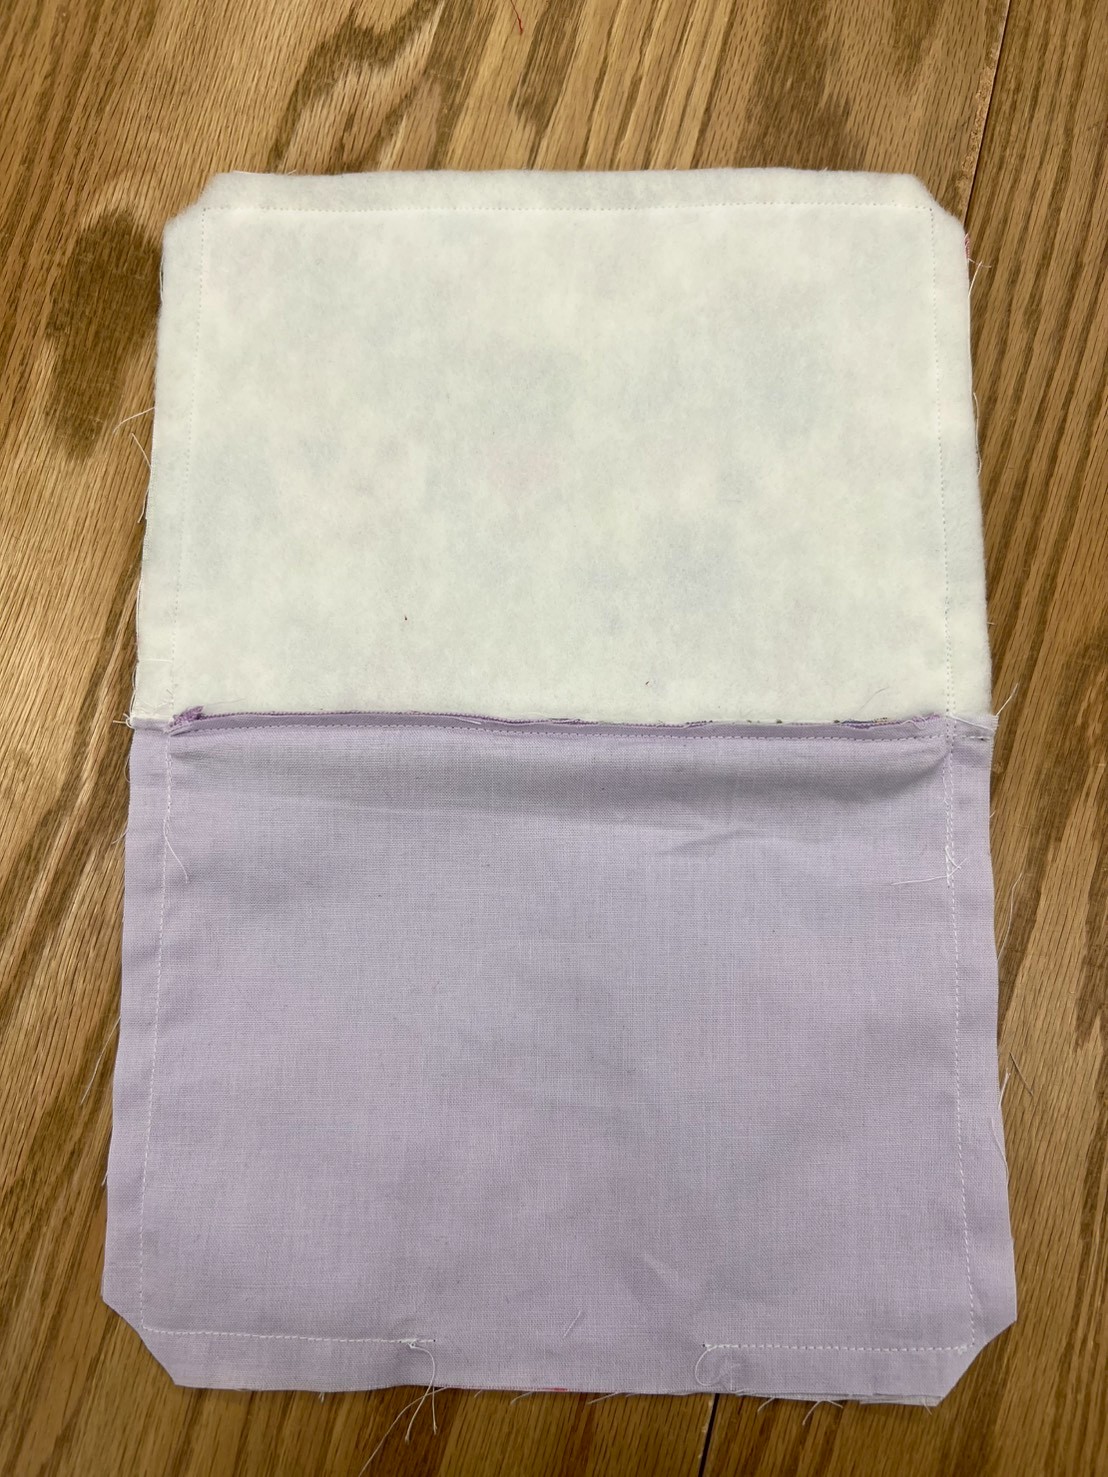
Place the outer fabrics right sides together and the lining fabrics right sides together. Secure them with clips or pins.
Leave an opening of about 10 cm in the lining for turning the pouch right side out, then sew with a seam allowance of about 5 mm.
*Check the photo below to see where to leave the opening!
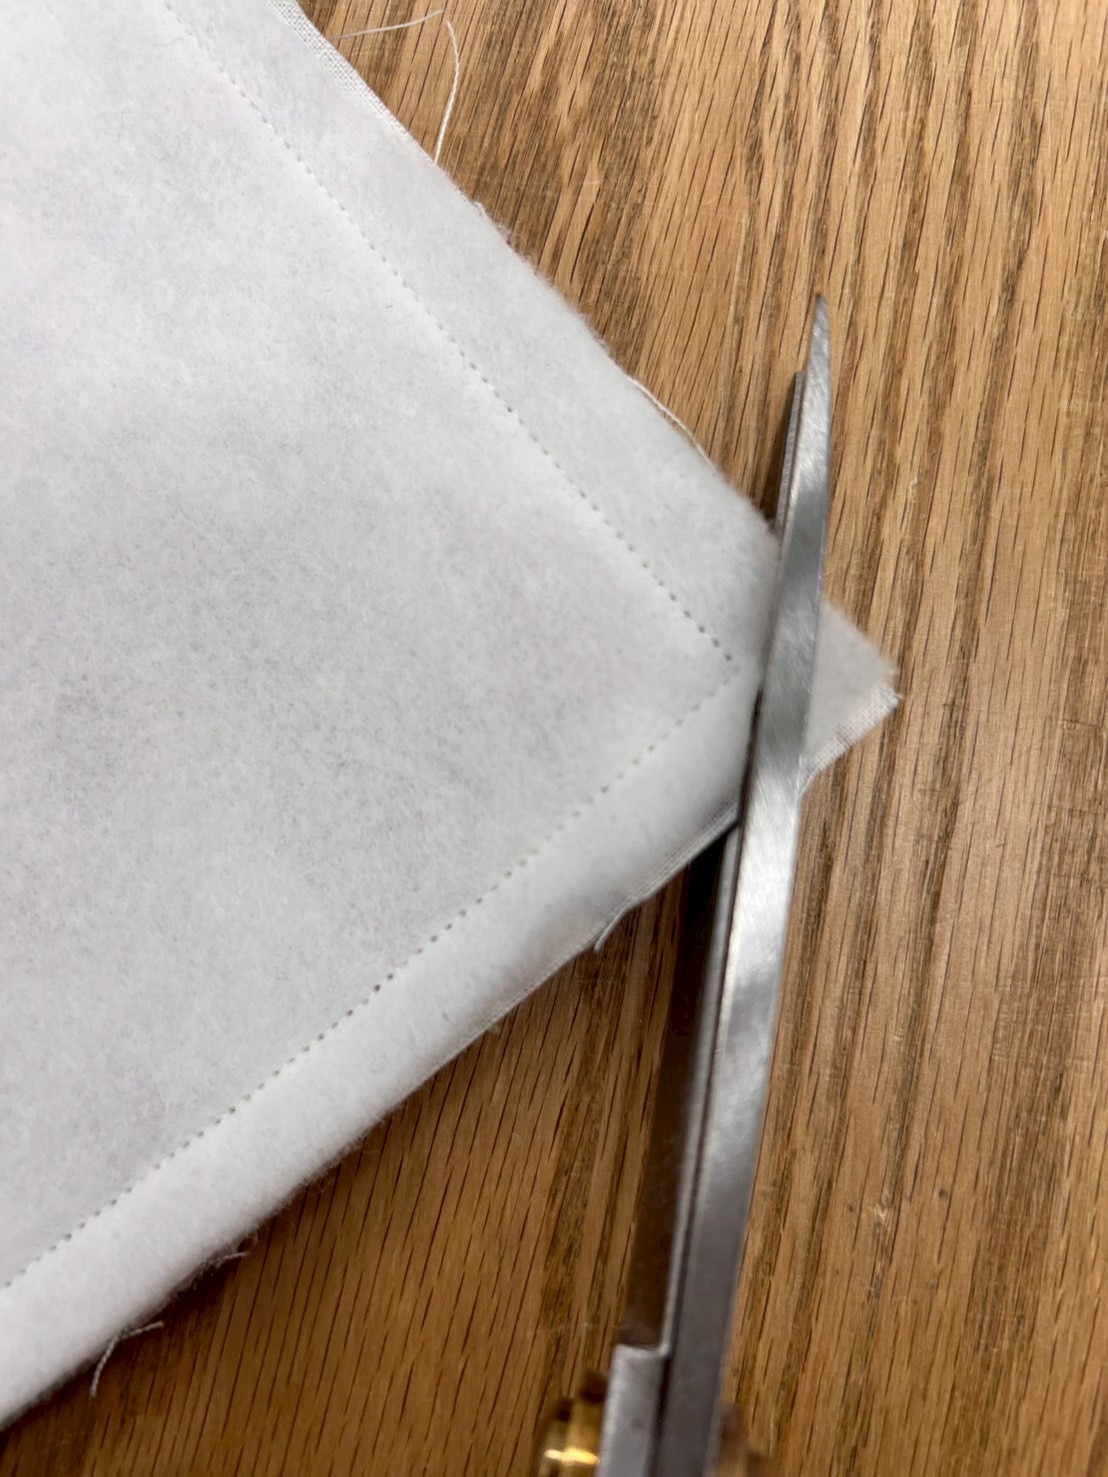
Cut off all four corners. Be careful not to cut the stitches♪
⑥Turn the Pouch Right Side Out and Close the Opening
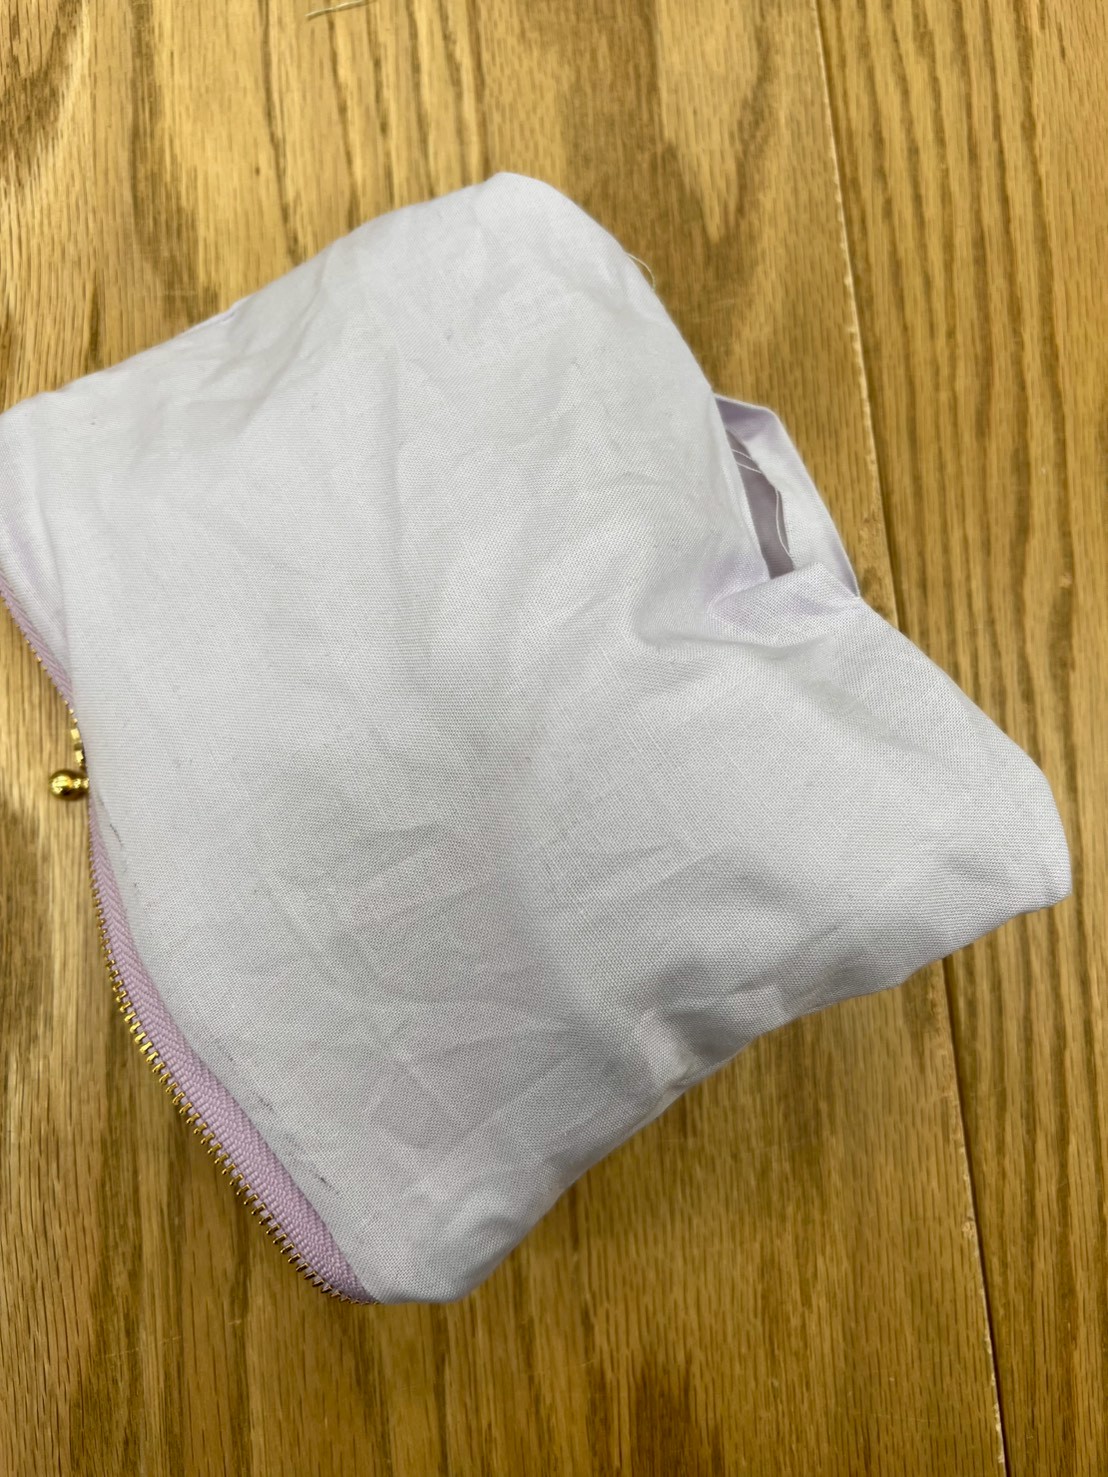
Turn the pouch right side out through the opening left in Step ⑤, then sew the opening closed.
Once it is closed, shape the pouch neatly!
⑦Finished!
Products Used
You can purchase the products we used this time, except for the outer fabric, here!
![3G-SP8MIX 玉付きファスナー [ゴールド] スプリングカラー 8色セット (セット)](https://www.nippon-chuko.co.jp/shop/html/upload/save_image/0329170002_6606750247764.jpg)
Chuko Onlineオンラインストアでご注文
Chuko Online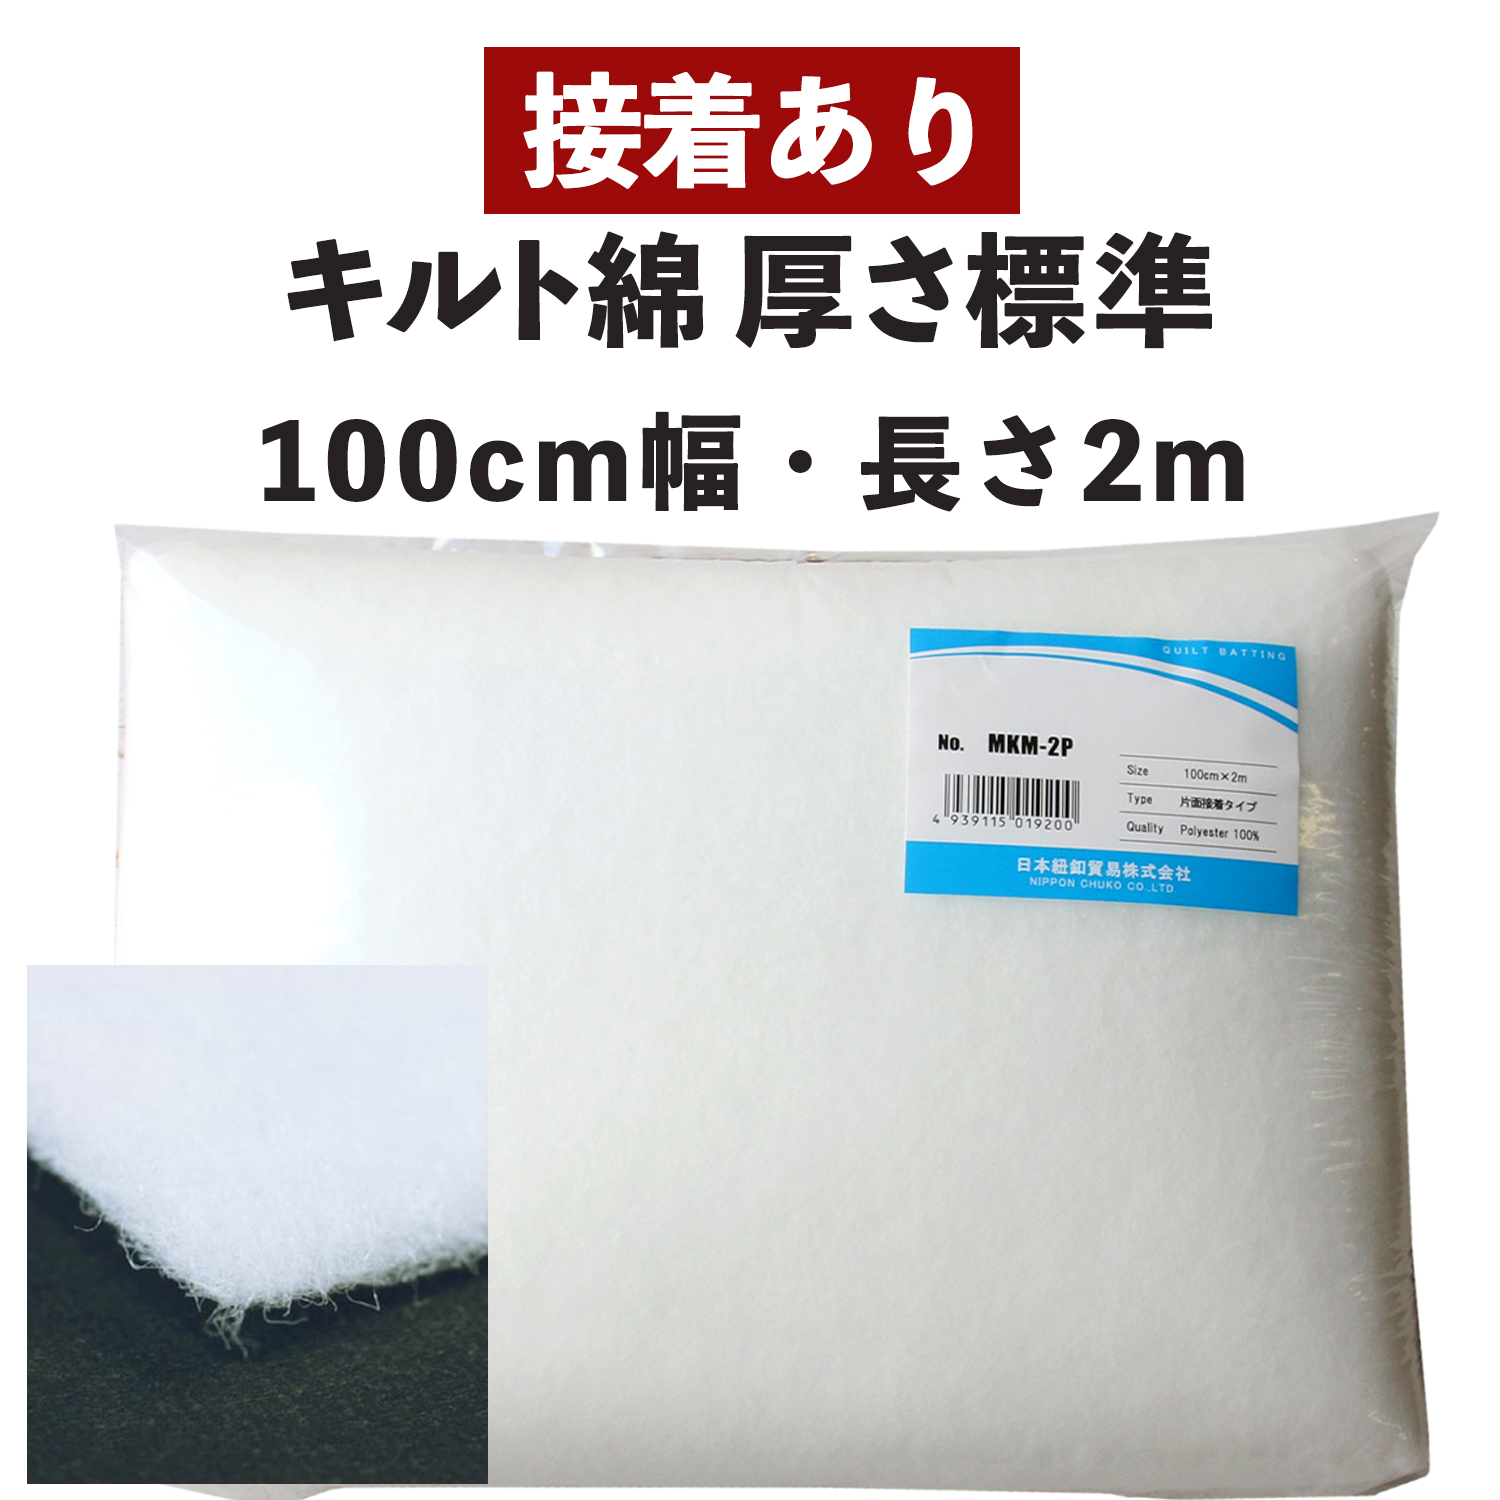
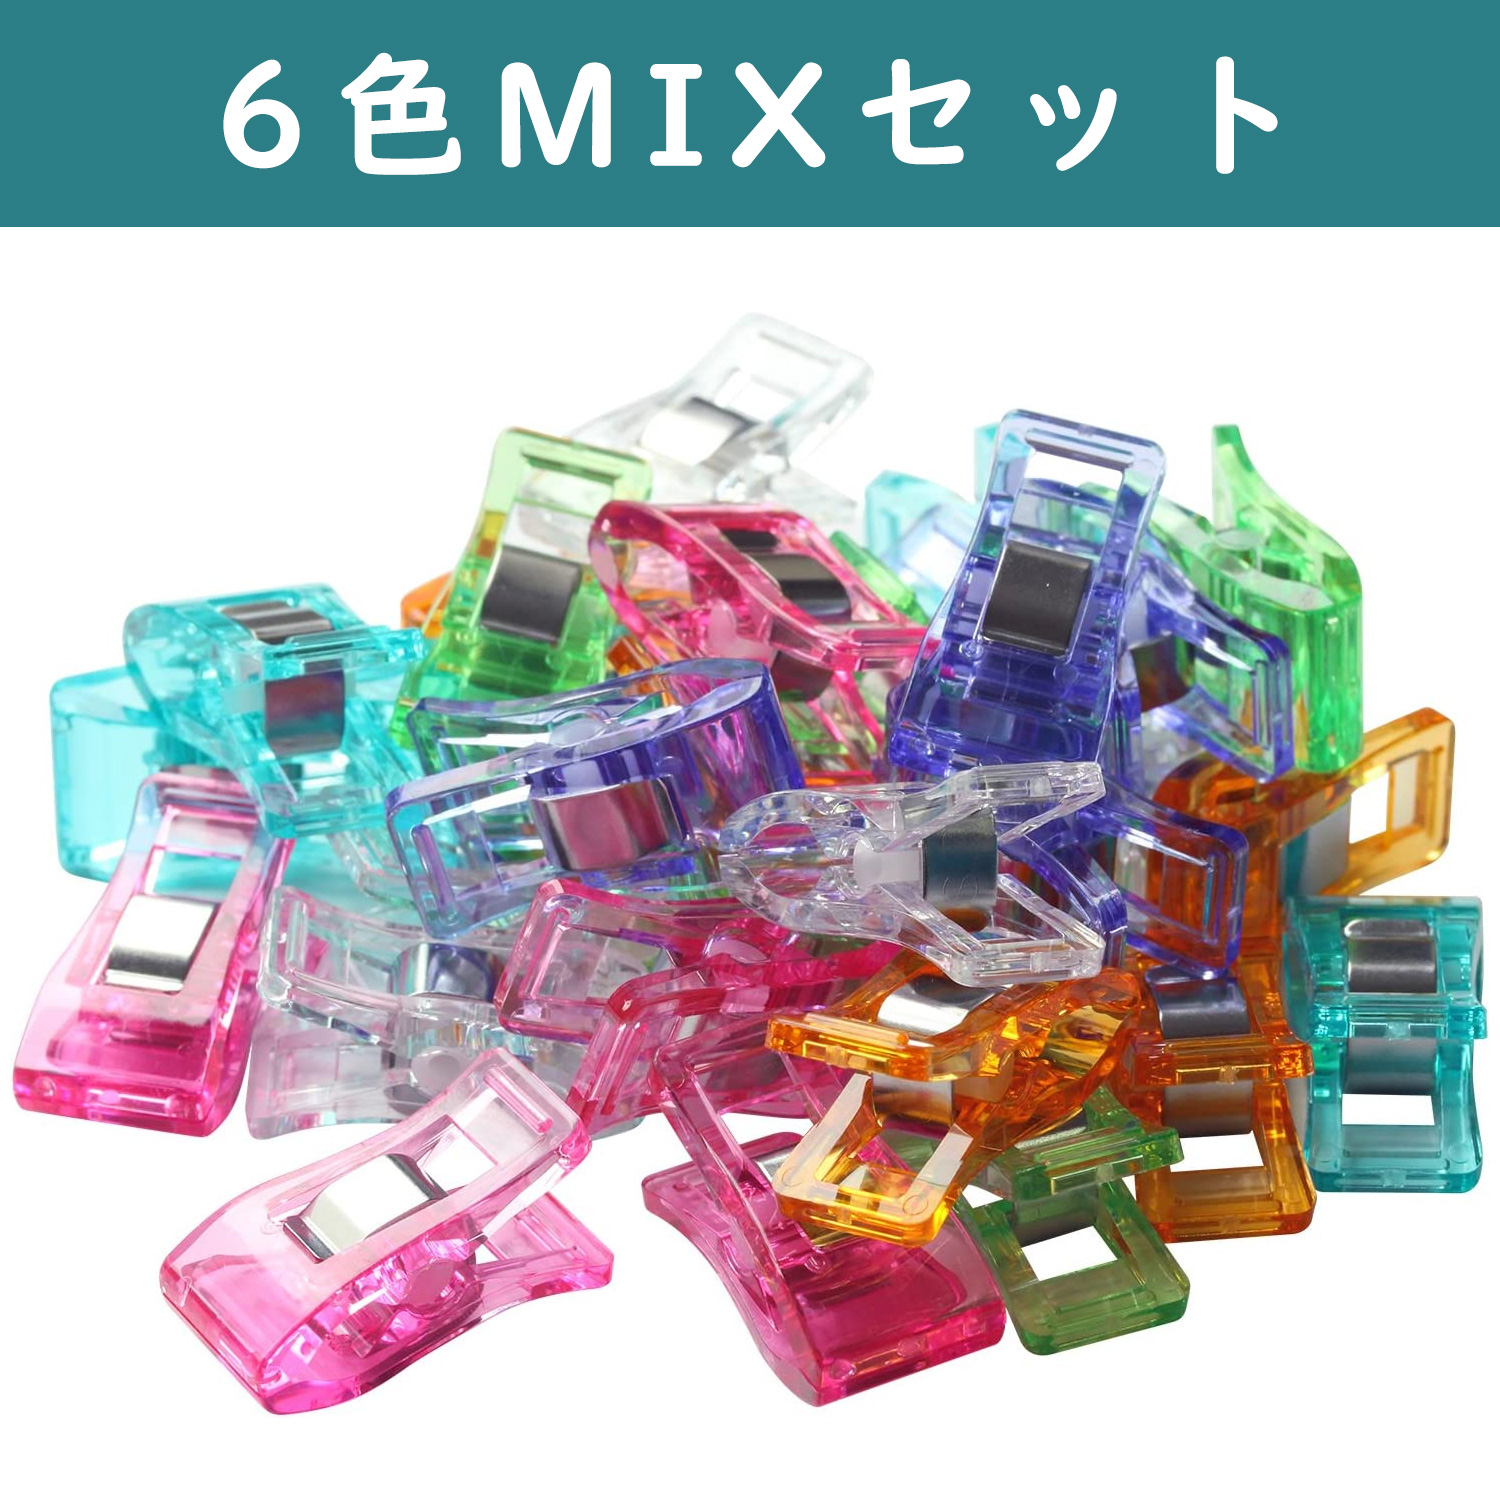
For the outer fabric, why not choose your favorite fabric? You can check out fabrics with Japanese-style motifs here.

We also share products and special offers on Instagram.
Please follow our Instagram account here!
Our Official Websites
Chuko Online: https://www.nippon-chuko.co.jp/shop
Facebook: https://www.facebook.com/nipponchuko


Chuko Onlineではみなさまに日々の手芸用品の仕入れを便利にしていただけるように、お得なセール情報などを更新しております! ▽Chuko Onlineのサイトはこちらから! https://www.nippon-chuko.co.jp/shop/ みなさまからのご注文をお待ちしております。